¶ Download the source code
¶ Android source code
¶ Debian source code
¶ Build the Ubuntu environment
Source code development needs to be carried out in a Linux environment, and Ubuntu is generally used as the source code development environment.There are two ways to build an Ubuntu environment.
-
Build the Ubuntu environment through docker under window10.
-
Use virtual machine software such as VMware to build.
¶ Install the docker software
- Go to the official website to download the docker software or use the docker in the Google network disk
- docker official website https://www.docker.com/
- Google Drive https://drive.google.com/drive/folders/1005NQ9DRi5AzLVm2XNE2O-iZZf3nhqZ8?usp=share_link
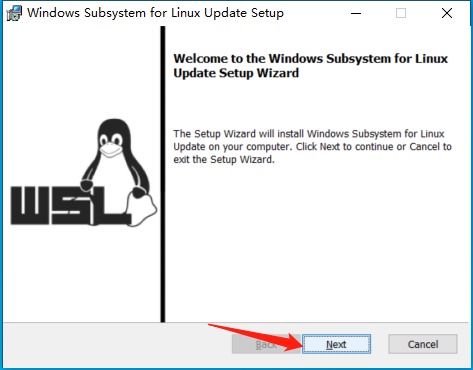
Double-click to install the downloaded docker software installation package, there are two radio buttons, the default is enough, click ok and wait for the installation to complete.
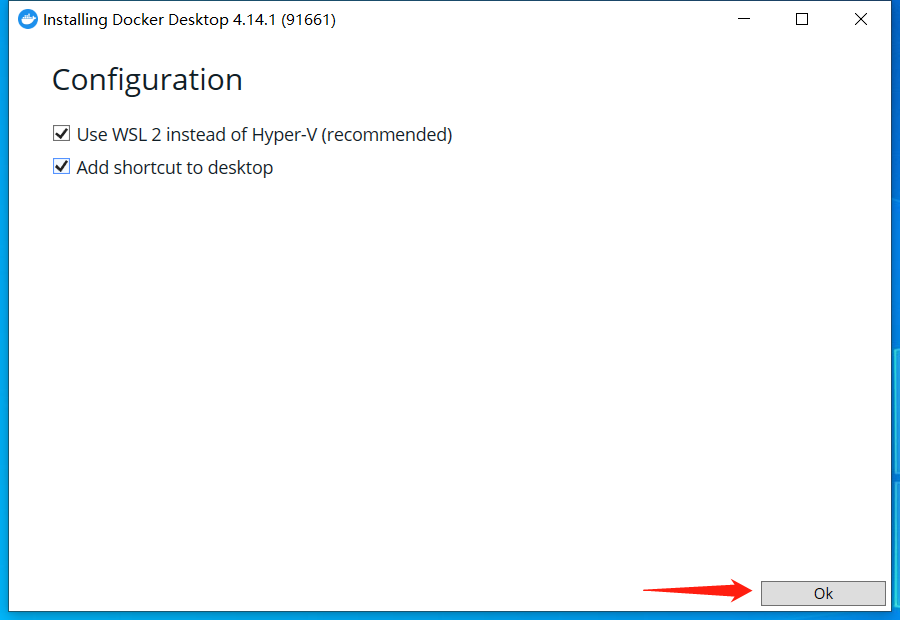
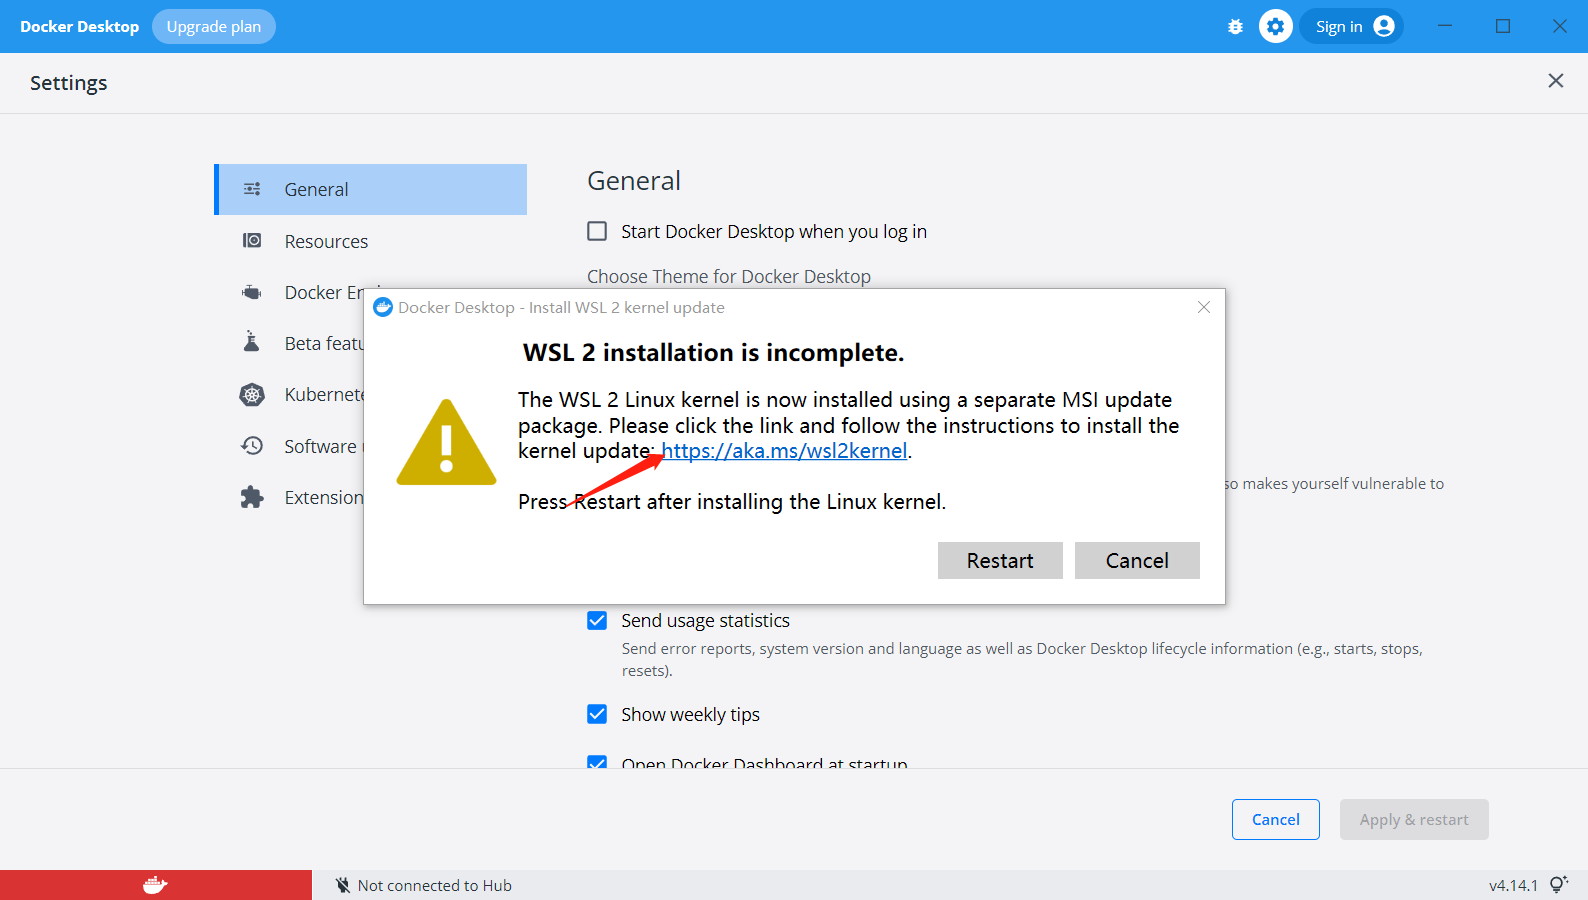
- Upgrade wsl to wsl2
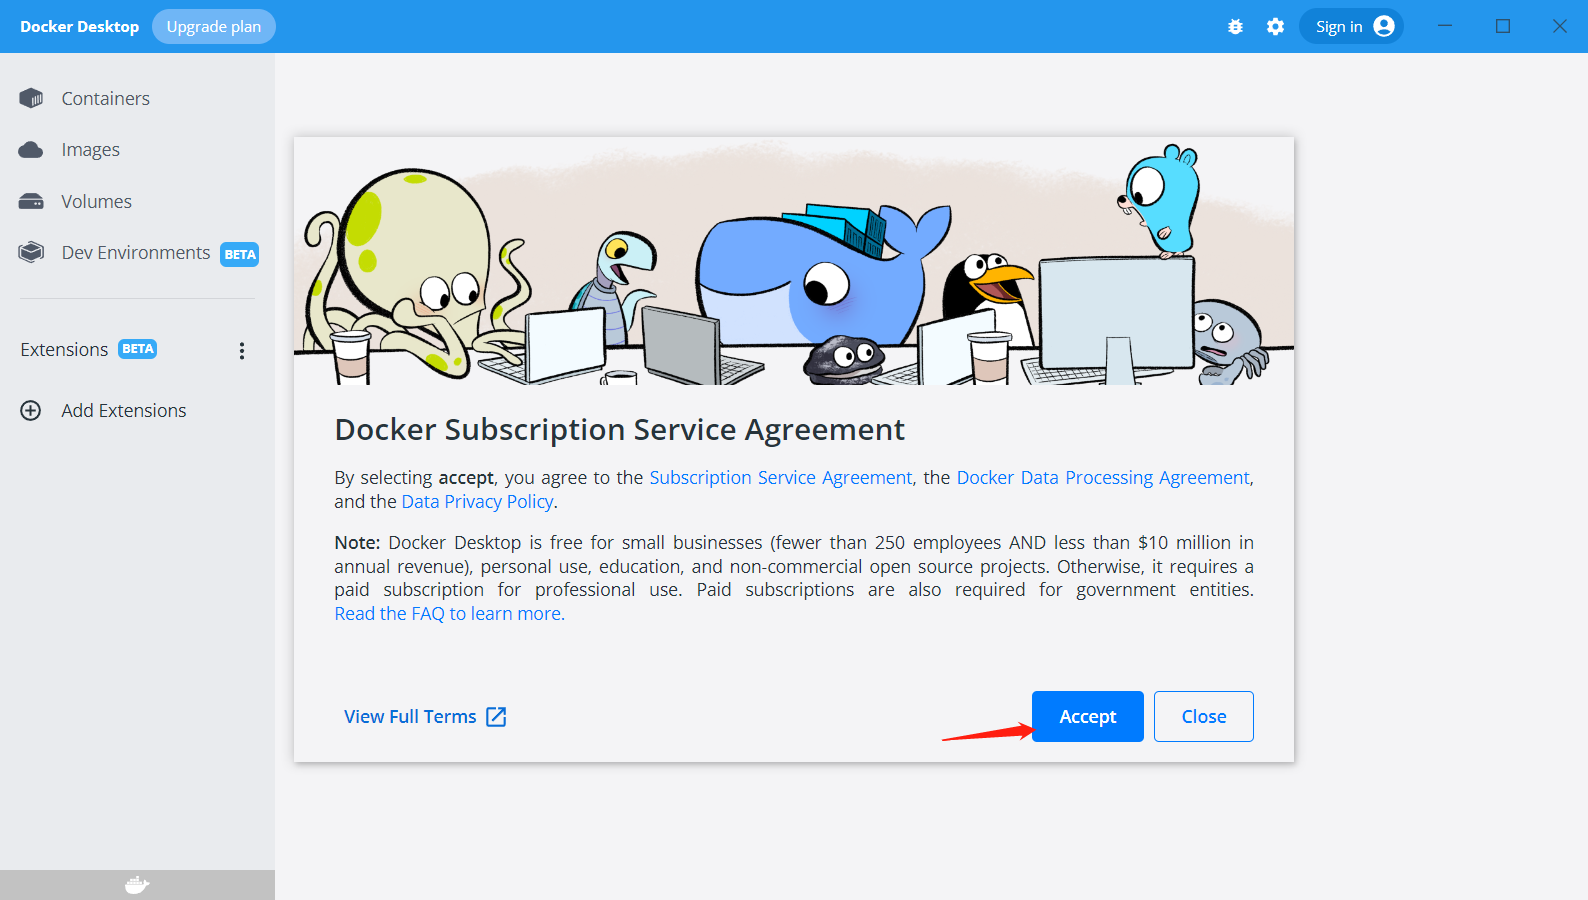
Double-click the docker icon to start docker, and restart the computer after installing wsl2.

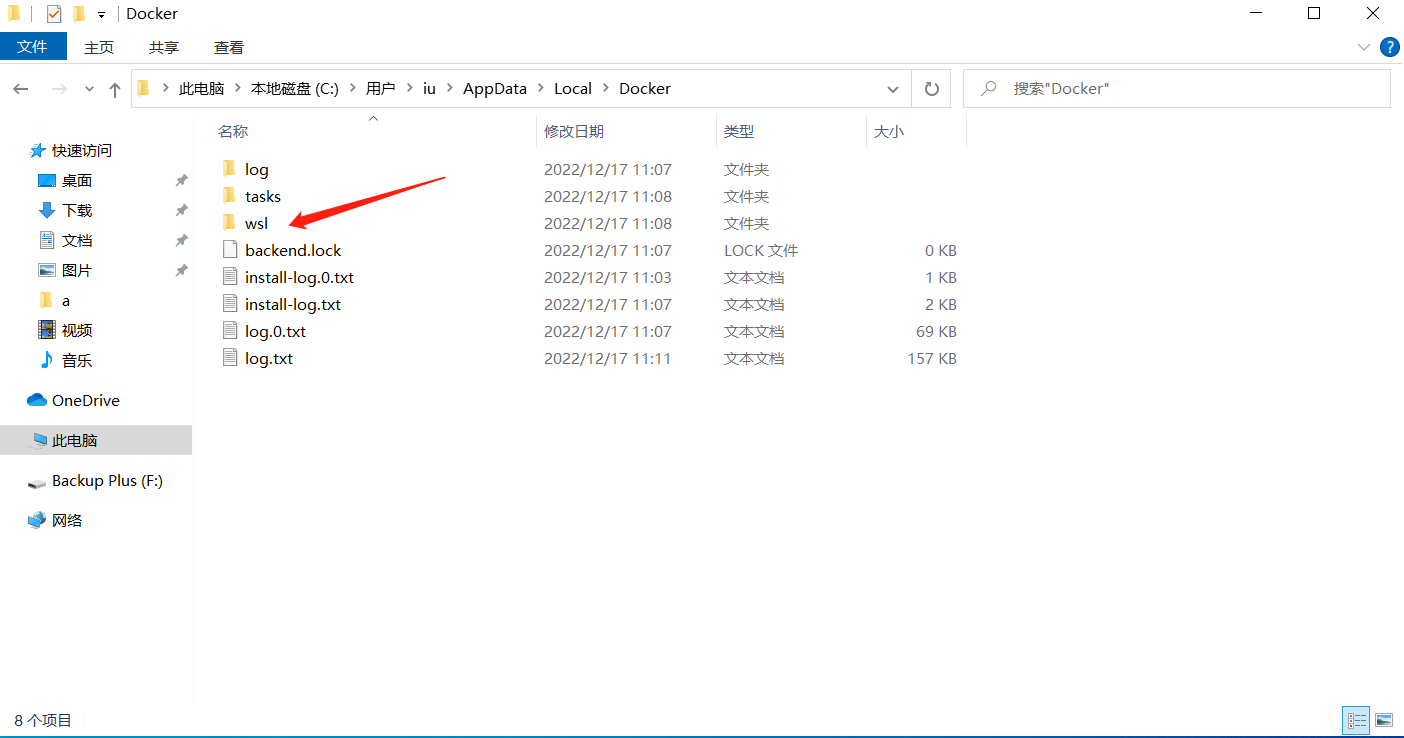
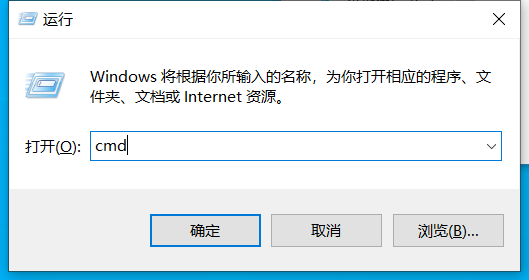
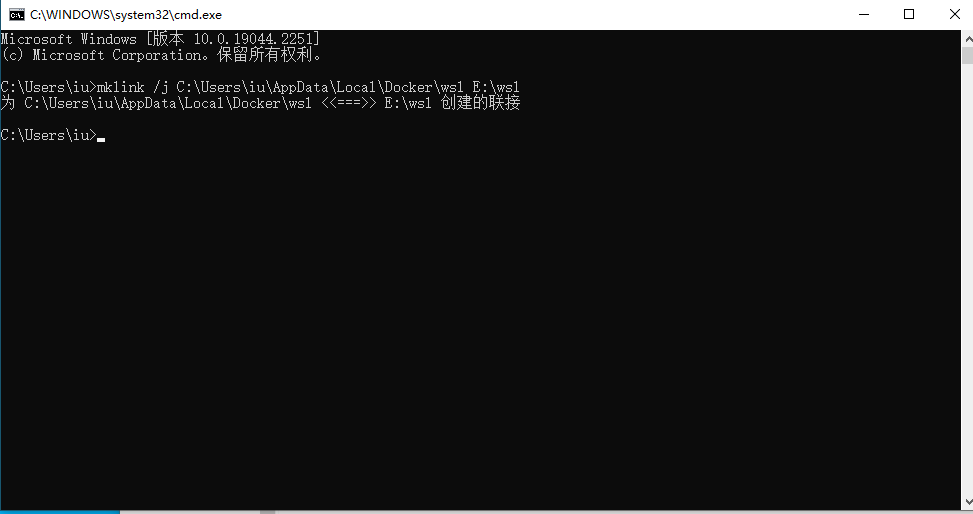
- Modify the storage path of the image container, cut C:\Users\username\AppData\Local\Docker\wsl to other places, and create a soft link in C:\Users\iu\AppData\Local\Docker. Press Win + R, enter cmd to call up the command line, enter the following code to create a soft link.
mklink /j C:\Users\iu\AppData\Local\Docker\wsl E:\wsl
¶ Install virtual machine
¶ Download
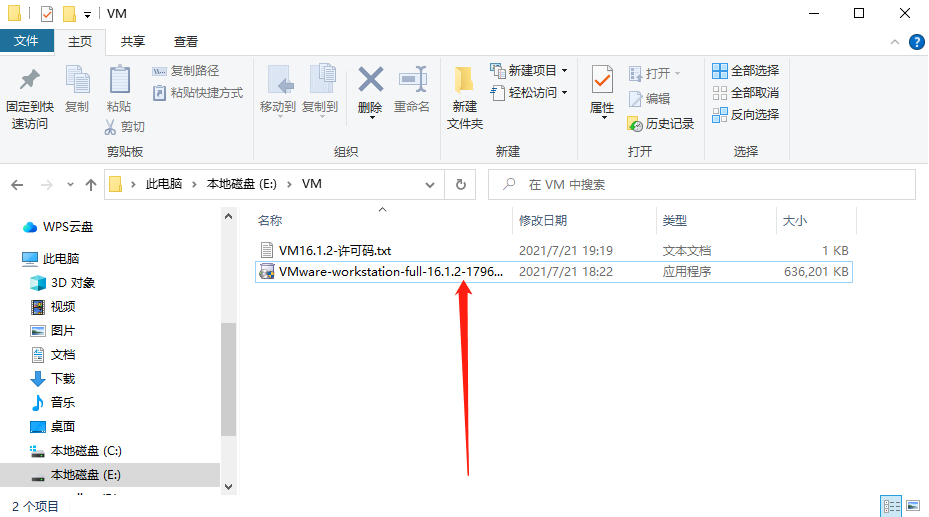
The installed VM version is VMware-workstation-full-16.1.2, and the Ubuntu version is 18.04.
¶ Install VM workstation
- Double-click VMware-workstation-full-16.1.2-17966106.exe
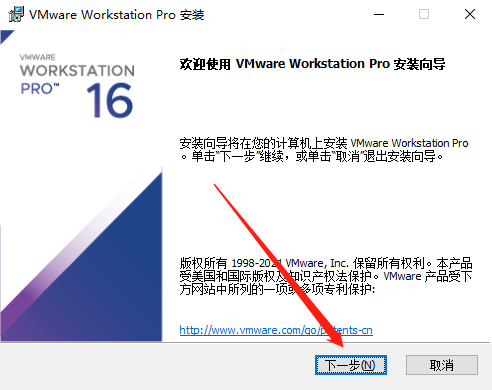
- Click next
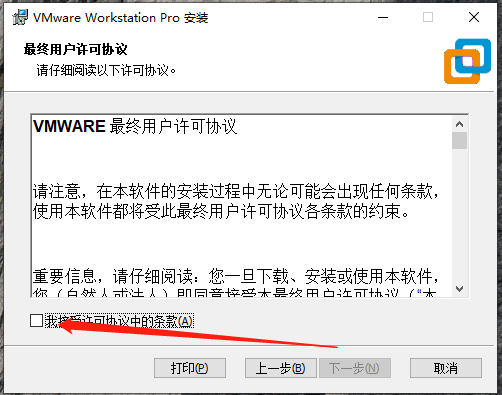
- Click I accept the terms of the license agreement
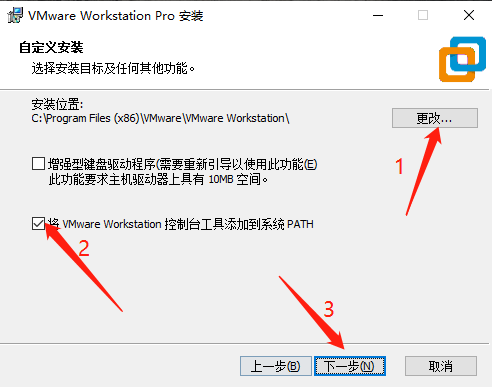
- First click Change to modify the path (the path name must be in English and not contain Chinese, otherwise an error will occur), then choose to add the VM console tool to the system PATH, and then click Next
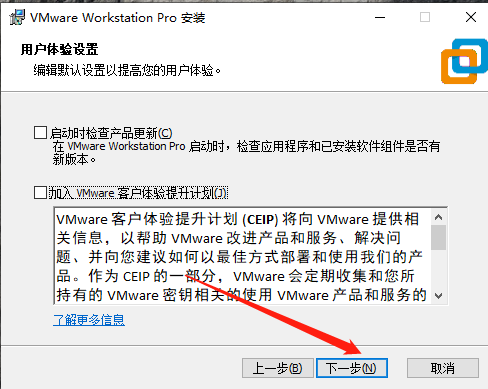
- Click next
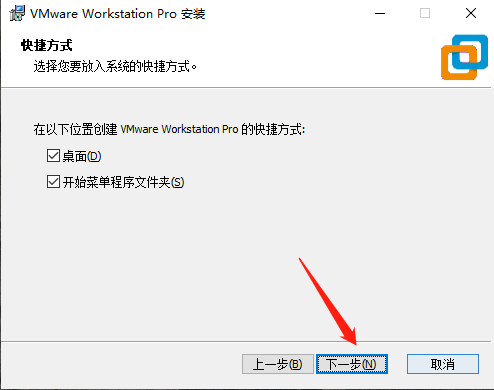
- Click next
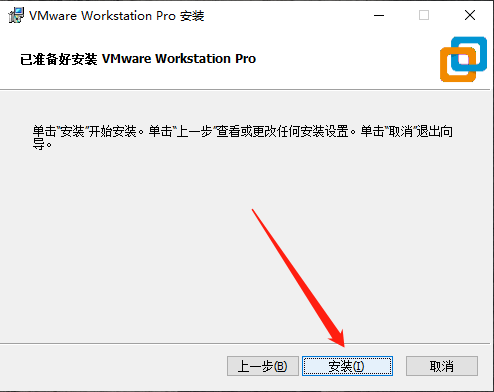
- Click install
- After the installation is complete click on the license
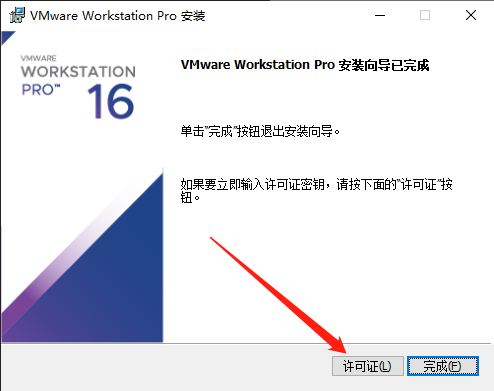
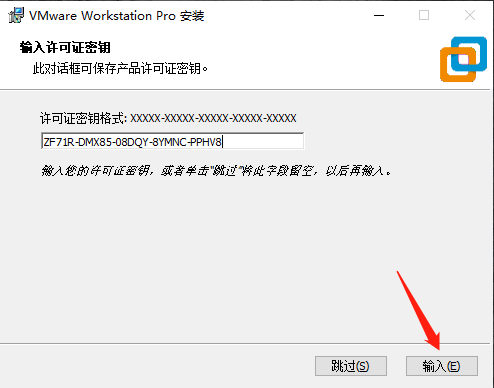
- Double-click VM16.1.2-license code txt, select any license code to fill in
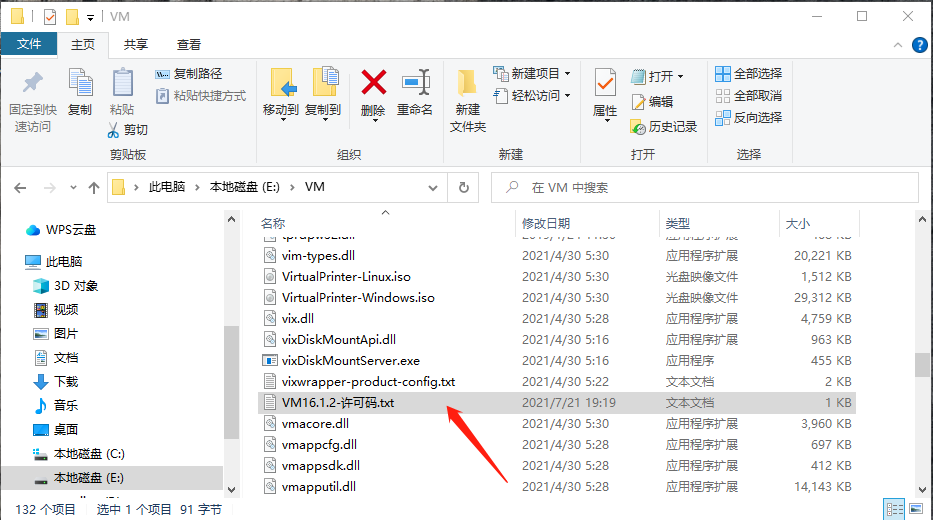
- Click Enter, and then click Finish
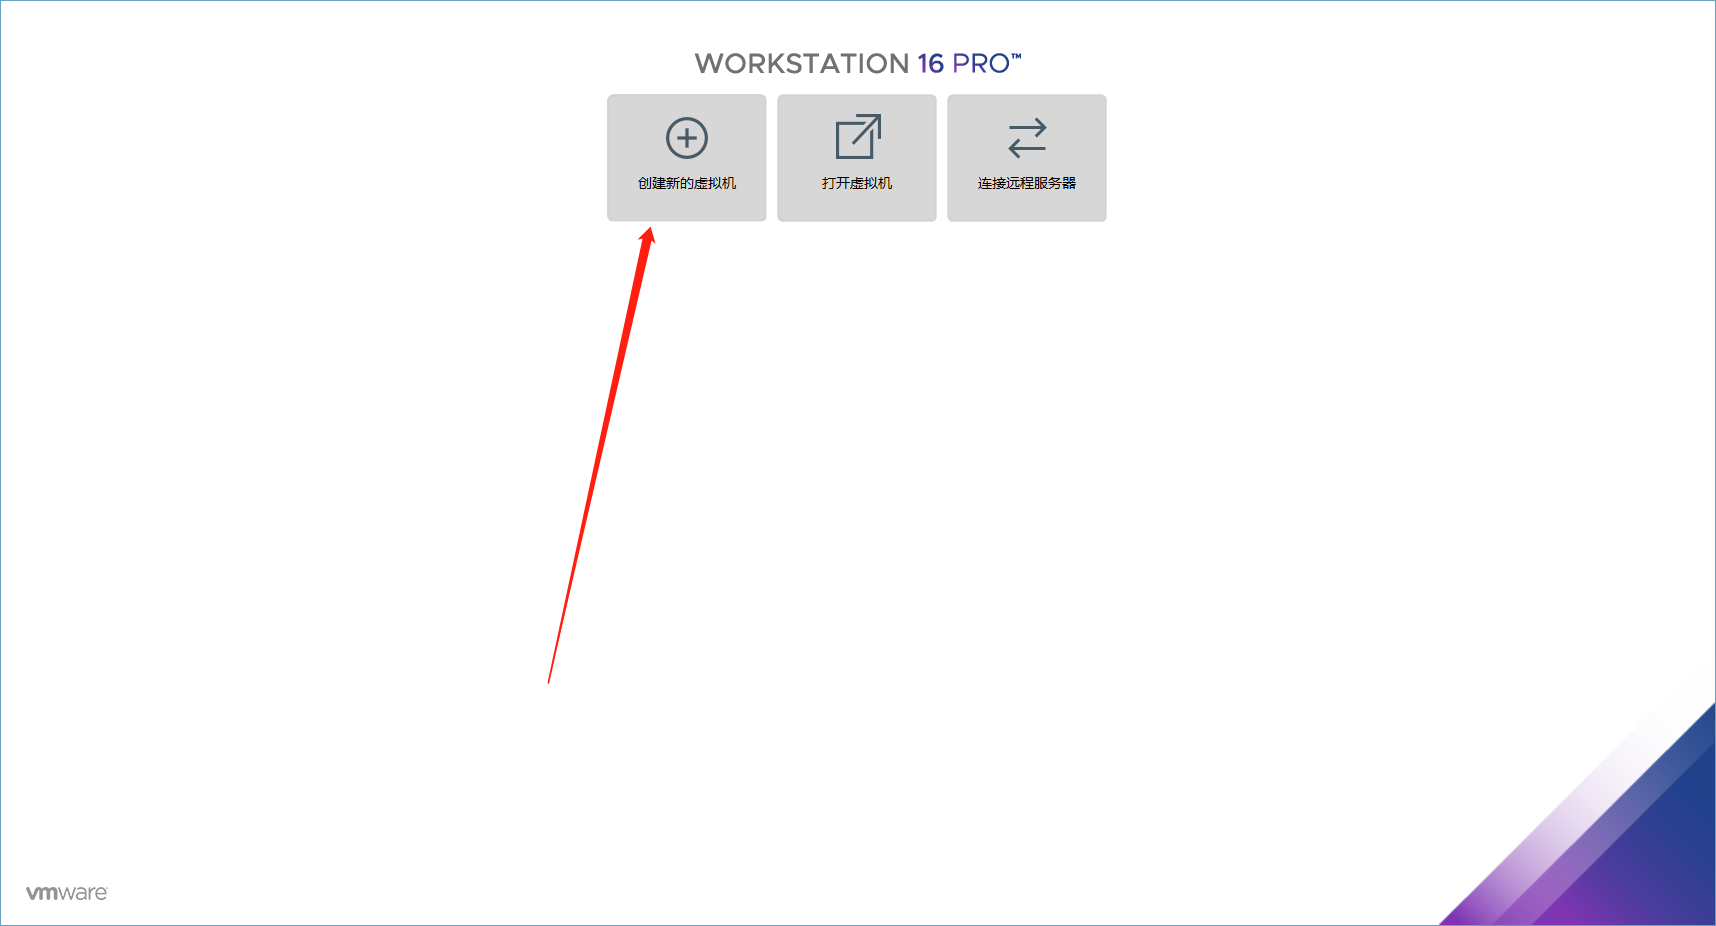
- Double-click the icon

- Click to create a new virtual machine
- Use typical, then next

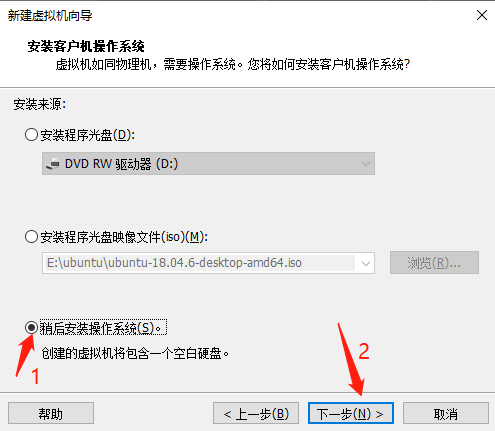
- Choose to install the operating system later, then the next step
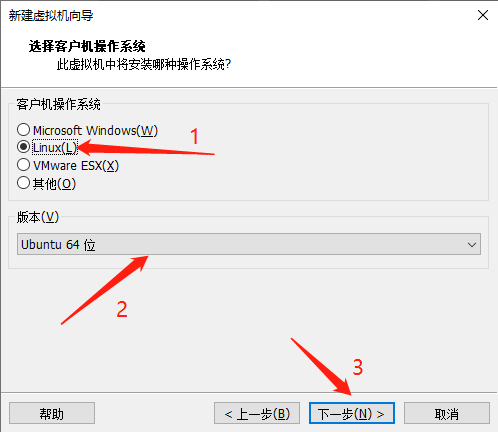
- Select Linux (L) as the guest operating system, version Ubuntu64, and then the next step
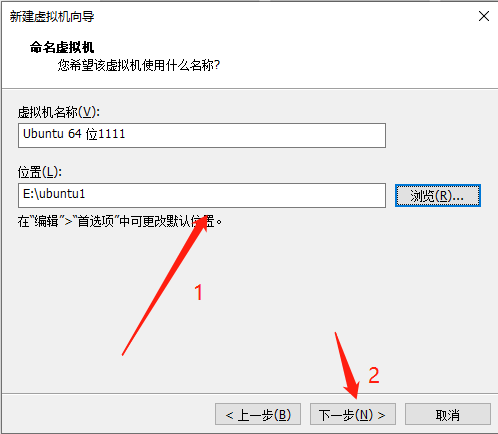
- Modify your virtual machine path
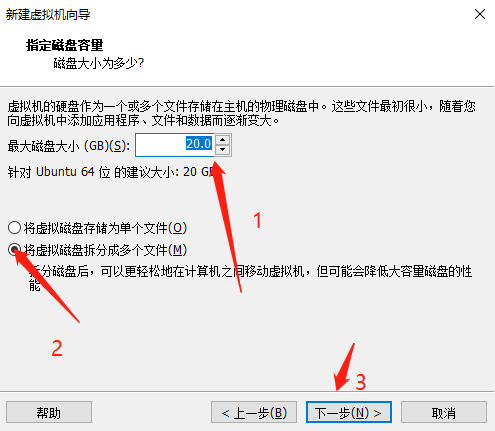
- The disk size can be customized, it is best to be larger, split the virtual disk into multiple files, and then the next step
- Click Customize Hard Disk

- Allocate memory to the virtual machine, preferably half of the host

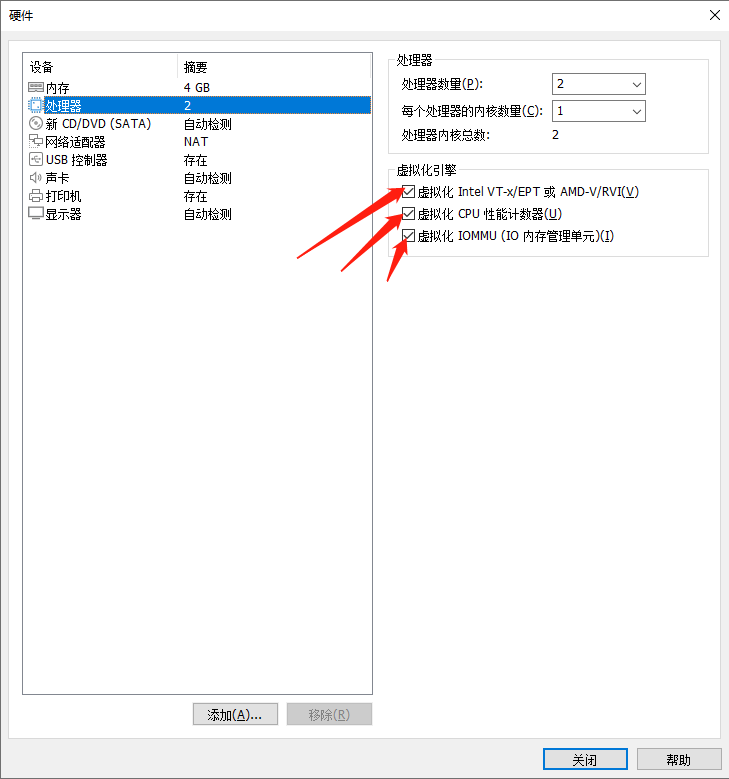
- The number of processor cores and the number of cores per processor can be customized, open the virtualization engine
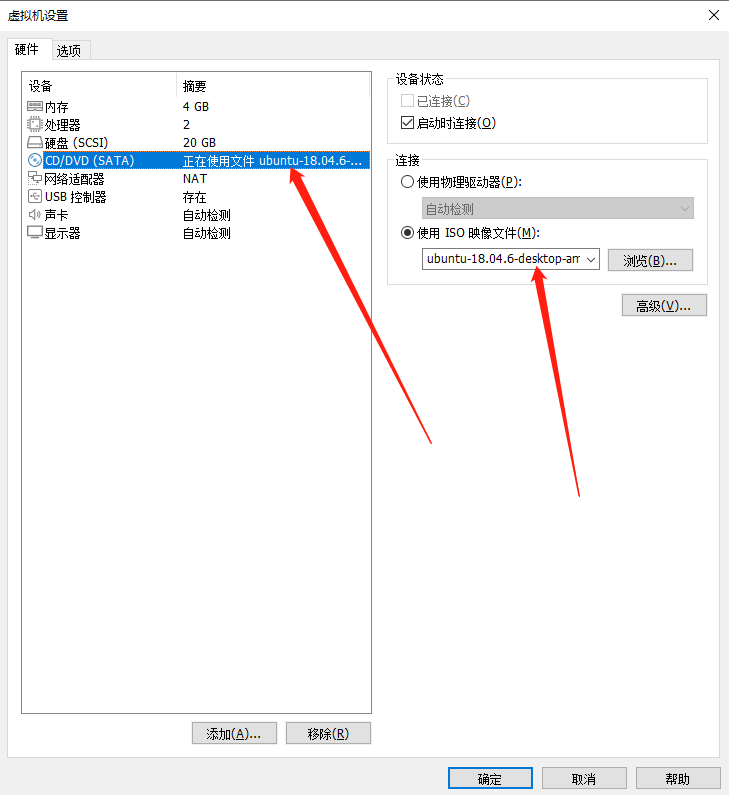
- CD/DVD using the ISO image file you downloaded
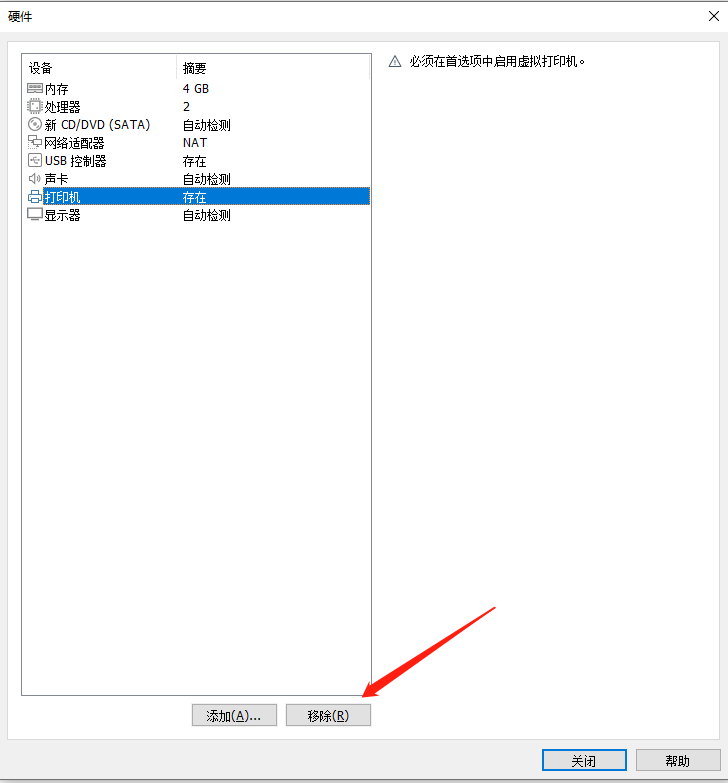
- Remove the printer
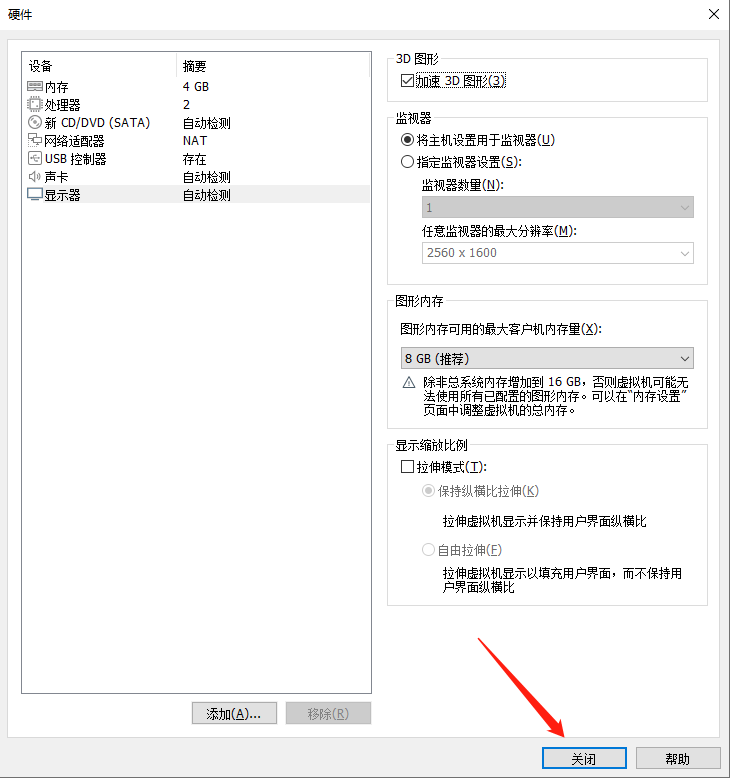
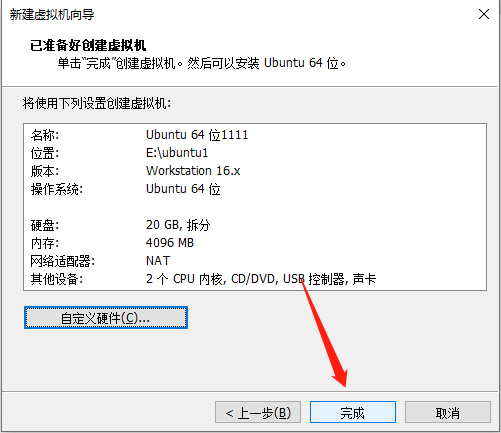
- Click Close
- Click finish
¶ Install Ubuntu
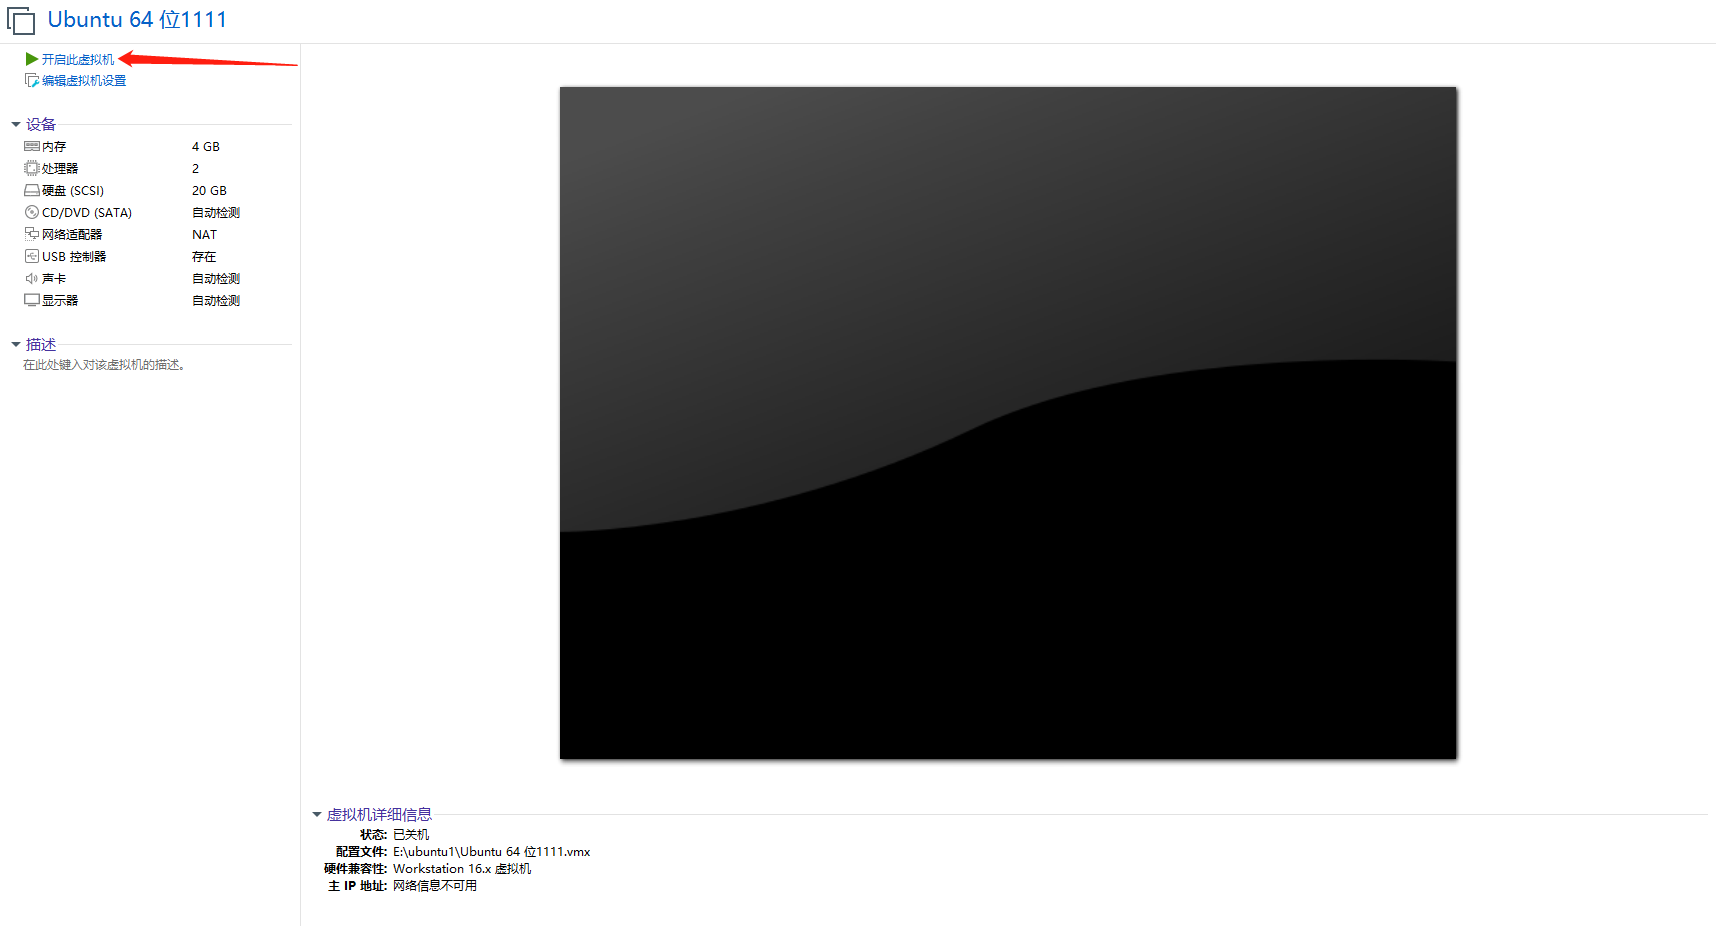
- Click to start this virtual machine
- Click install
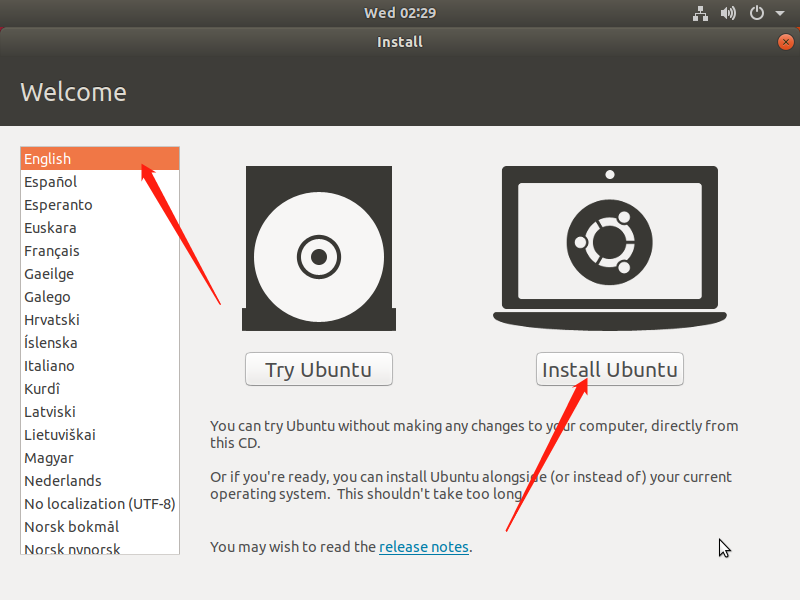
- choose english
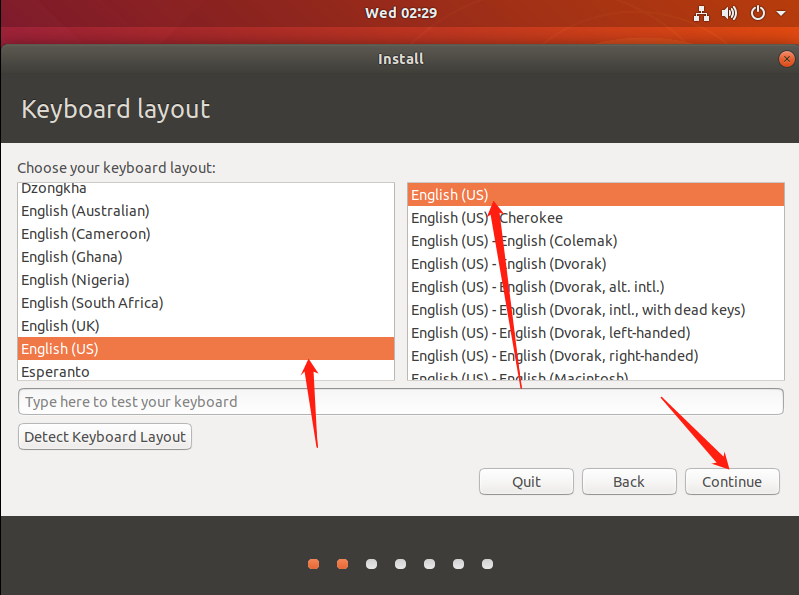
- Click to continue the installation
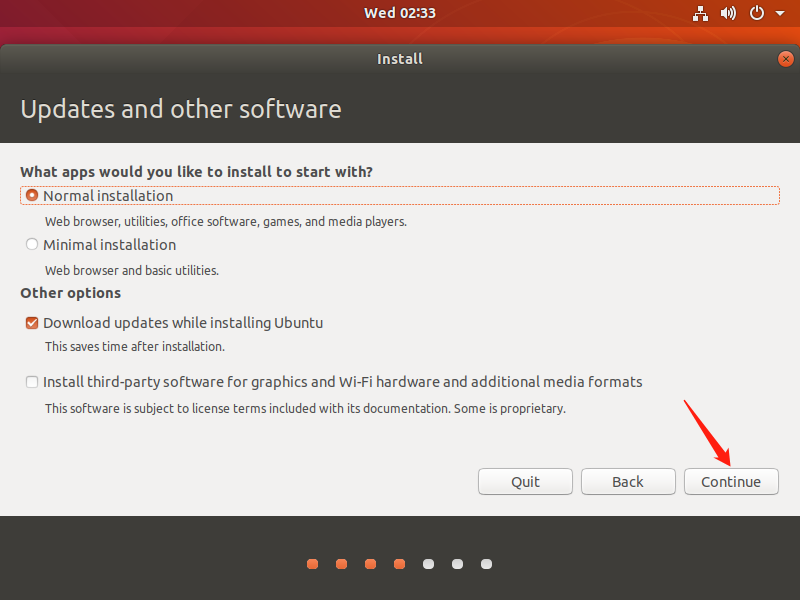
- continue to install
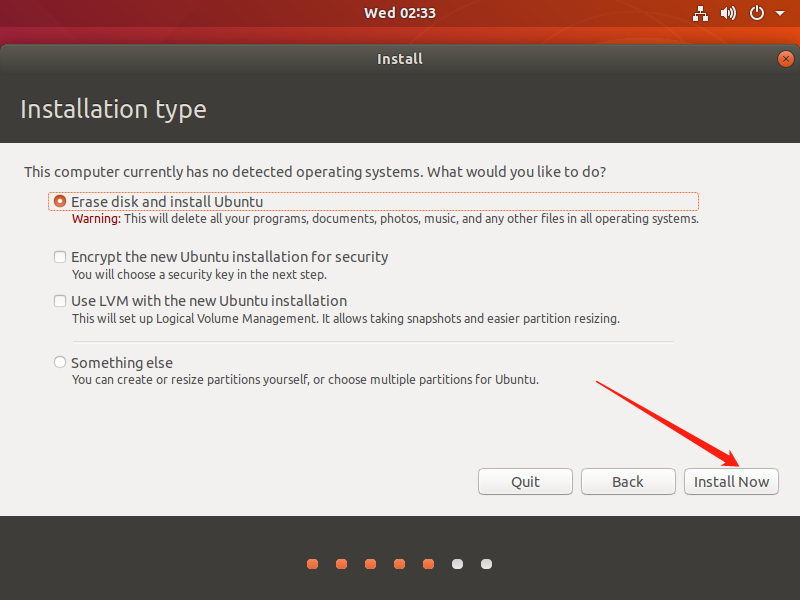
- continue to install
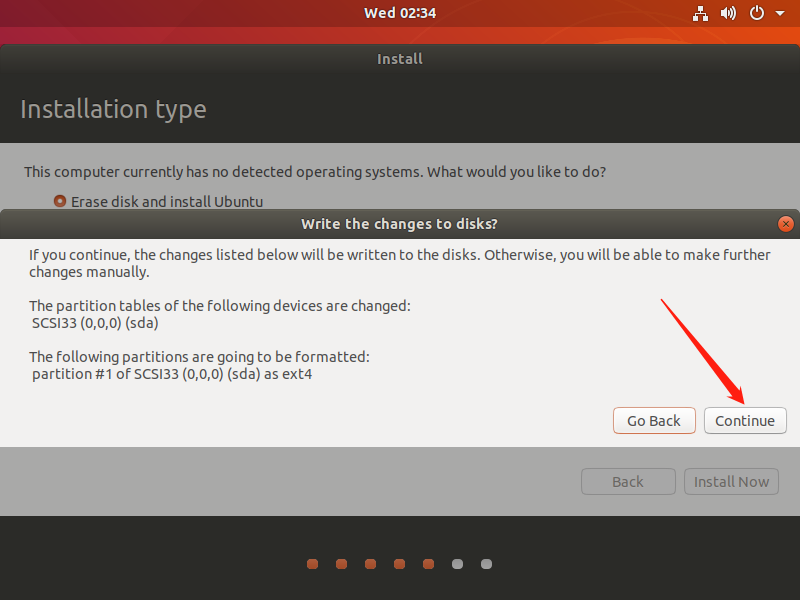
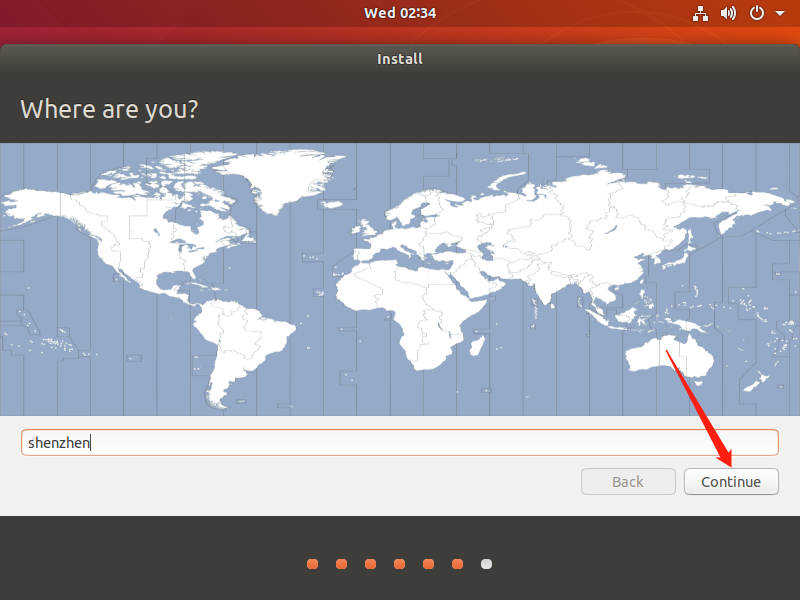
- Select a region and click Continue
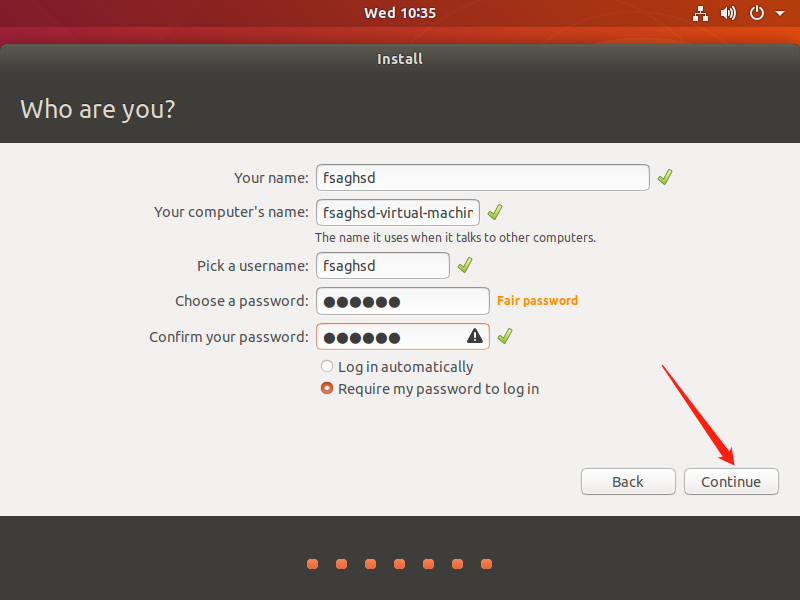
- Set your username and password, click Continue
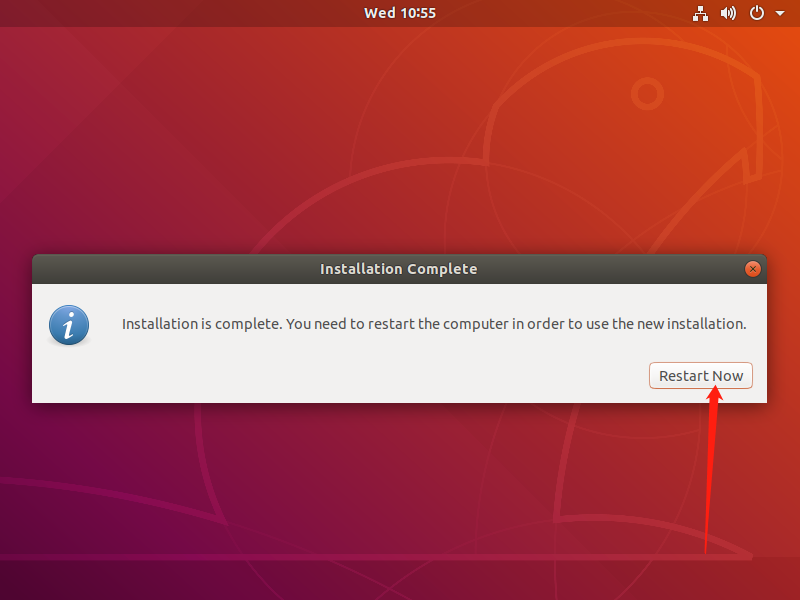
- After the installation is complete, click Restart
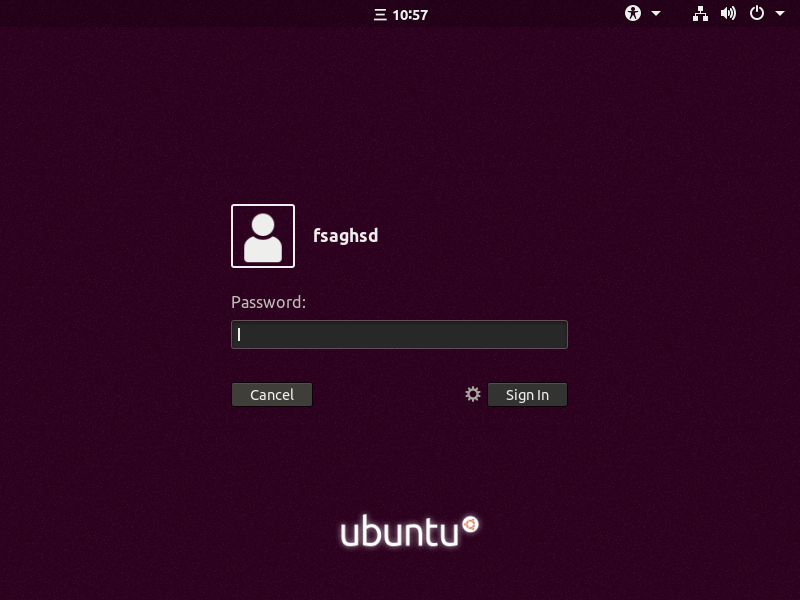
- Enter password to log in
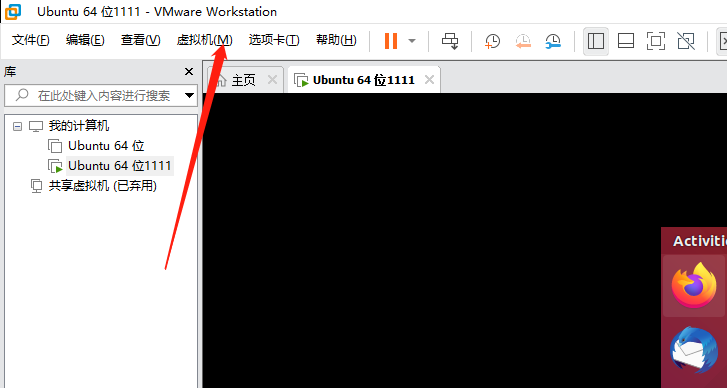
- Click the virtual machine, and then click Install VMware Tools
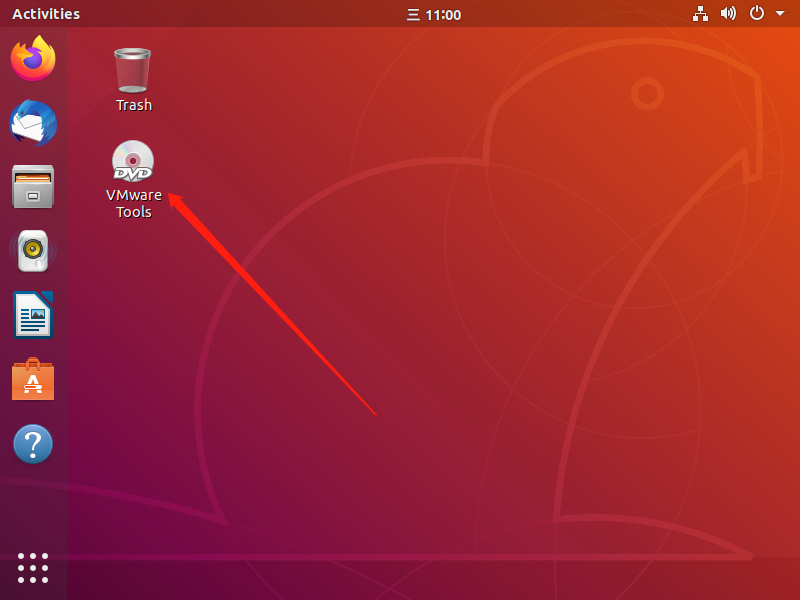
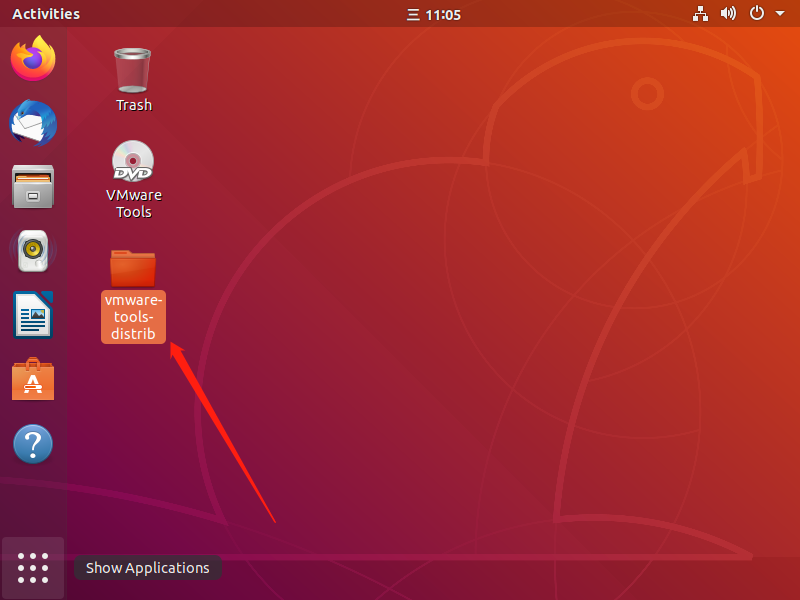
- The VMware Tools icon appears on the desktop, right-click and select open
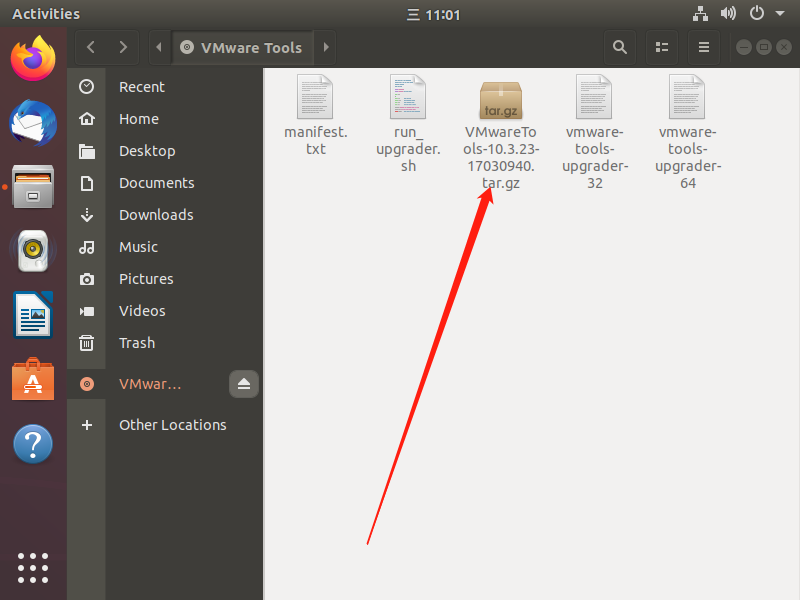
- Right click on the installation package and select open
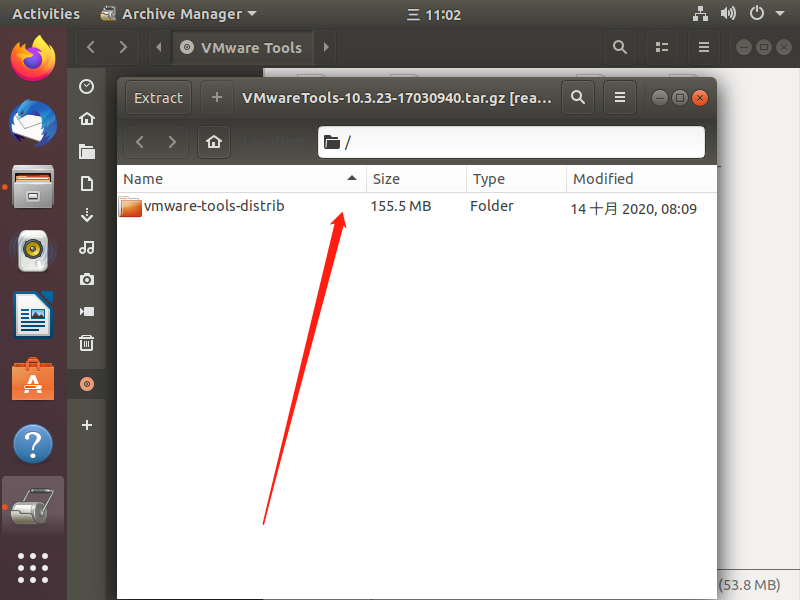
- Right-click on the folder and select Extract
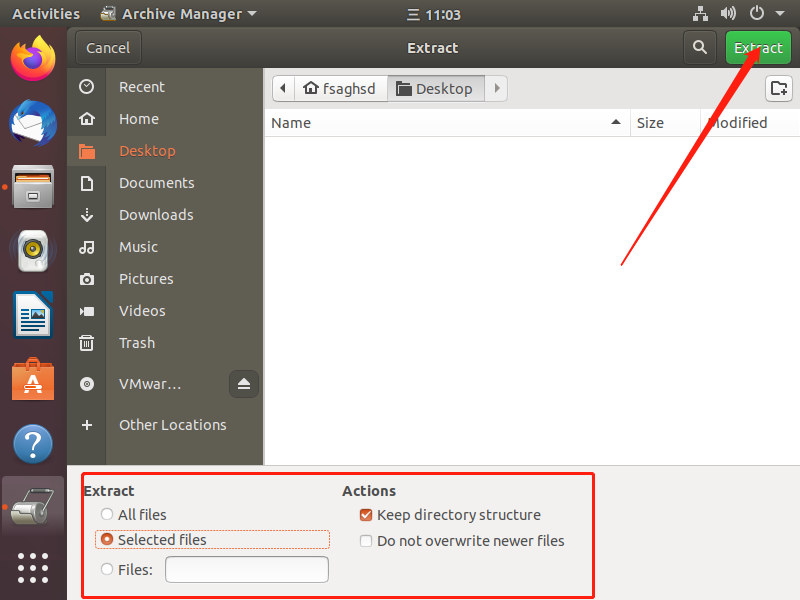
- Select Desktop. Click on Extract
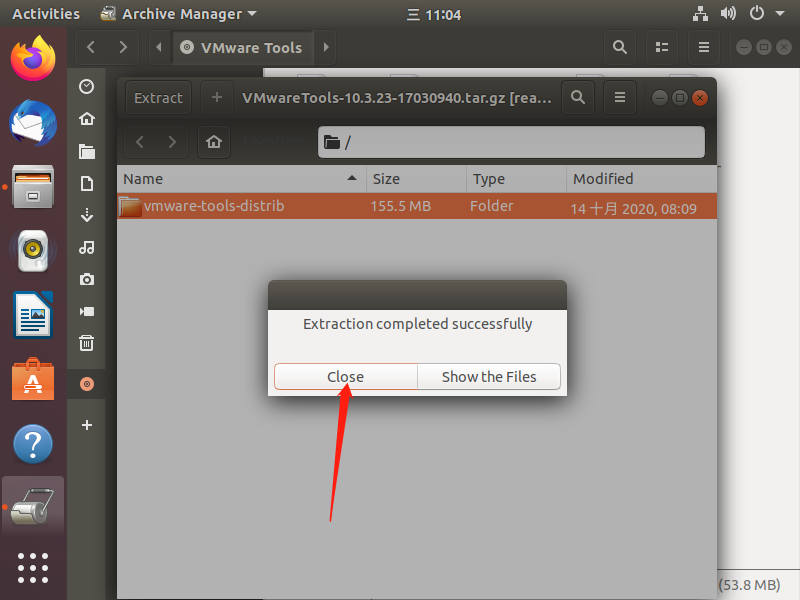
- After successful extraction, click close
- Right-click the file and click open
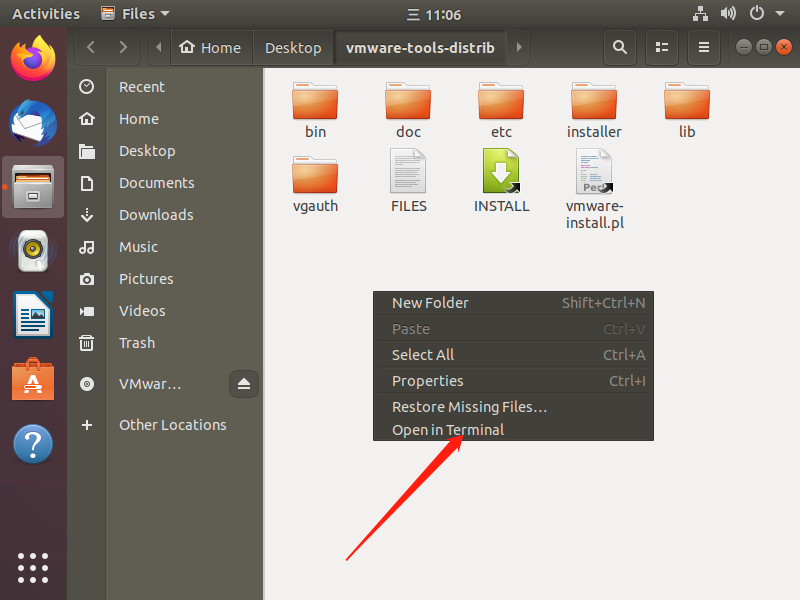
- After entering the folder, right-click the blank space and click Open in Terminal
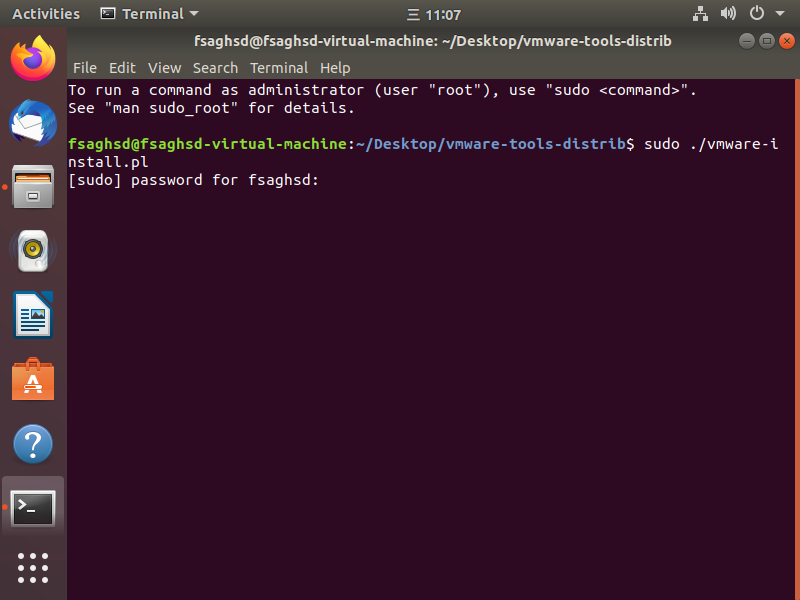
- After opening the terminal, enter the command
sudo ./vmware-install.pl
After entering the password, enter the installation. During the installation, press Enter all the time, which means to execute according to the default selection.
- show
Enjoy,
--the VMware team
It means that VMware Tools is installed successfully
You can also install Linux comes with VMware Tools
- Uninstall the previously installed VMware Tools
sudo vmware-uninstall-tools.pl
- Install the VMware Tools that comes with Linux
sudo apt-get install open-vm-tools-desktop
- Restart
reboot
End of installation.