¶ Ubuntu Desktop Installation Tutorial
¶ Download Ubuntu image
- Ubuntu 24.04.3 LTS:
Ubuntu Official Download Link (including older versions of Ubuntu)
https://ubuntu.com/download/desktop
Youyeetoo Official Drive Download Link (includes Ubuntu 22.04.2)
http://dd.youyeetoo.cn:5000/sharing/ZReIr5PAj
Google Drive Download Link (includes Ubuntu 22.04.2)
**
¶ Creating a bootable disk
Preliminary preparation: A working USB flash drive with at least 8GB of storage.
Insert the USB flash drive into the computer's USB port; it is recommended to use a USB 3 port (marked in blue).。
- Download burning tool
- Rufus
Official Website Download Link
https://rufus.ie/en/
Youyeetoo Official Drive Download Link
http://dd.youyeetoo.cn:5000/sharing/vjVy6eQ6V
Google Drive Download Link
**
Please download from the official website as shown in the image below.
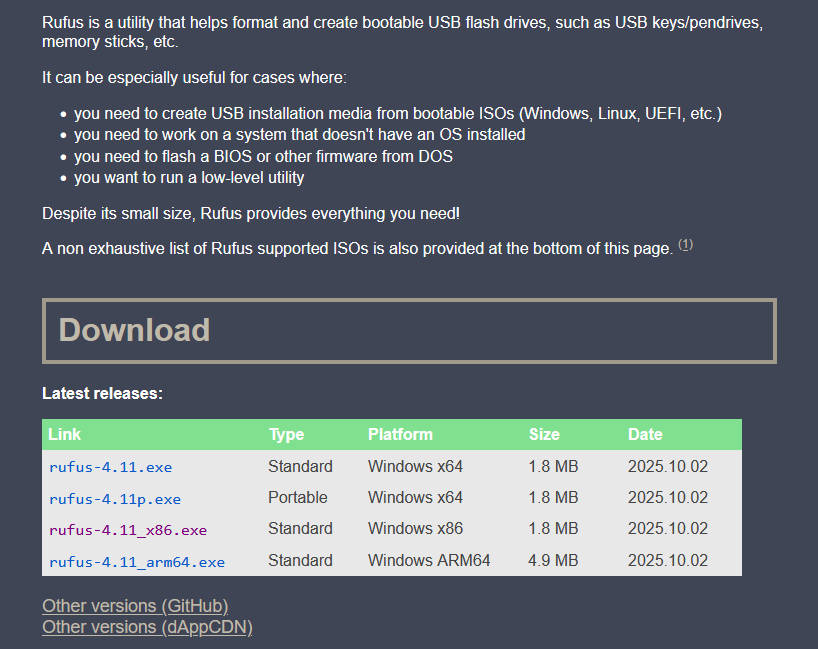
Select the platform corresponding to your computer to download and install.
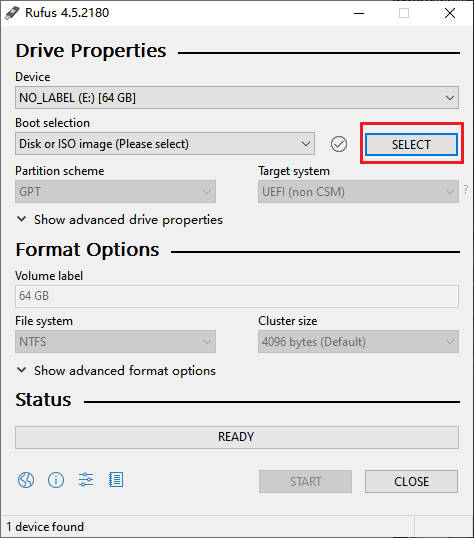
Double-click to run the rufus.exe software, and then select your chosen Ubuntu ISO image file.
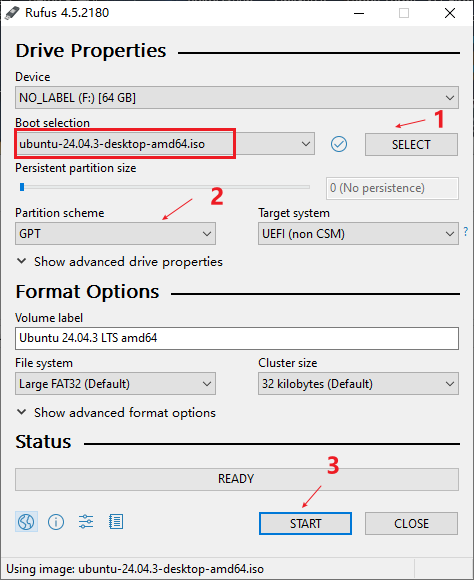
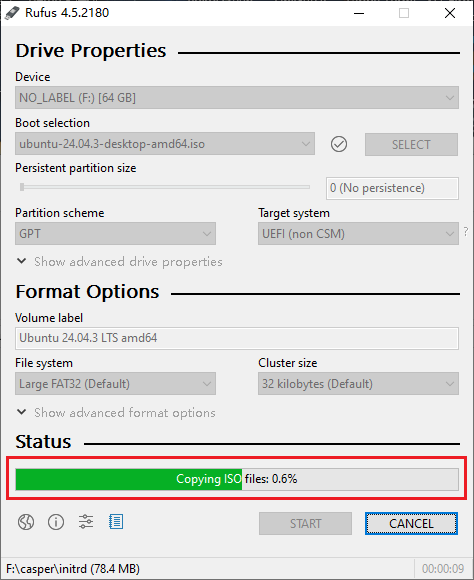
Select the path to the Ubuntu image you downloaded, adjust the partition format to GPT, and finally select Start.
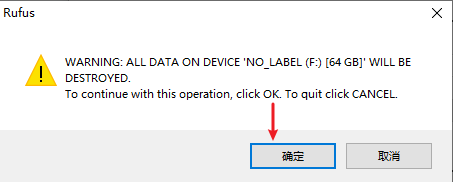
A pop-up option informs you that the USB drive will be formatted. Please back up any important data on the USB drive beforehand!!!
Click OK
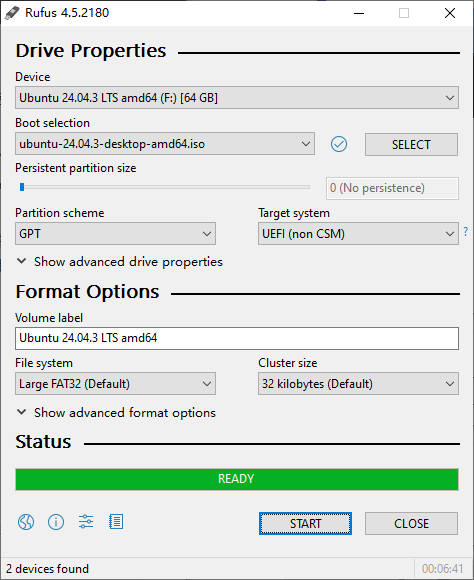
Wait patiently for the progress bar at the bottom of the software to finish loading. Once it displays "Ready," you can close the software.
¶ Safely eject the boot disk
Right-click the USB drive in My Computer and select Eject.
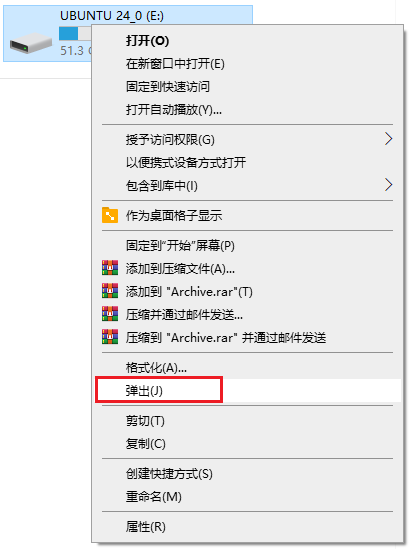
A pop-up window appears in the lower right corner, informing you that you can manually unplug the USB drive from the computer's USB port.
¶ Installing Ubuntu system via graphical interface
Insert the prepared Ubuntu boot disk into the USB port of the K1 development board (it is recommended to insert it into the USB 3 port (blue mark)) and power on to start.
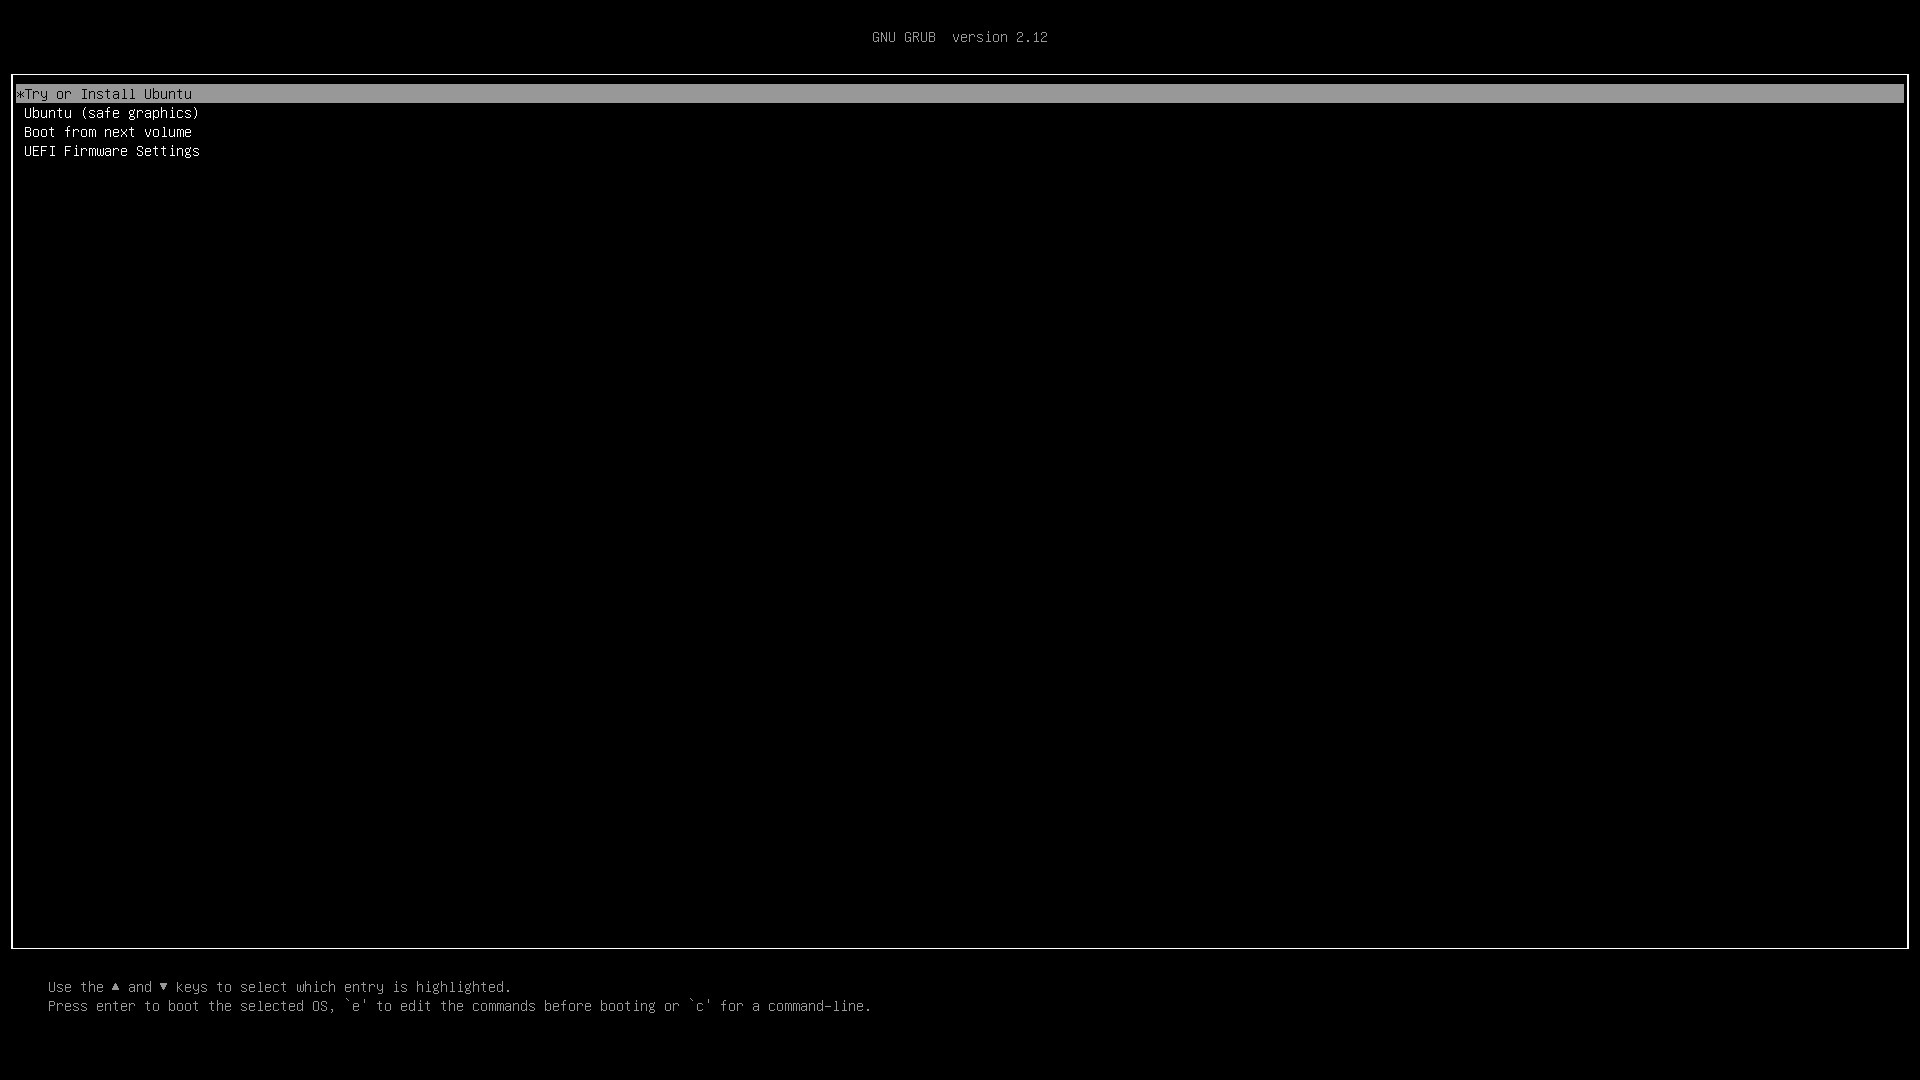
Wait for the system installation interface to appear. Press Enter to select "Try or Install Ubuntu" to begin installing the Ubuntu system.
Once you are in the Ubuntu Live system, the installation wizard will start automatically.
Notice! If you purchased a MIPI/EDP screen and flashed the corresponding supported BIOS firmware. The installation wizard will be displayed on the EDP/MIPI screen, at which point the HDMI will be used as a secondary screen to extend the display.
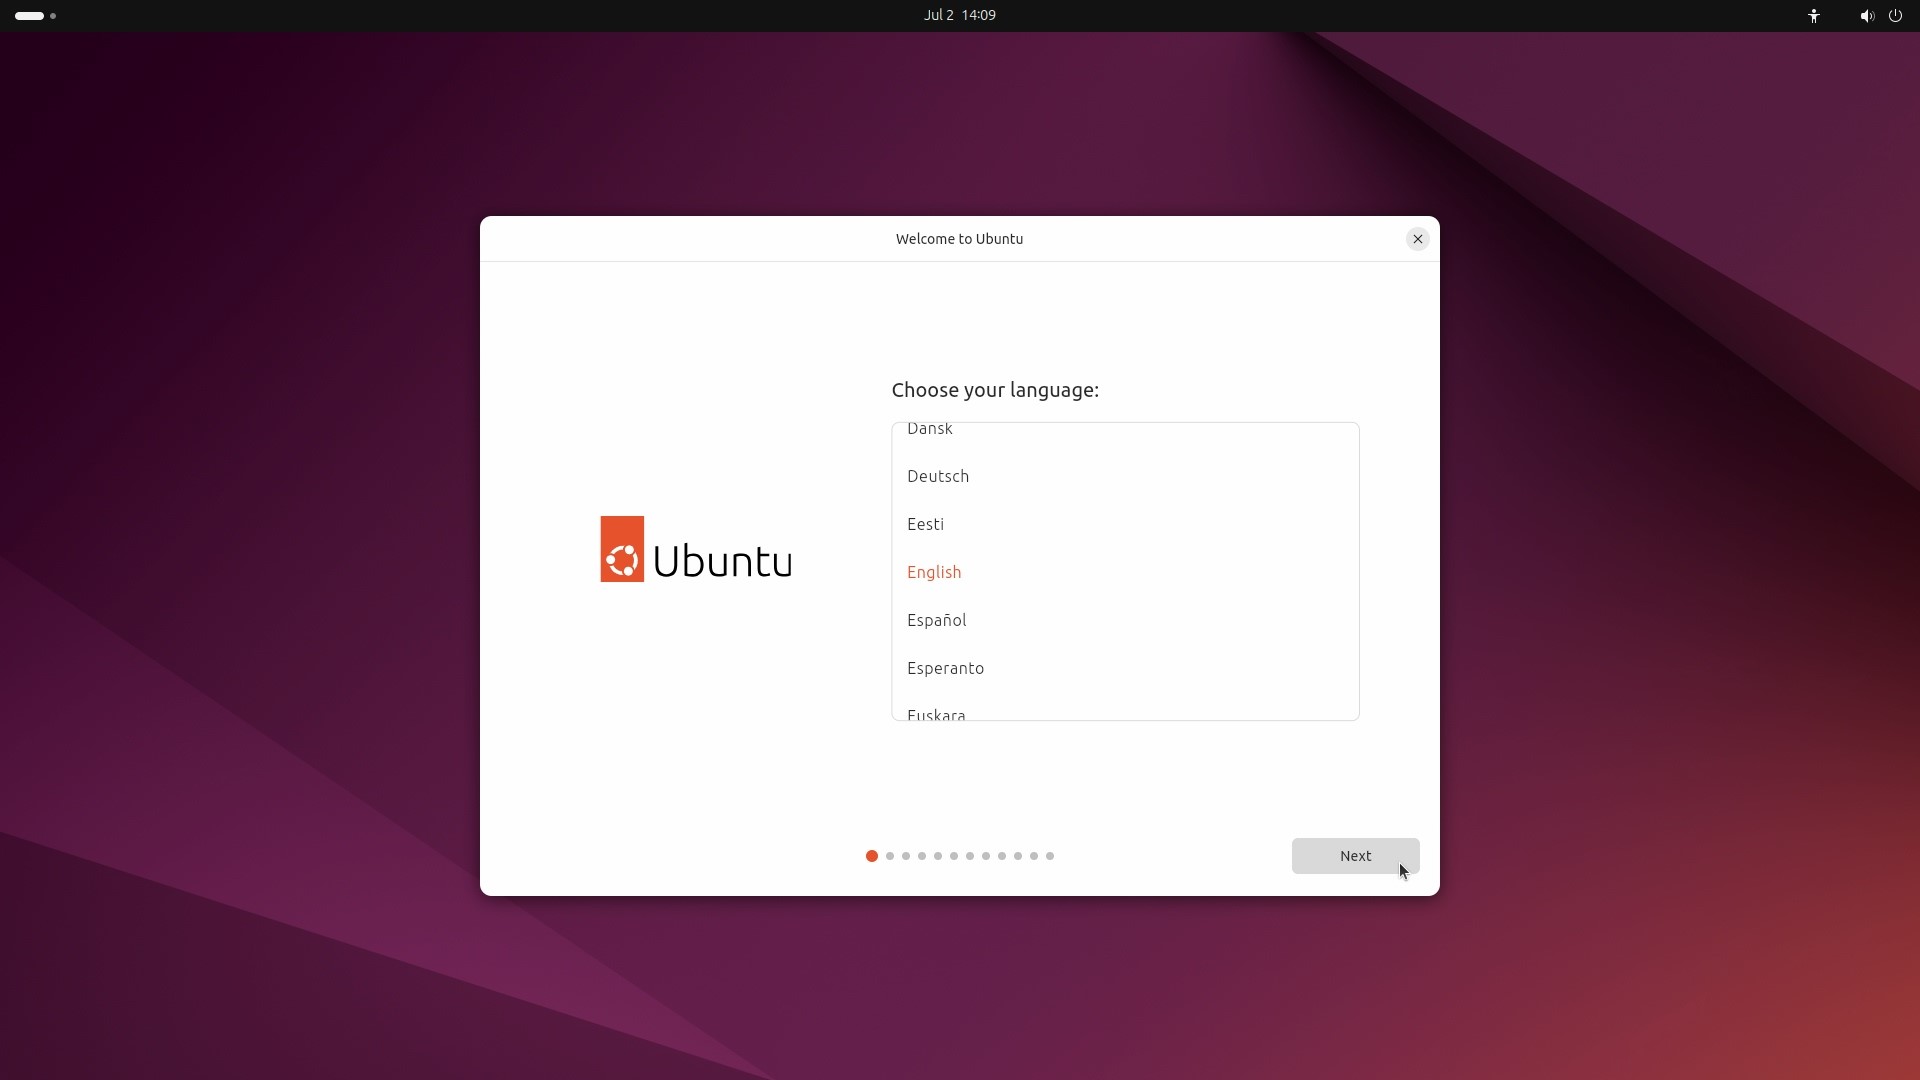
Select your preferred language and click "Next" to continue.
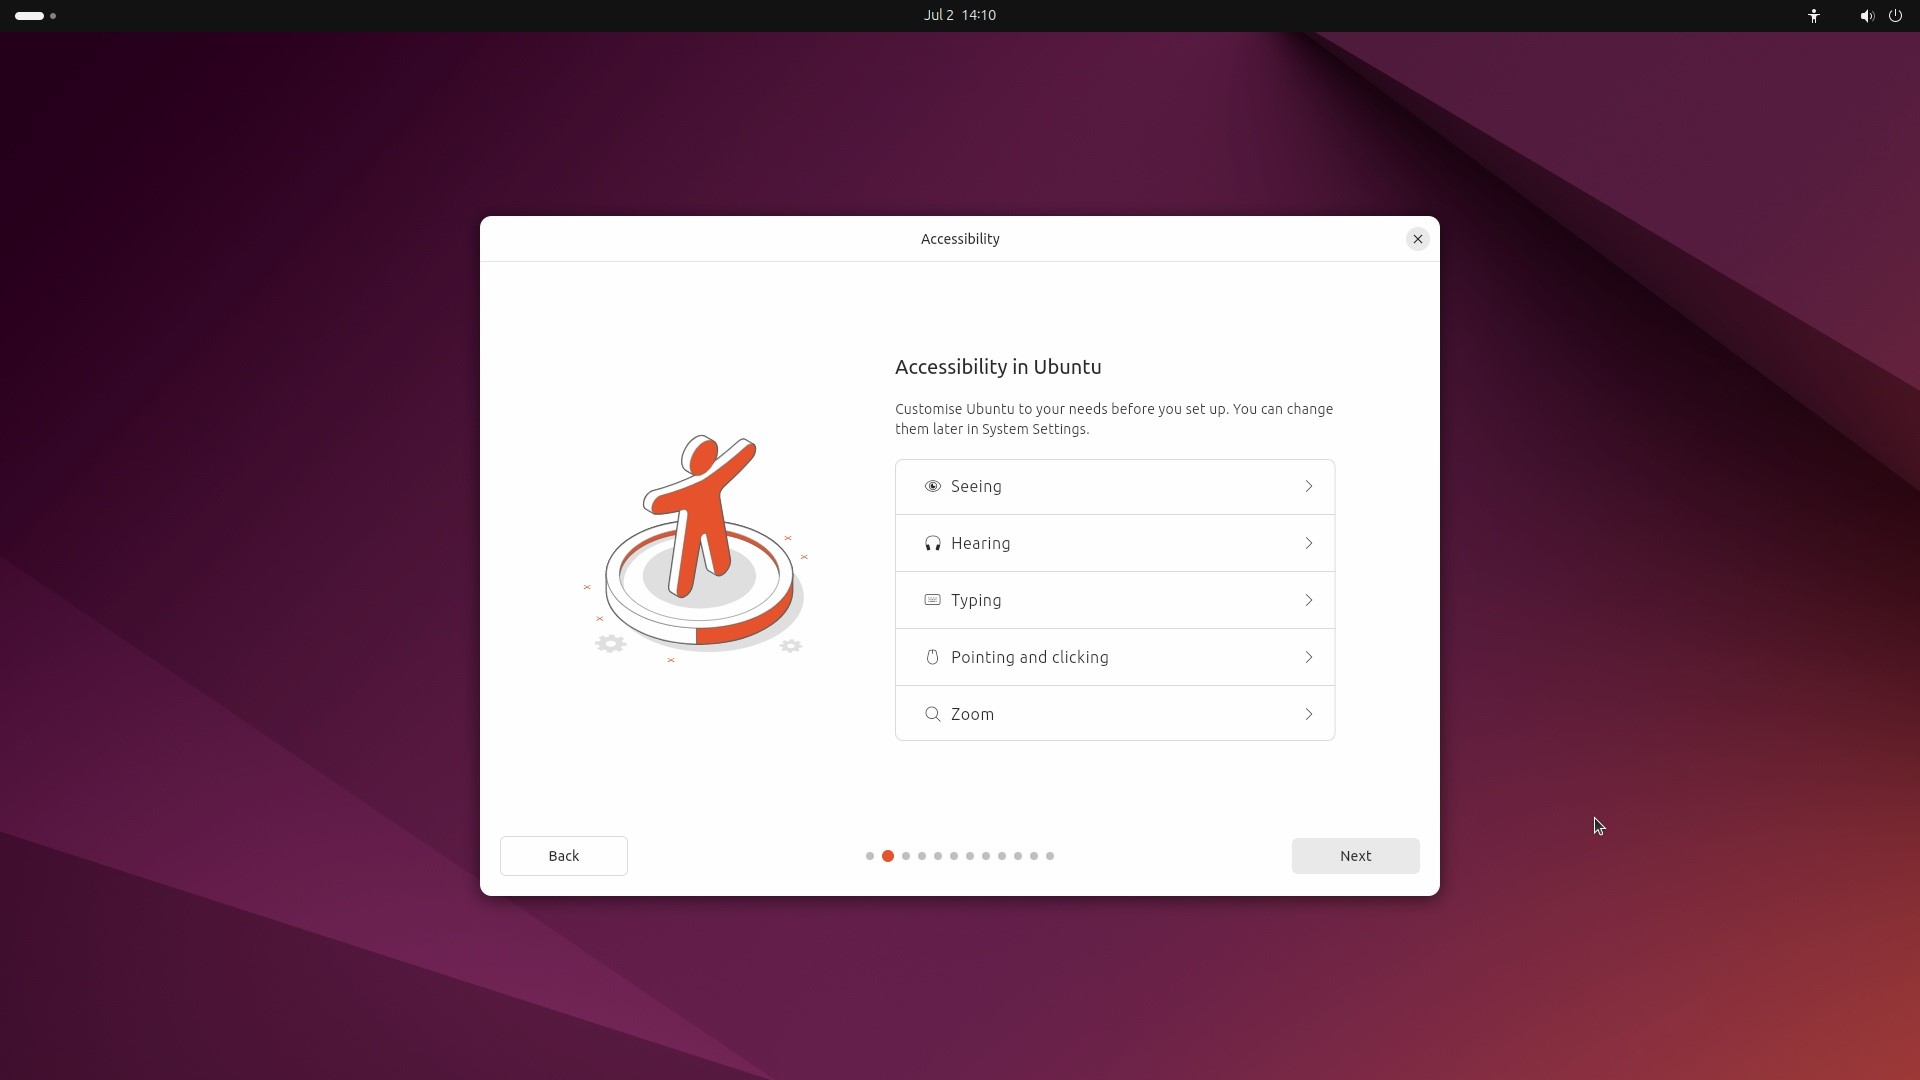
In the "Accessibility" option, you can click "Next" to use the default settings, or manually configure accessibility features such as screen reader, large text, and desktop scaling. After installation, you can adjust the settings.
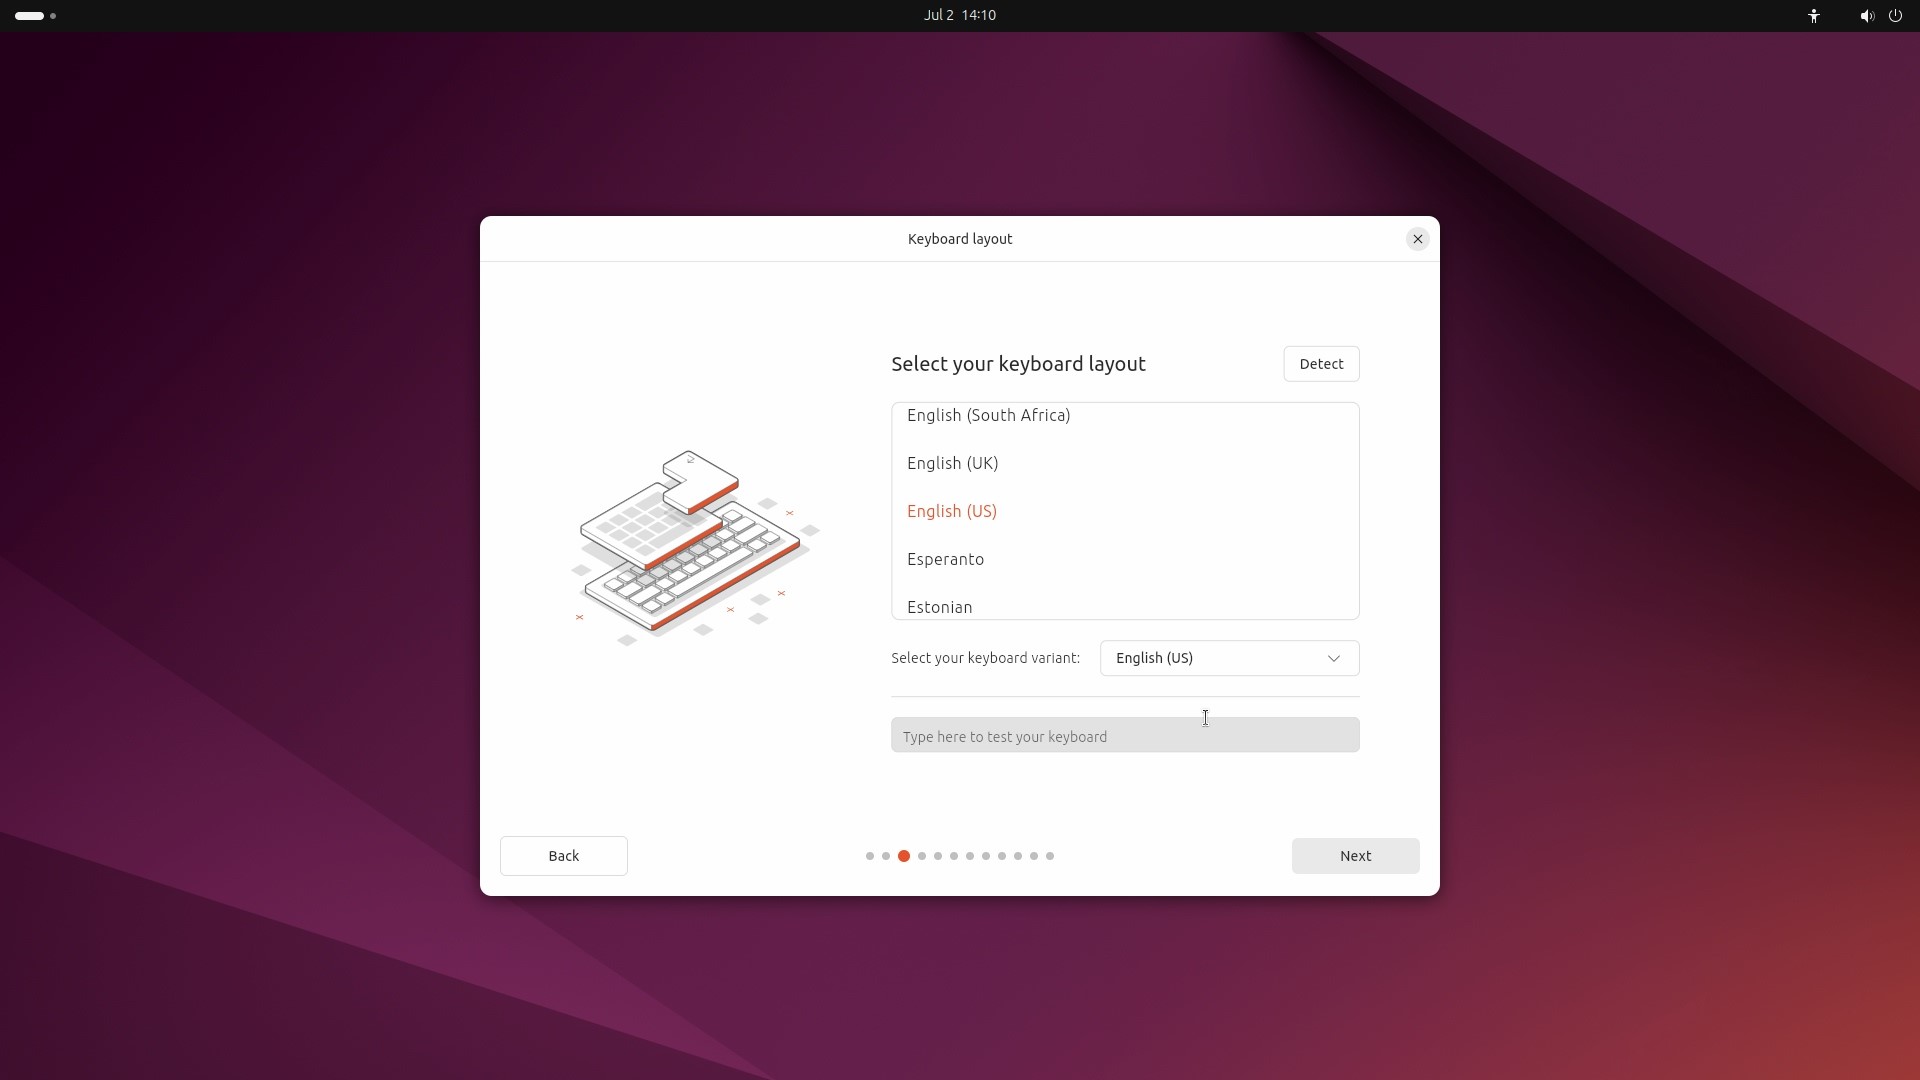
Choose a suitable "keyboard layout". In most cases, the installation wizard will automatically detect the correct keyboard layout.
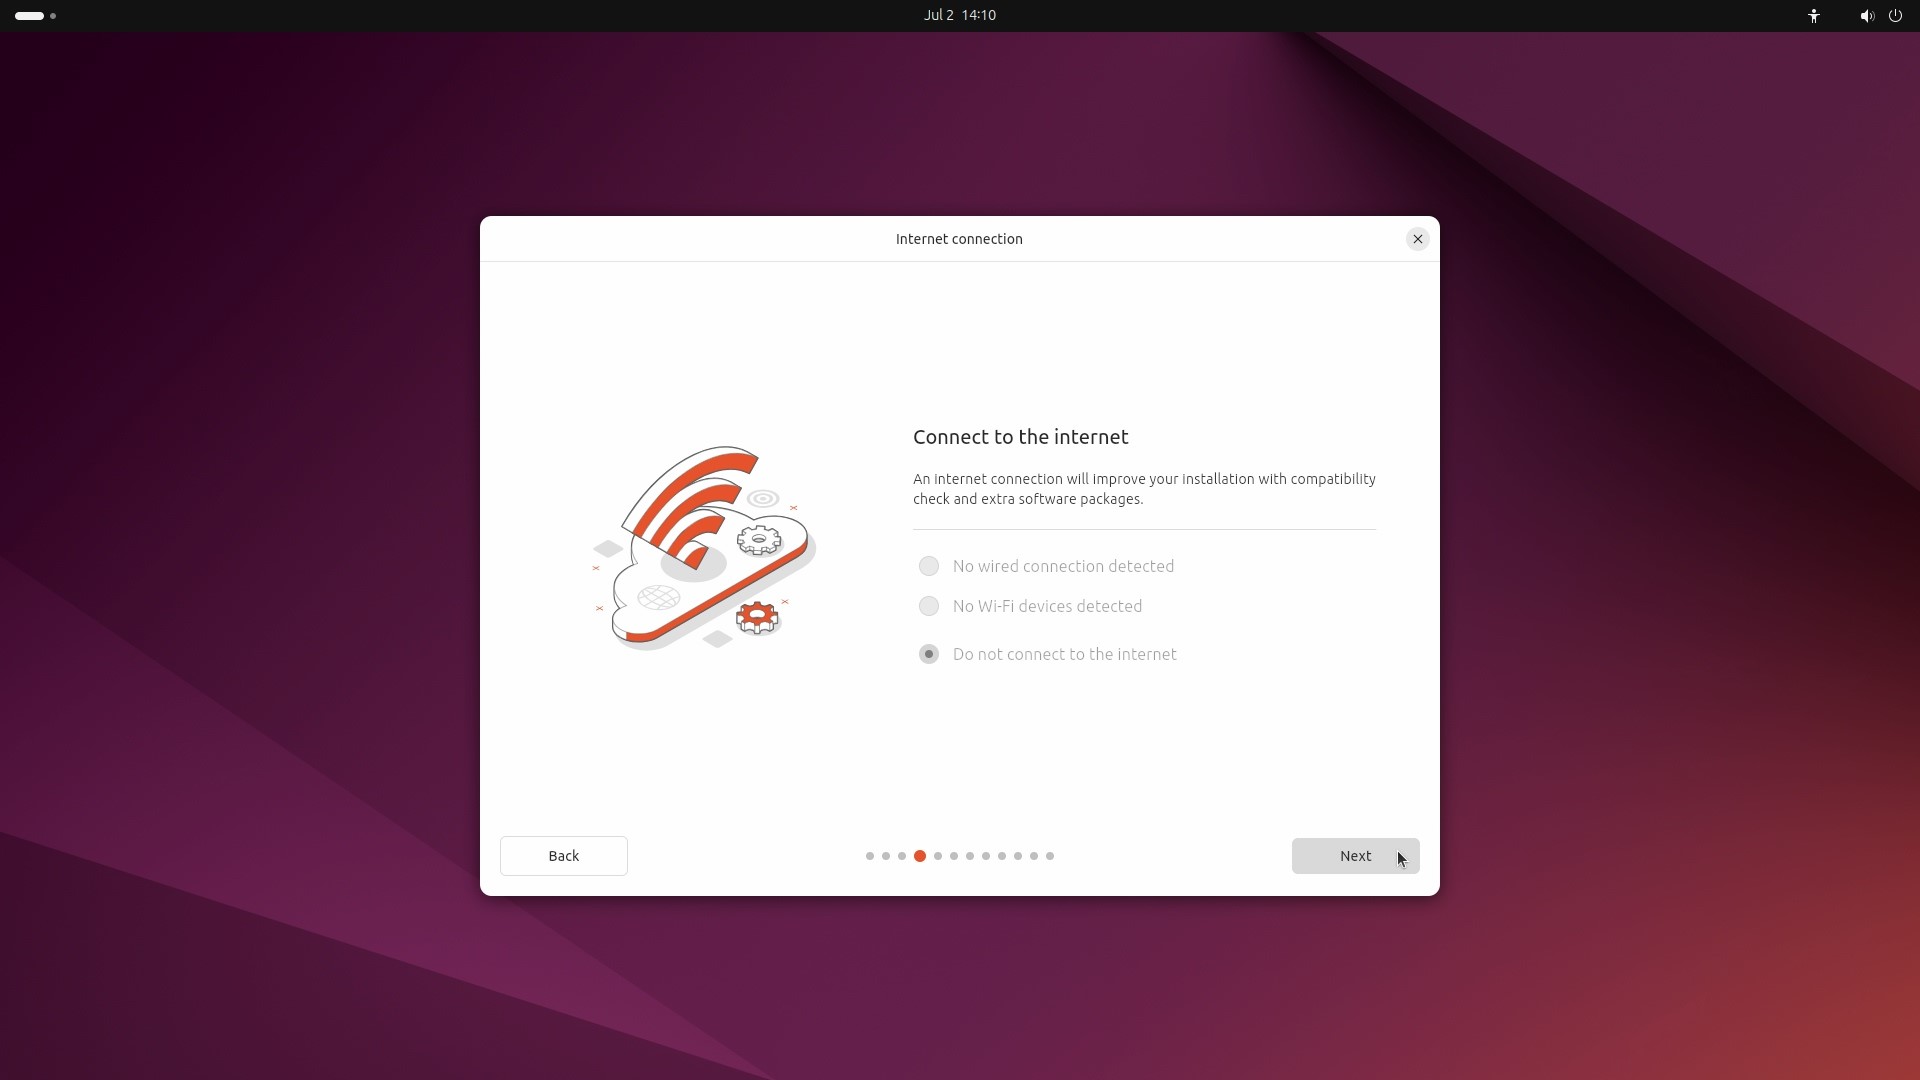
When choosing a network connection method, you can select "Use wired connection", "Connect to Wi-Fi network", or "I don't want to connect to the network right now".
Select "Install Ubuntu" and click "Next".

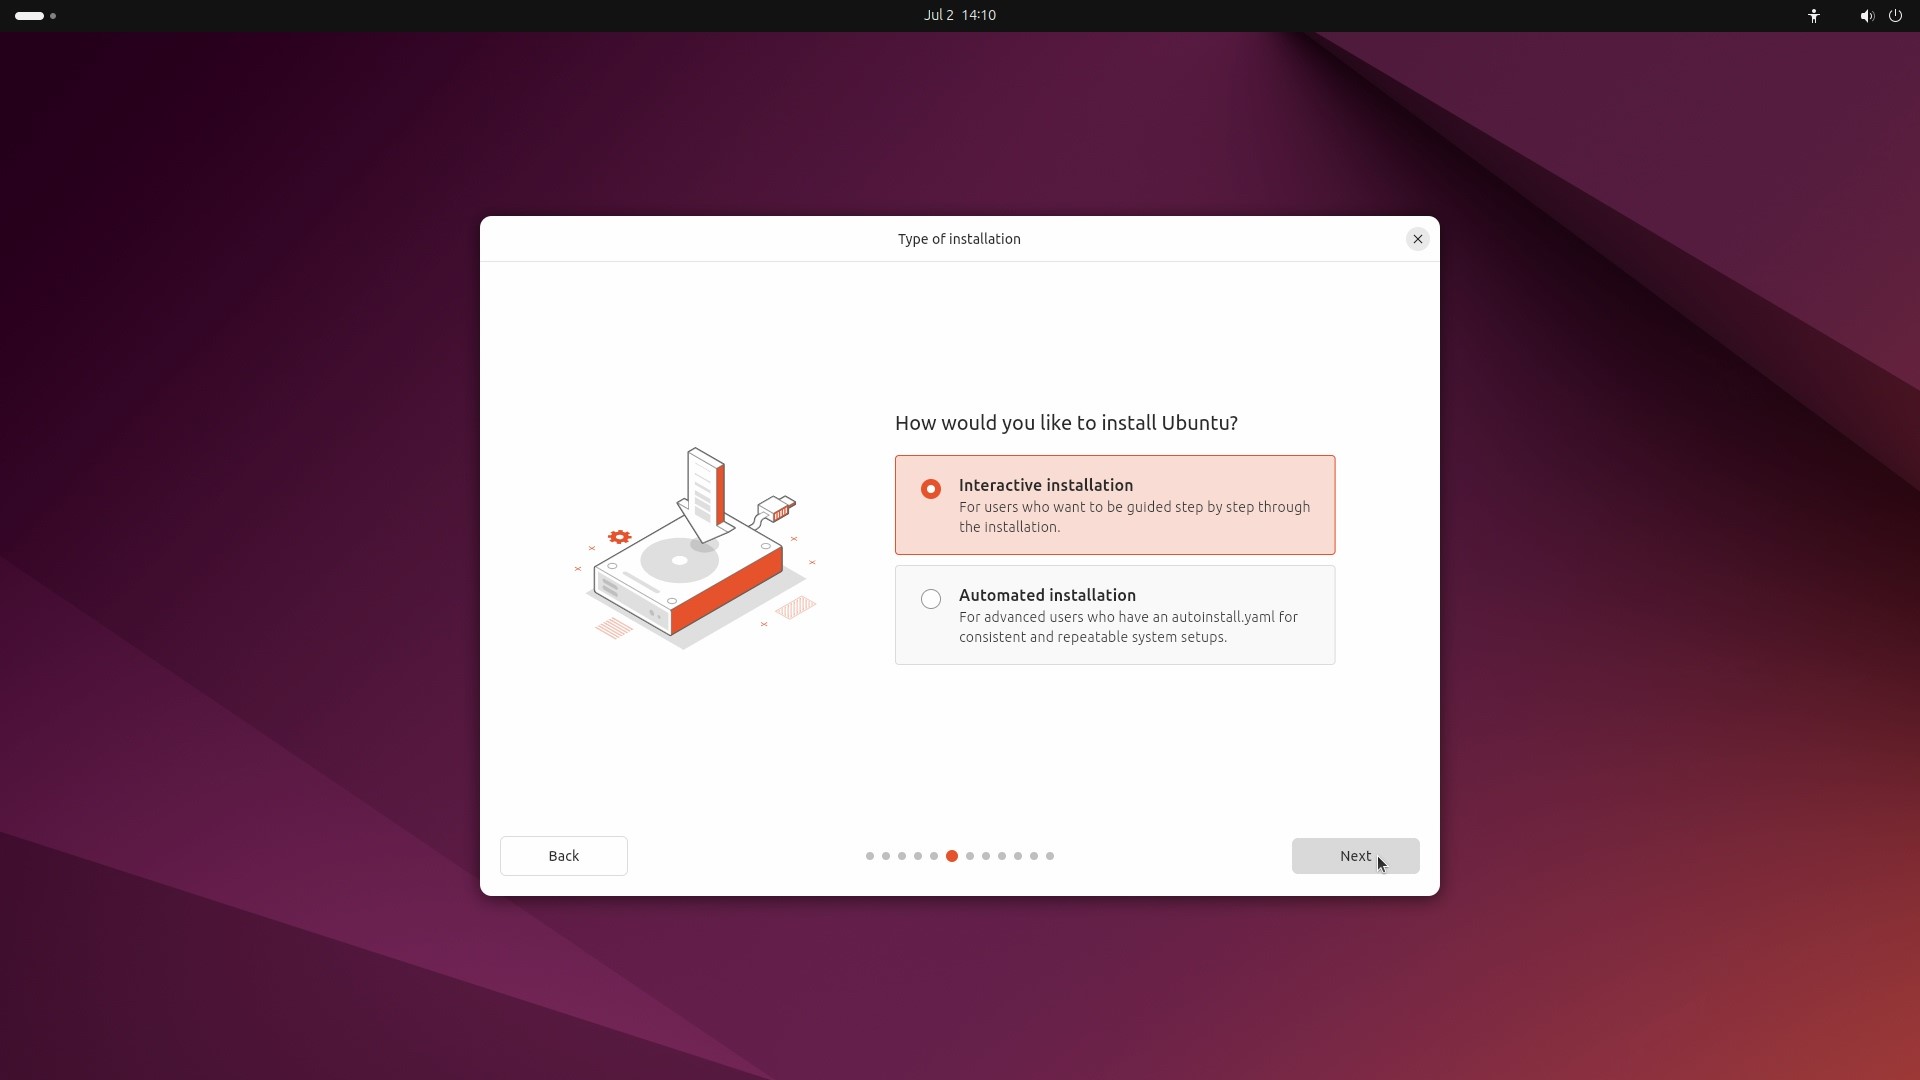
Select "Interactive Installation" as the installation type and click "Next".
- Interactive installation: Guides users through the installation process step by step.
- Automatic installation: Installation is completed automatically via the autoinstall.yaml answer file.
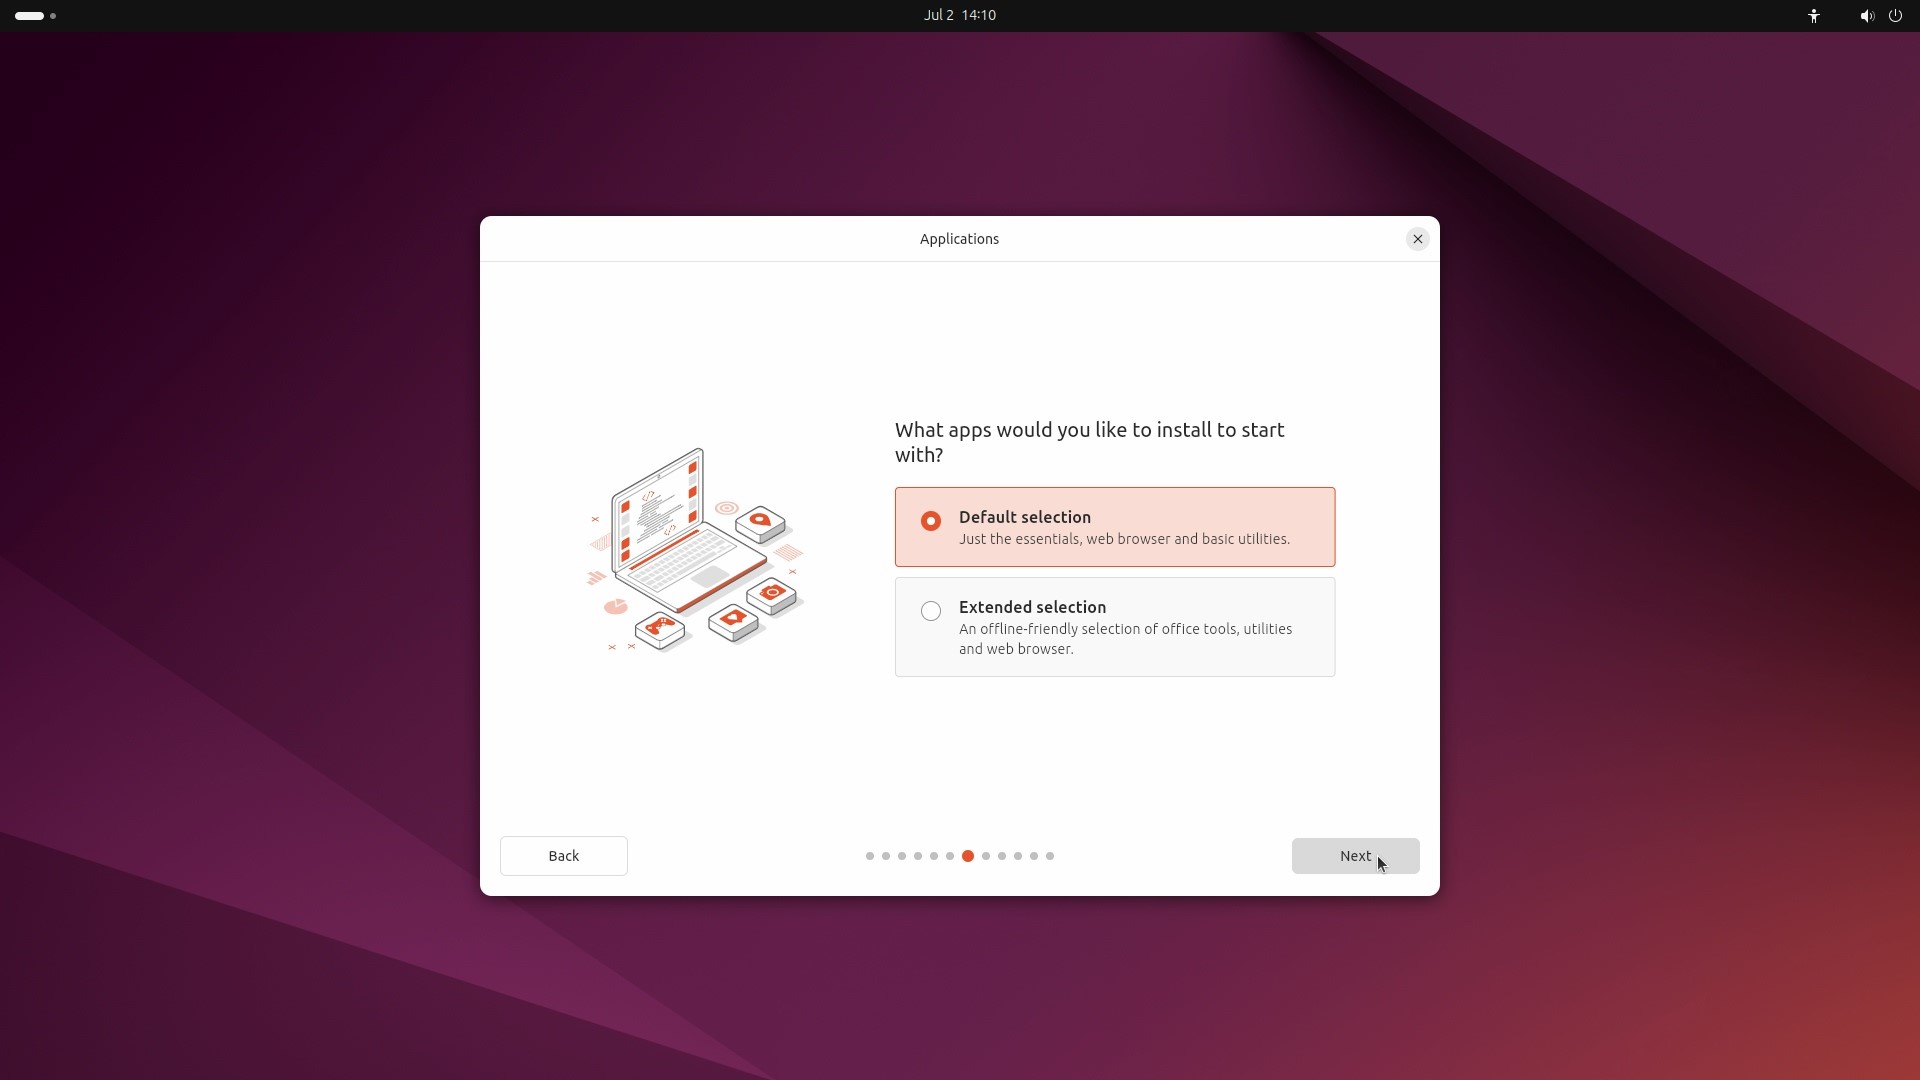
Choose the range of applications to install. The "Default Collection" is suitable for a minimal installation, while the "Extended Collection" provides a full installation.
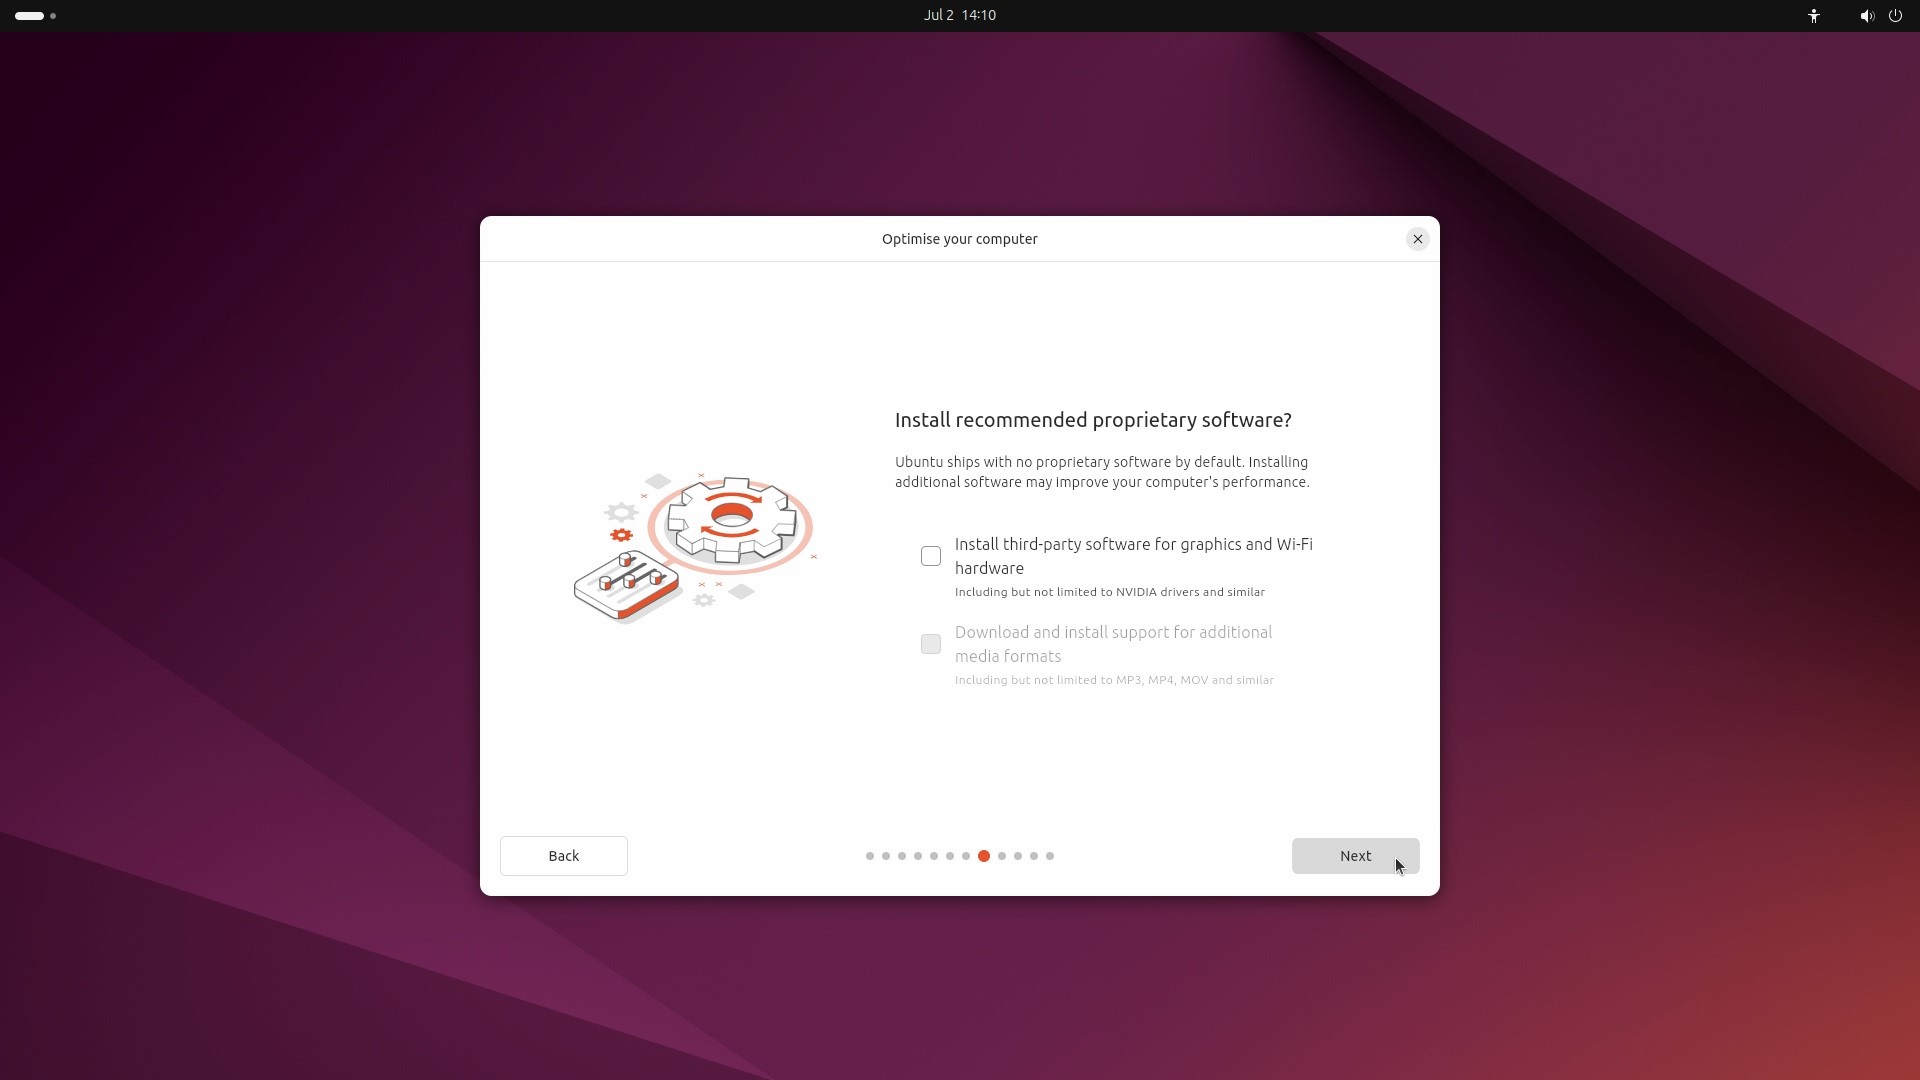
Choose whether to install recommended software as needed, including:
- Install third-party software for graphics and Wi-Fi hardware
- Download and install support for other media formats.
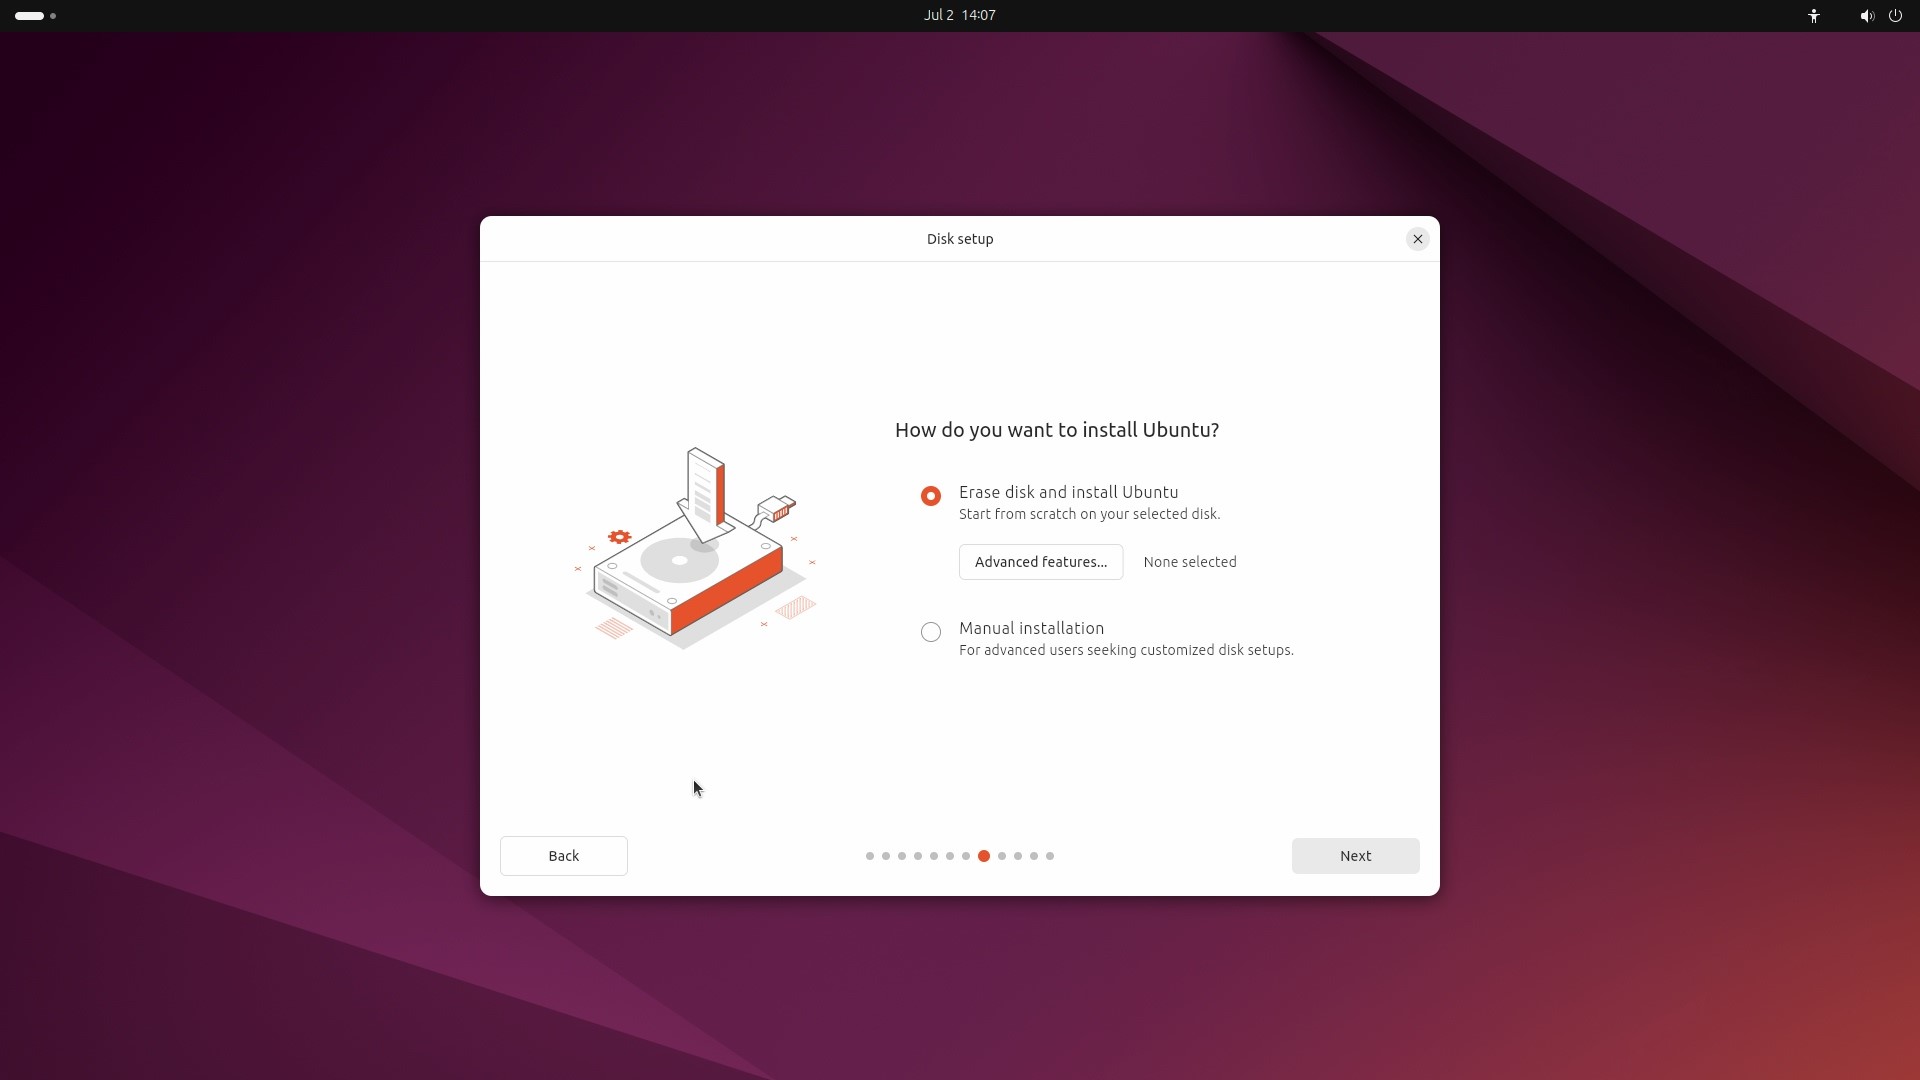
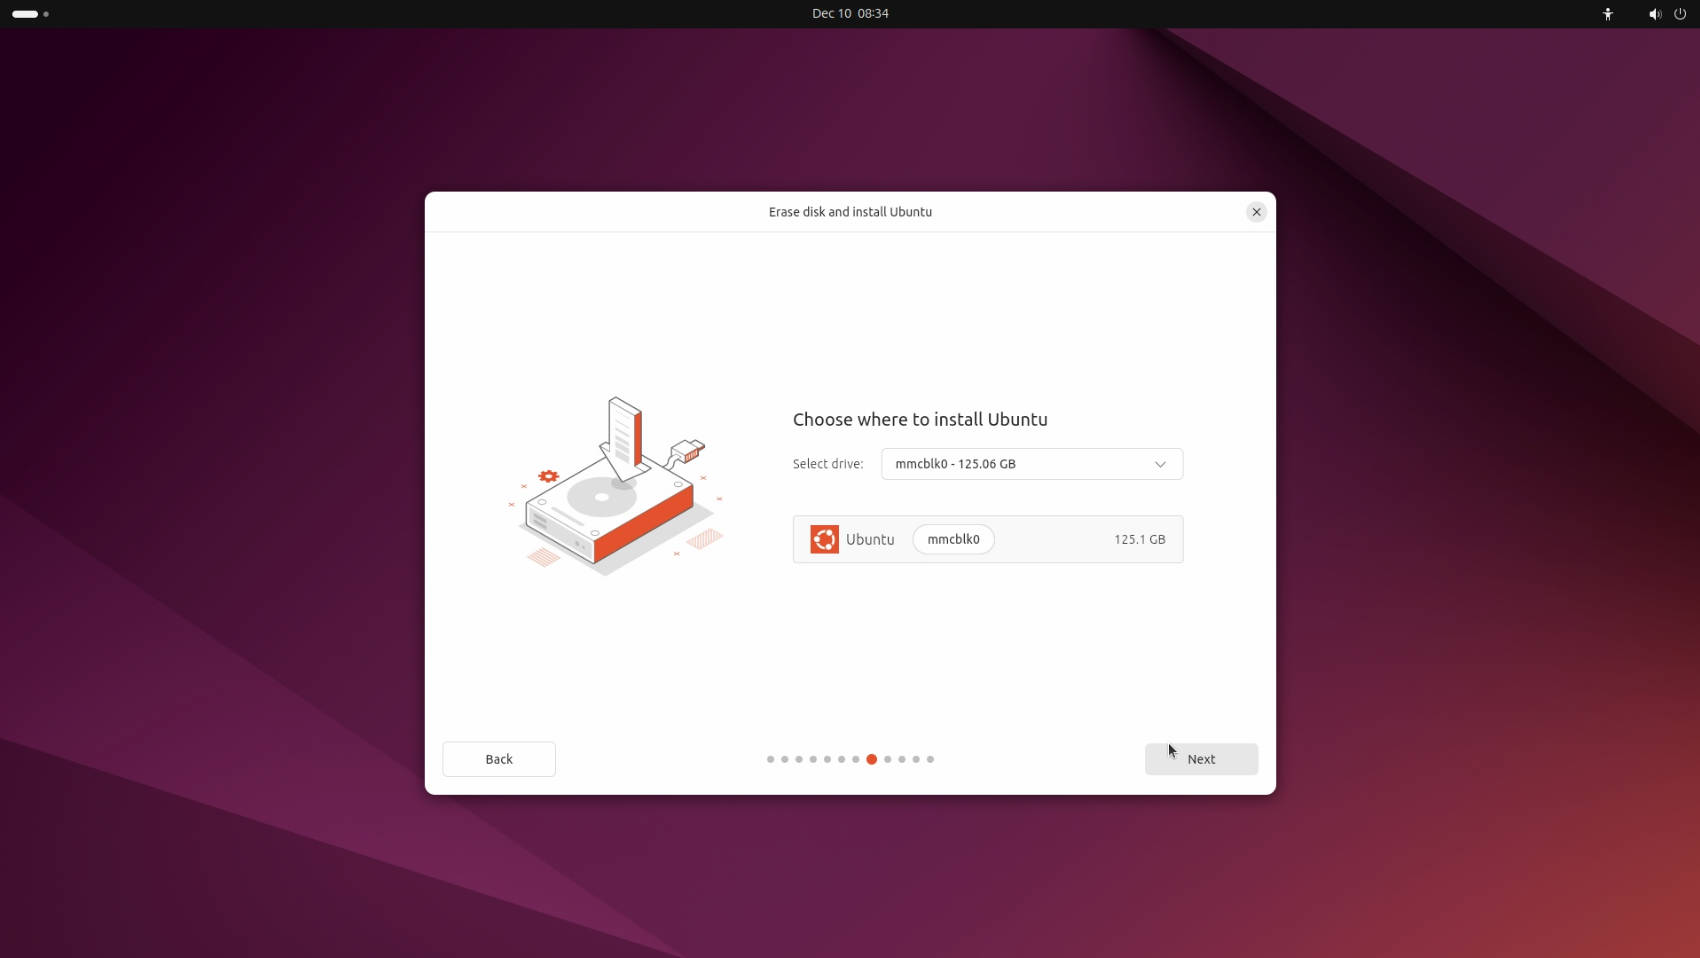
For a clean install, please select "Erase disk and install Ubuntu", and click "Next" to continue. You can configure LVM, encryption, and other settings through "Advanced Features". "Manual installation" allows you to choose to install to EMMC/SSD, adjust disk partition sizes, etc.
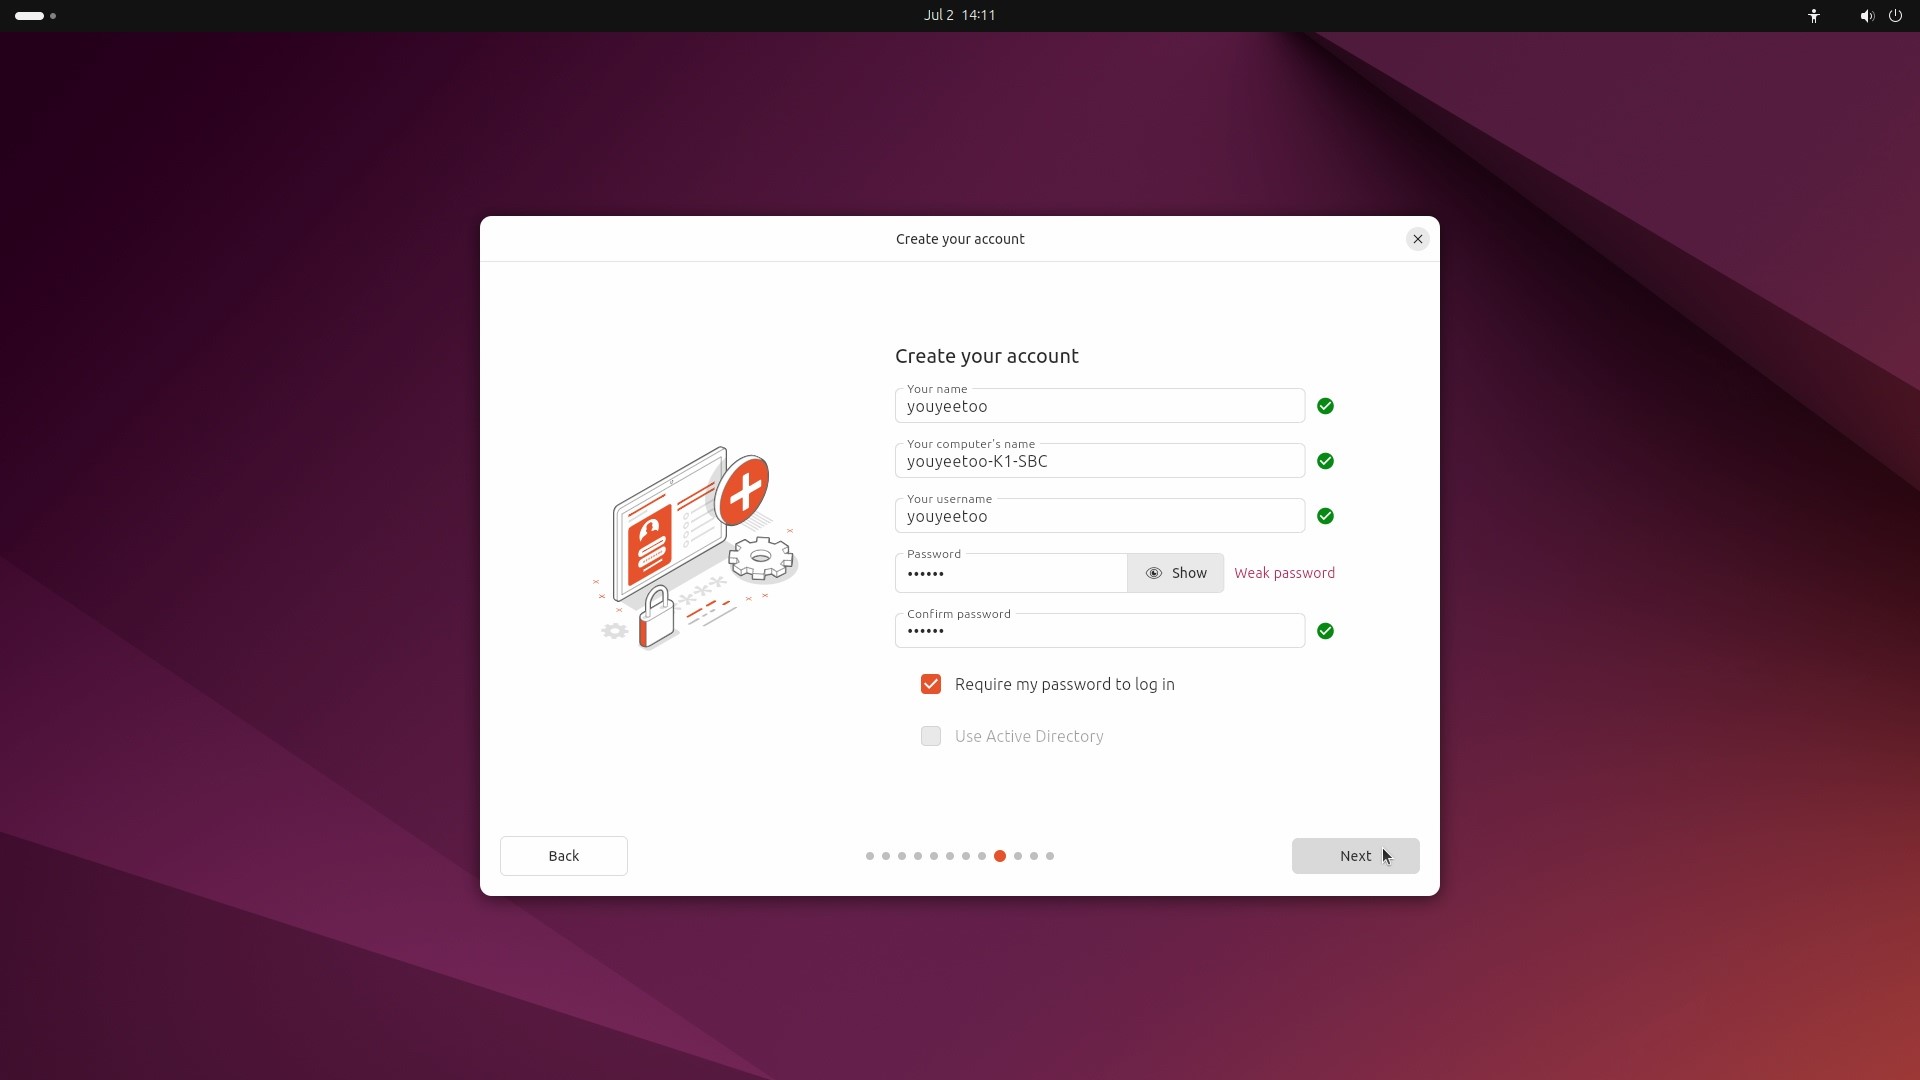
Fill in your account information as needed and then click "Next".
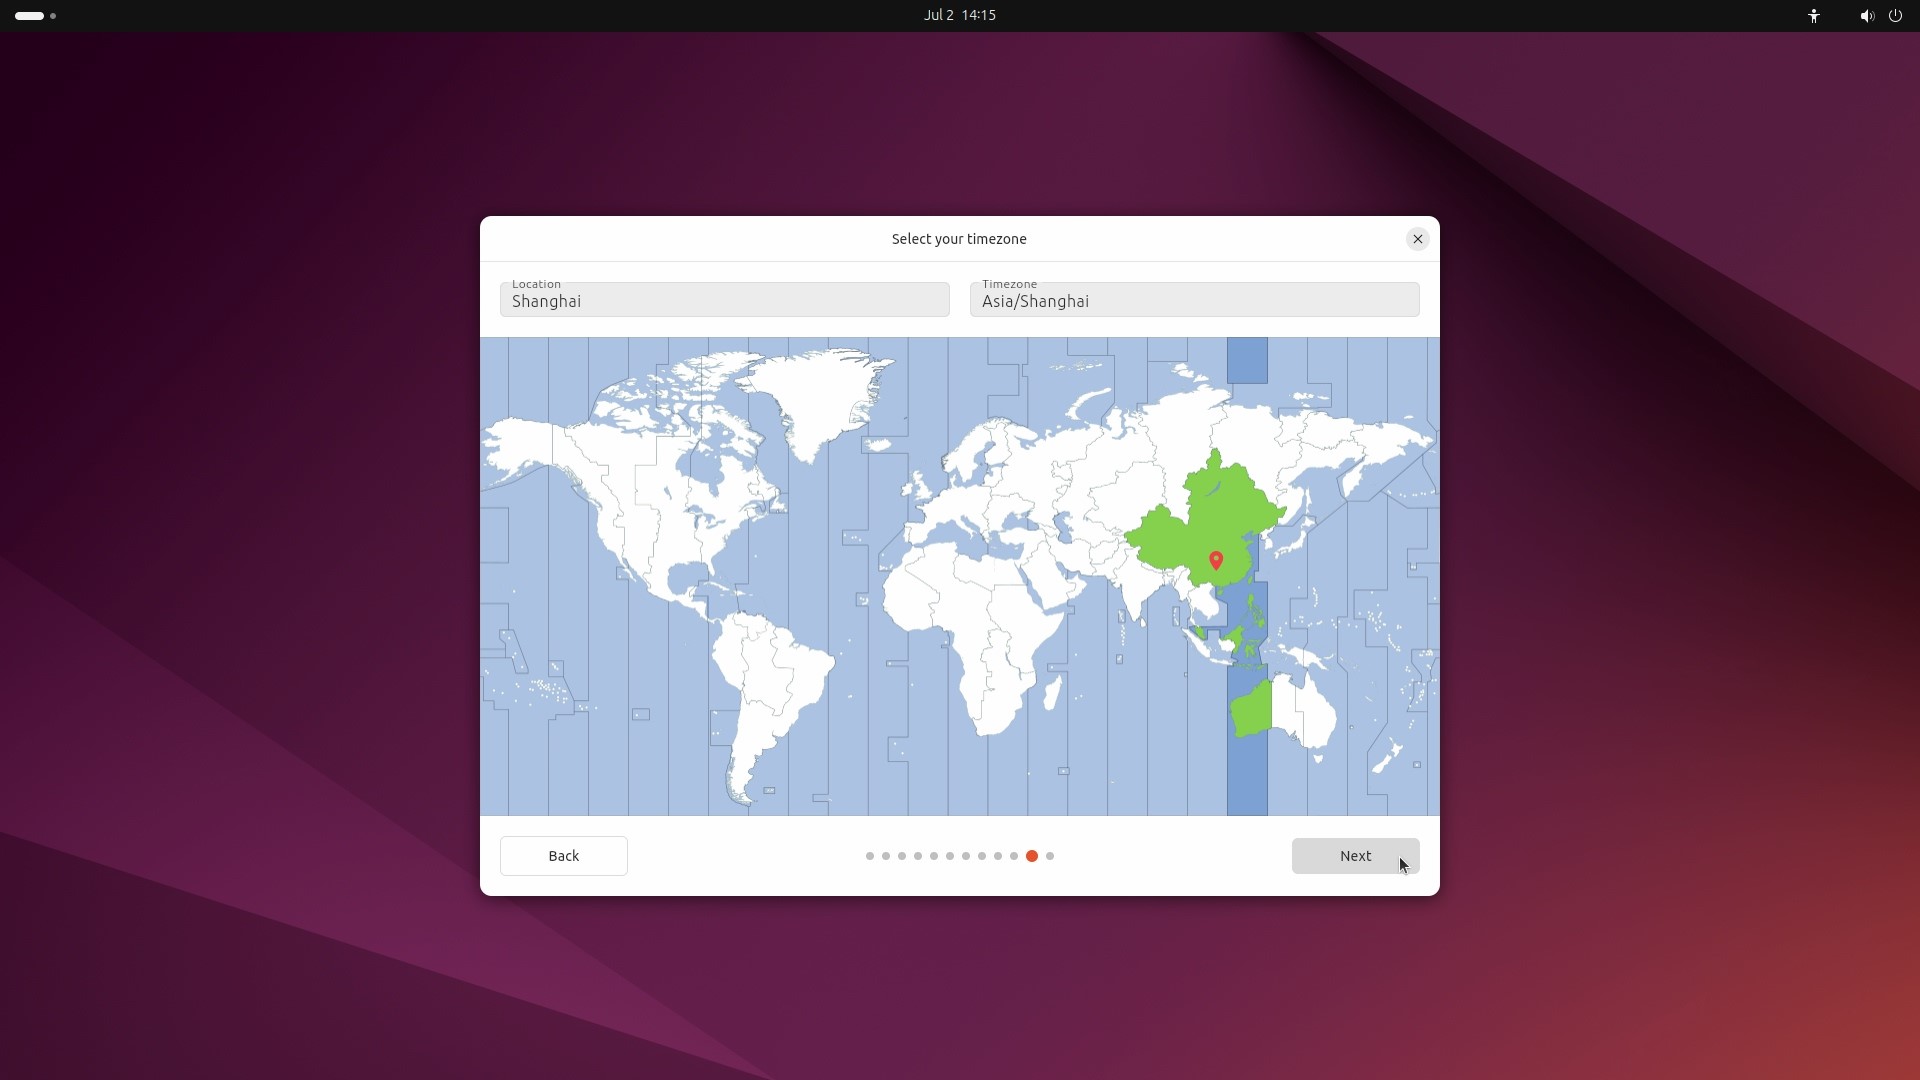
Select your time zone.
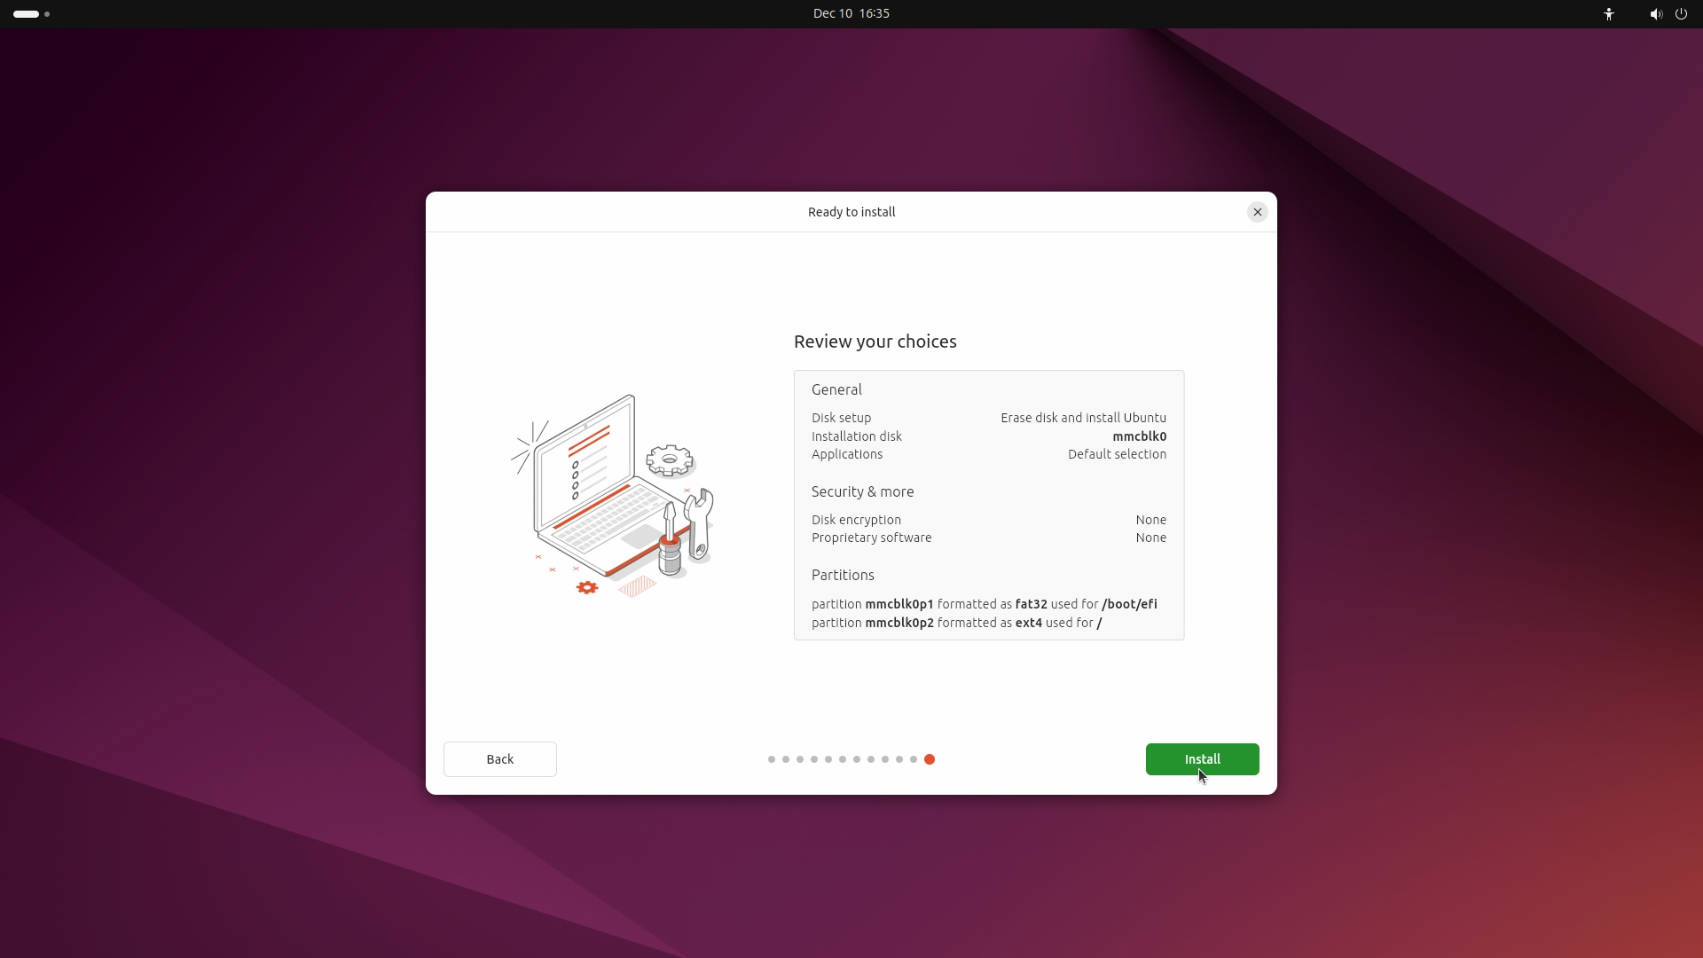
Check your settings, then click "Install".
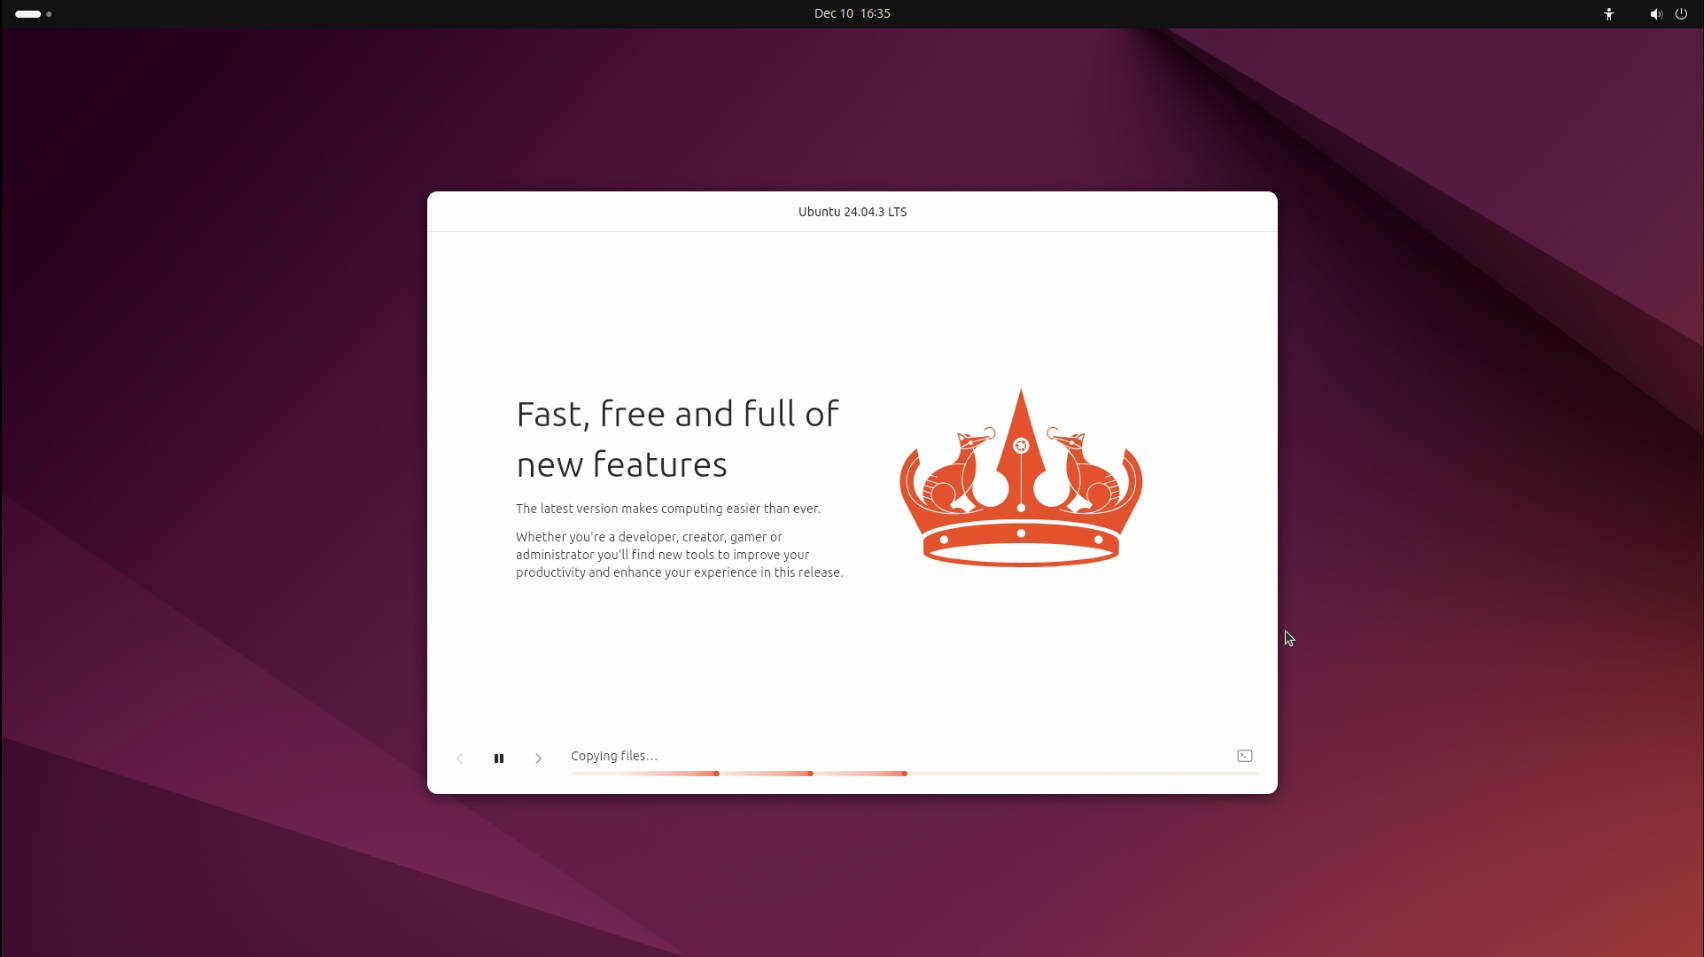
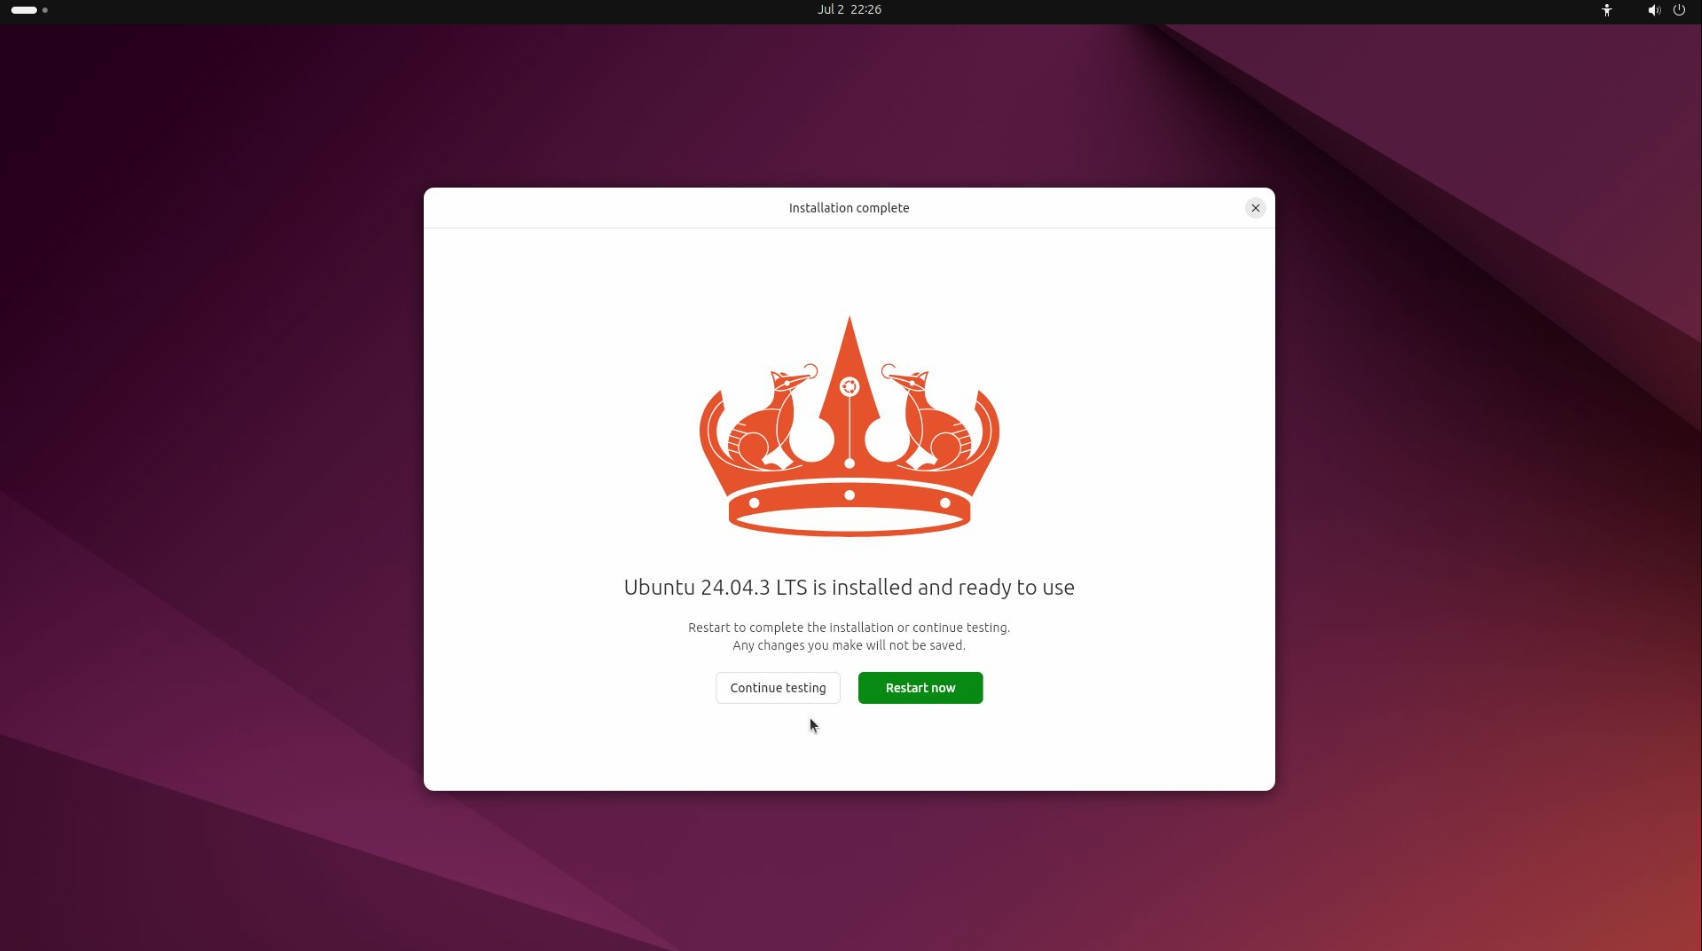
Wait for the installation to complete. After installation, click the button to restart the system, remove the USB drive, and it will automatically restart and enter the Ubuntu system.
Notice! If you purchased a MIPI/EDP screen and flashed the corresponding supported BIOS firmware, the user login screen will be displayed on the EDP/MIPI screen, in which case the HDMI port will serve as a secondary display for extended viewing. You can adjust the display priority in Settings -> Display.
Enter your password to log in to the Ubuntu desktop.
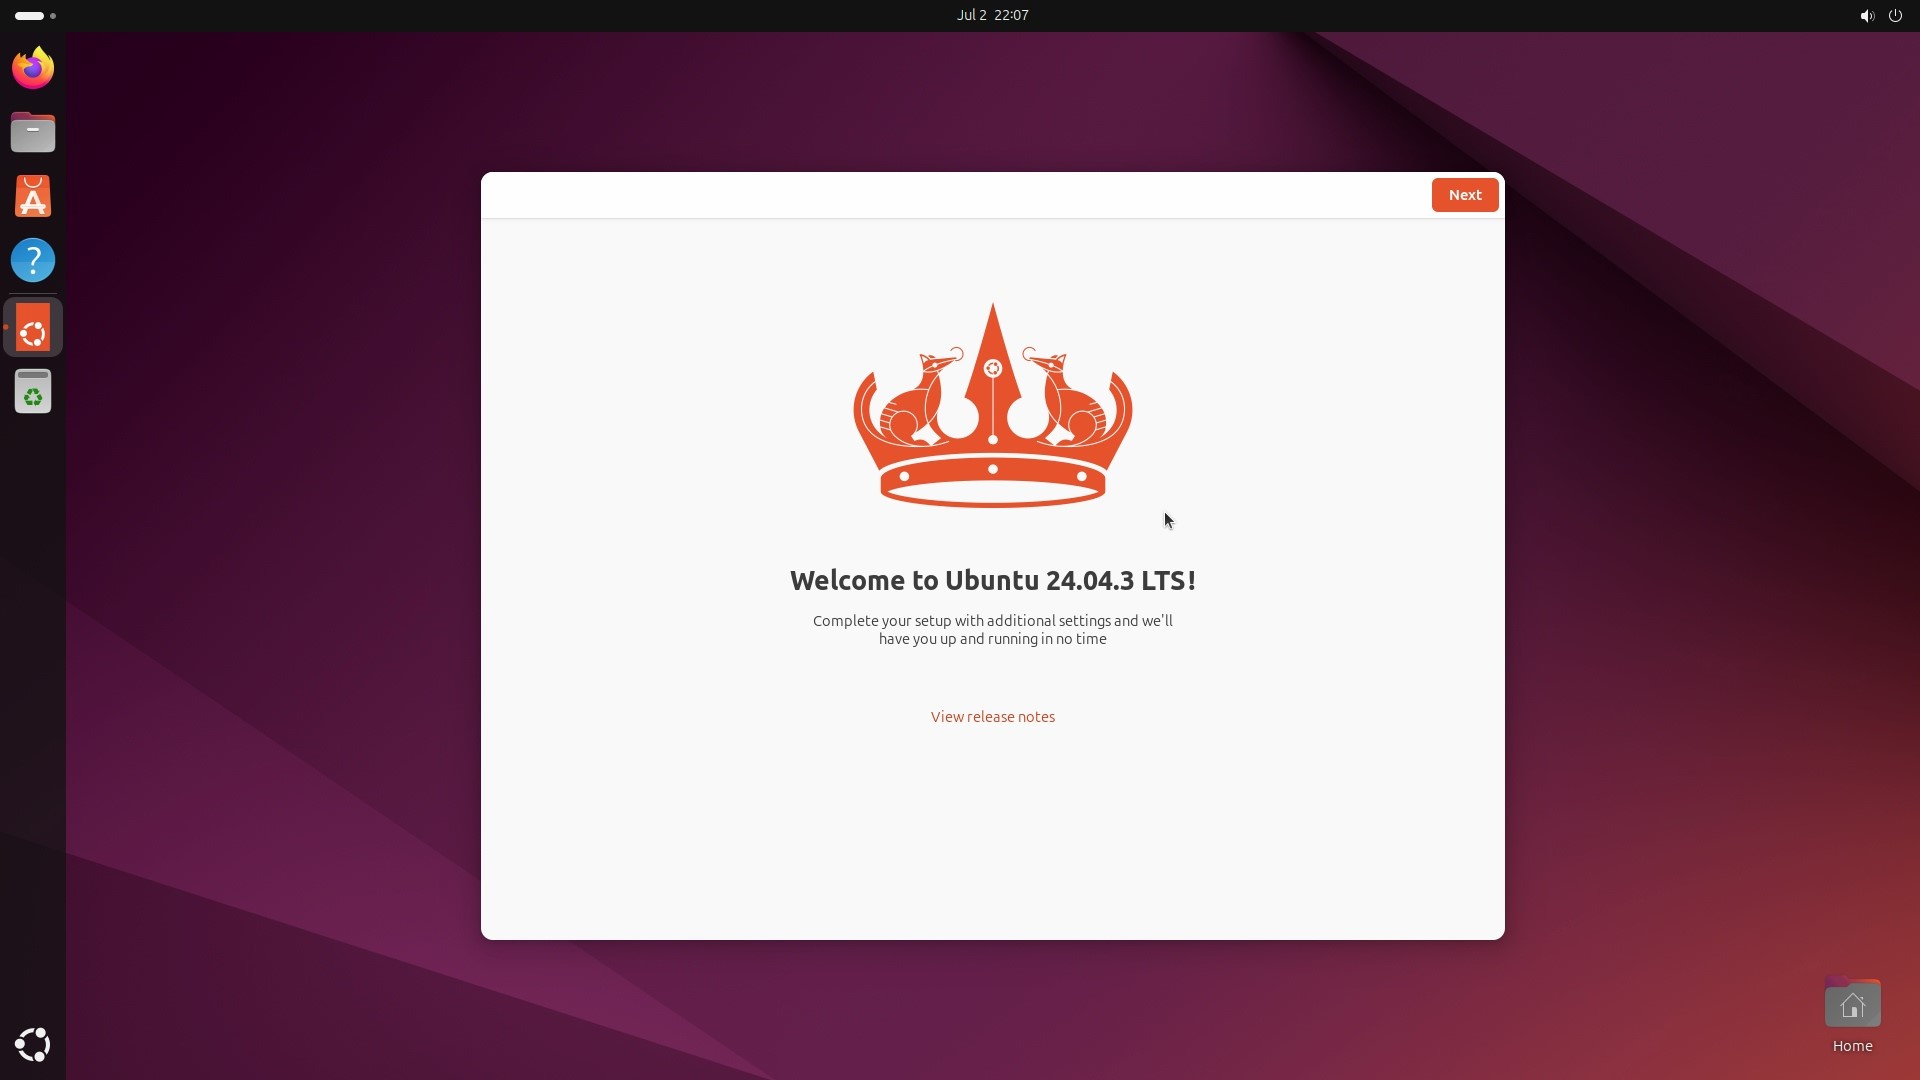
The installation of Ubuntu 24.04 is now complete.