The K1 comes with a factory-flashed BIOS firmware that includes the K1's actual onboard memory and supports MIPI and HDMI dual-screen output.
If you need to switch to other display interface functions by default, please refer to the following tutorial to select the corresponding function.
| BIOS Functions | Options |
|---|---|
| K1 Onboard memory | L8 (8GB RAM) / L16 (16G RAM) |
| Display Interface | MIPI+HDMI (MIPI +HDMI Dual-screen output display) / EDP+HDMI(EDP +HDMI Dual-screen output display) |
¶ MIPI 7' LCD display
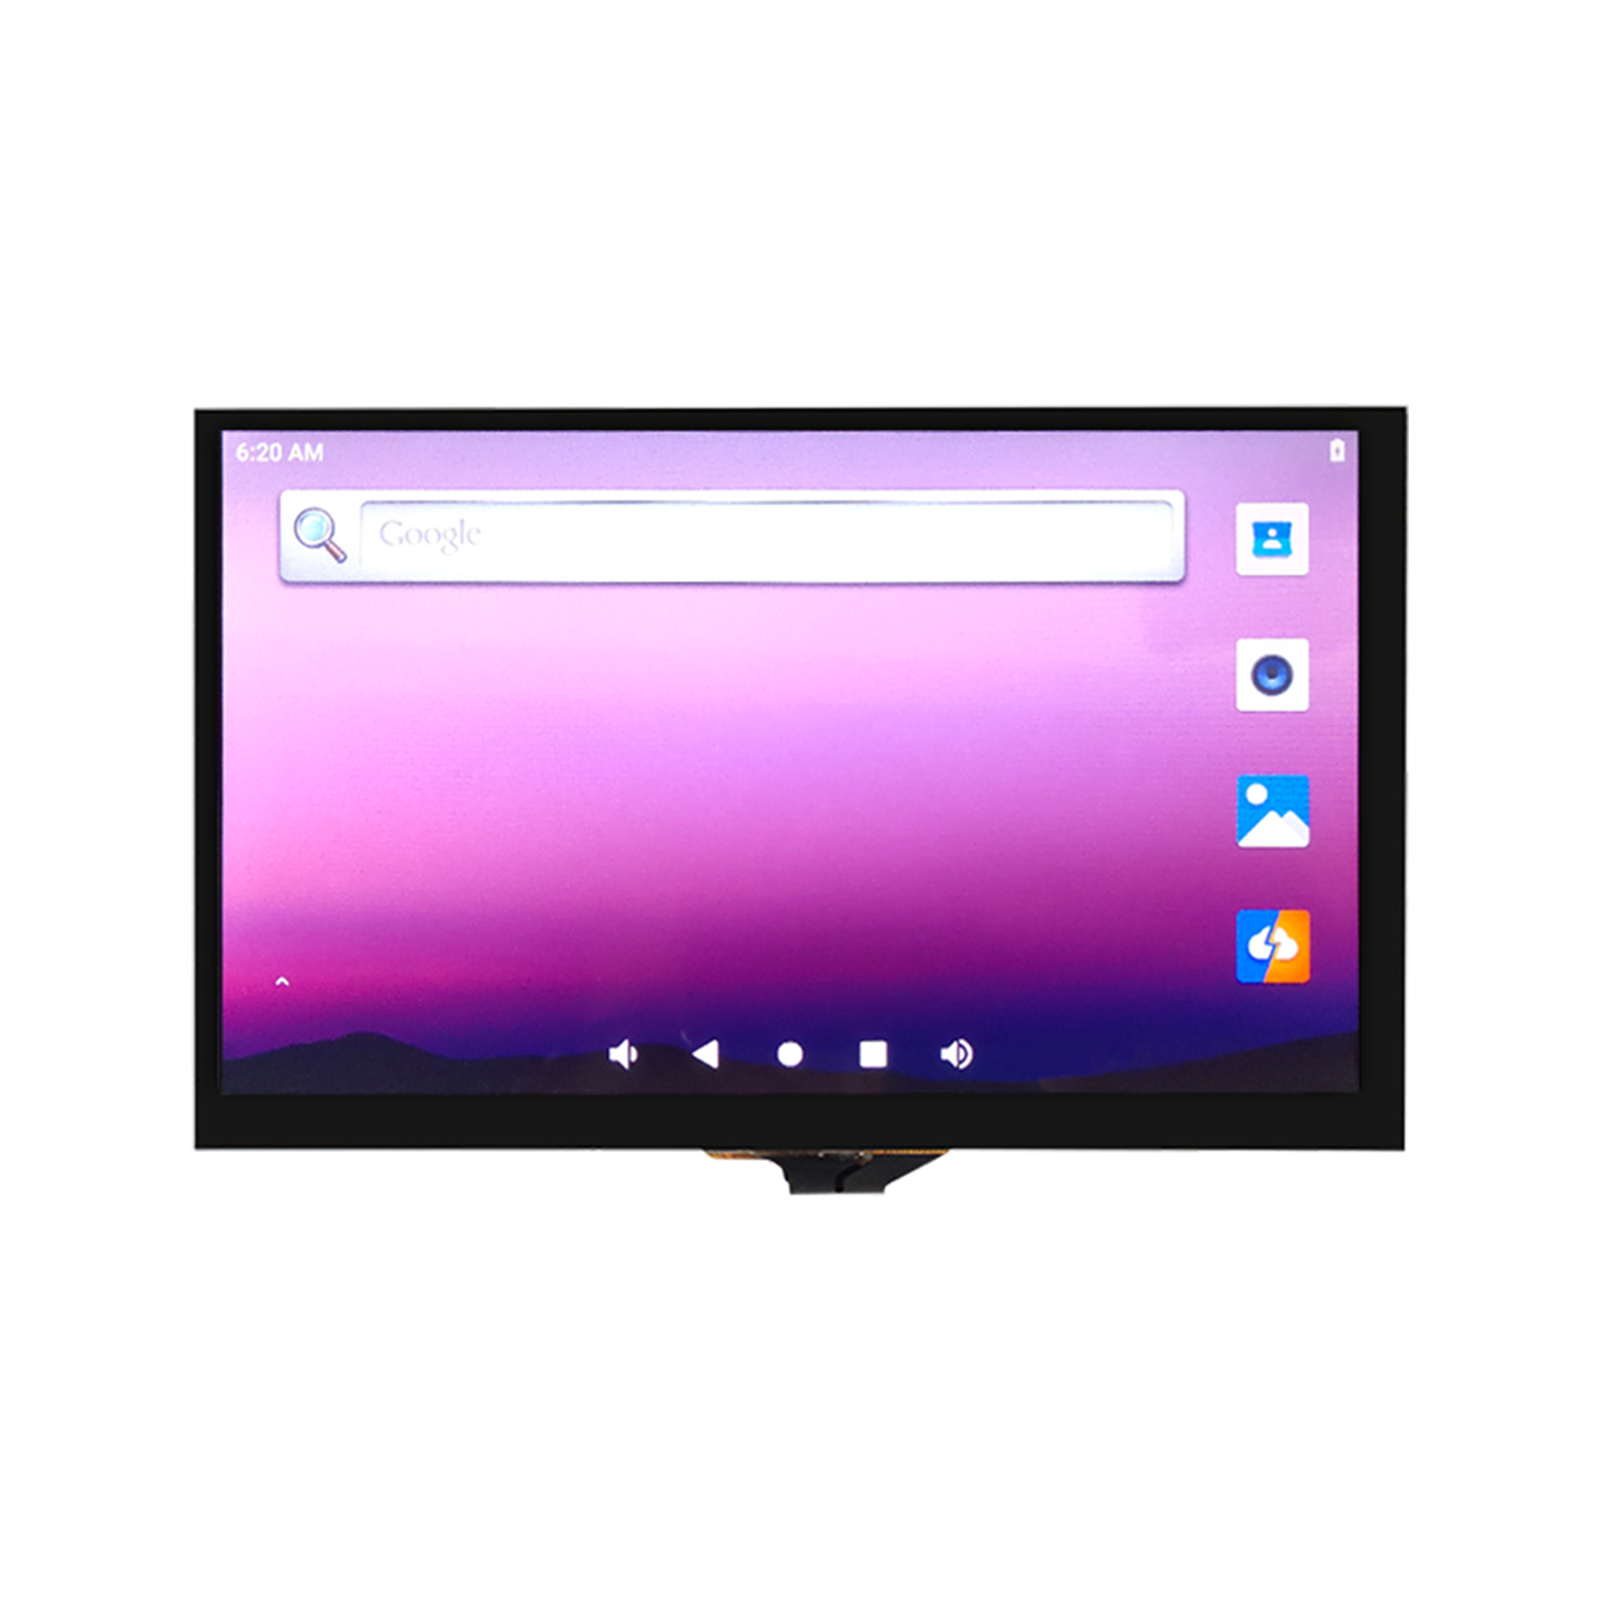
YYT-MIPI7LCD2203 is a '5-point capacitive touch', '7-inch' color TFT-LCD module. This module consists of the following parts: TFT LCD panel, driver circuit, 5-point capacitive touch, and backlight.
Among them, the 5-point capacitive touch has 26 driving channels and 14 sensing channels, which can meet higher touch accuracy requirements It can simultaneously recognize the real-time and accurate positions of 5 touch pointsMovement trajectory and touch area. And according to the main control requirements, read the touch information of the corresponding points.
Note: To use the MIPI 7LCD screen with the K1, you must update the BIOS firmware to support MIPI screen image output. If you find the screen is black after connecting the MIPI screen and only the backlight is on, please see the section below on updating the BIOS and installing the corresponding drivers to enable screen touch functionality.
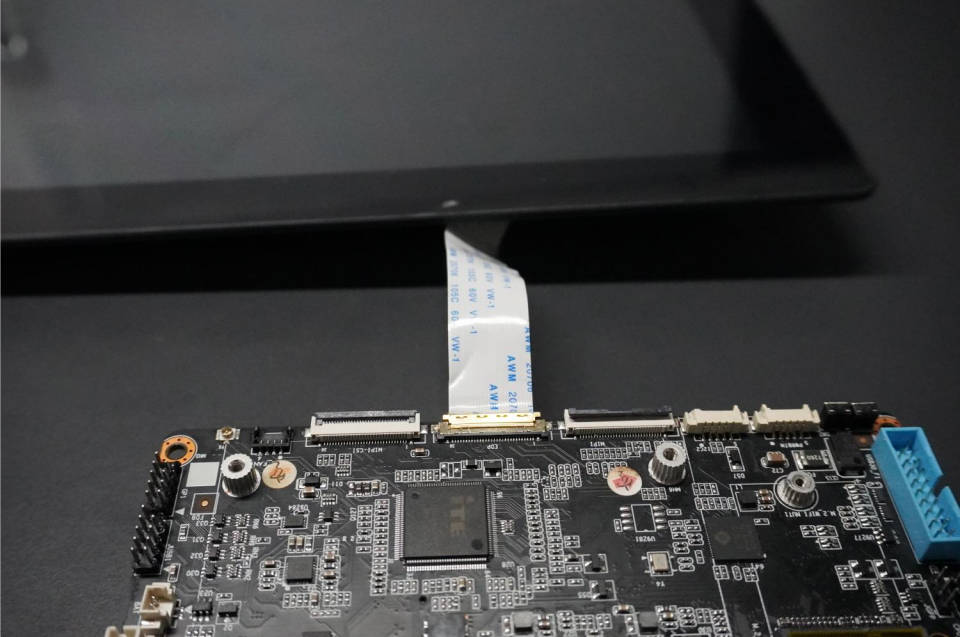
¶ Hardware connection between K1 baseplate and MIPI 7' LCD display
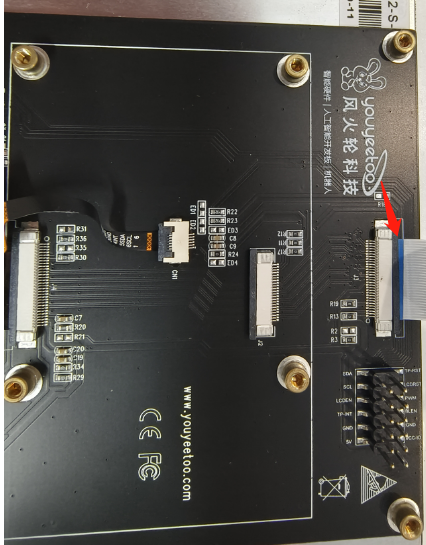
Cable specifications: 30-pin reverse FPC flexible cable, length customizable.
Wiring instructions: See the red arrow.
MIPI 7' LCD display looks like this:
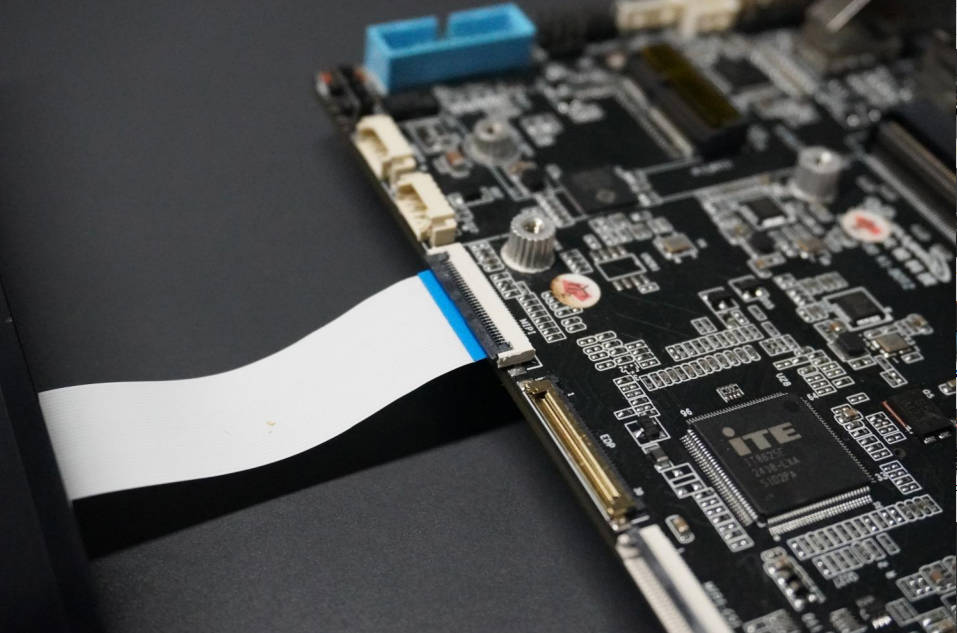
K1 board is shown below:
¶ Update BIOS
1. Download the supporting tools
- BIOS flashing for the host computer and BIOS firmware package
Youyeetoo Official Drive Download Link
http://dd.youyeetoo.cn:5000/sharing/vcpUOpkEl
**
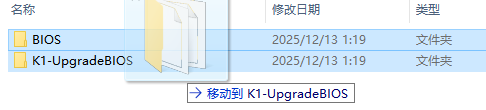
2. To run Windows 10/11 on K1 motherboard, extract the compressed file as shown in the image below.
Extract the BIOS folder from K1_BIOS.zip.

Extract K1-UpgradeBIOS.zip file to open K1-UpgradeBIOS folder.

Replace the K1-UpgradeBIOS\BIOS folder with the BIOS folder.
Double-click to run K1UpgradeBIOS.exe, click Refresh in the upper right corner, and select the BIOS firmware you need to update.
K1UpgradeBIOS.exe must be running on a Windows 10/11 system on a K1 motherboard. Furthermore, a green actual memory capacity indicator means that the actual memory capacity of the K1 and the BIOS firmware are correctly matched, while a red indicator means that the actual memory capacity of the K1 and the BIOS firmware are incorrectly matched.
K1_L8_MIPI_HDMI_20251203164229.bin Compatible with K1 motherboard, 8GB RAM, and MIPI+HDMI dual-screen output display.
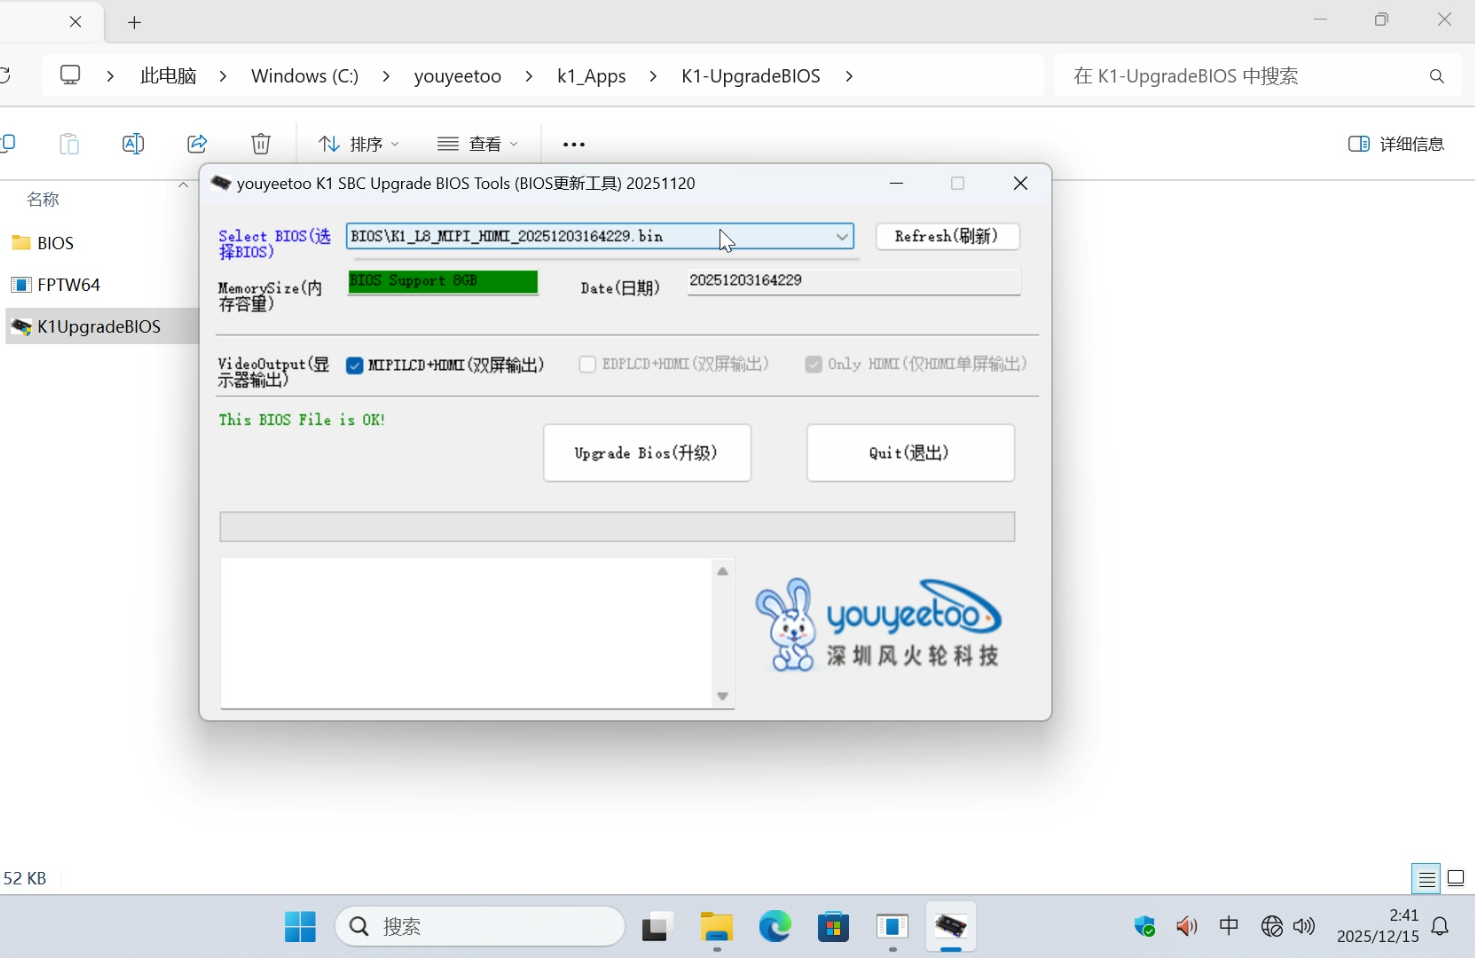
K1_L16_MIPI_HDMI_20251203164229.bin Compatible with K1 motherboard, 16GB of RAM, and MIPI+HDMI dual-screen output display.
After selecting the BIOS firmware you need, click the "Upgrade BIOS" button and wait for the progress bar to complete, prompting you to restart the system.
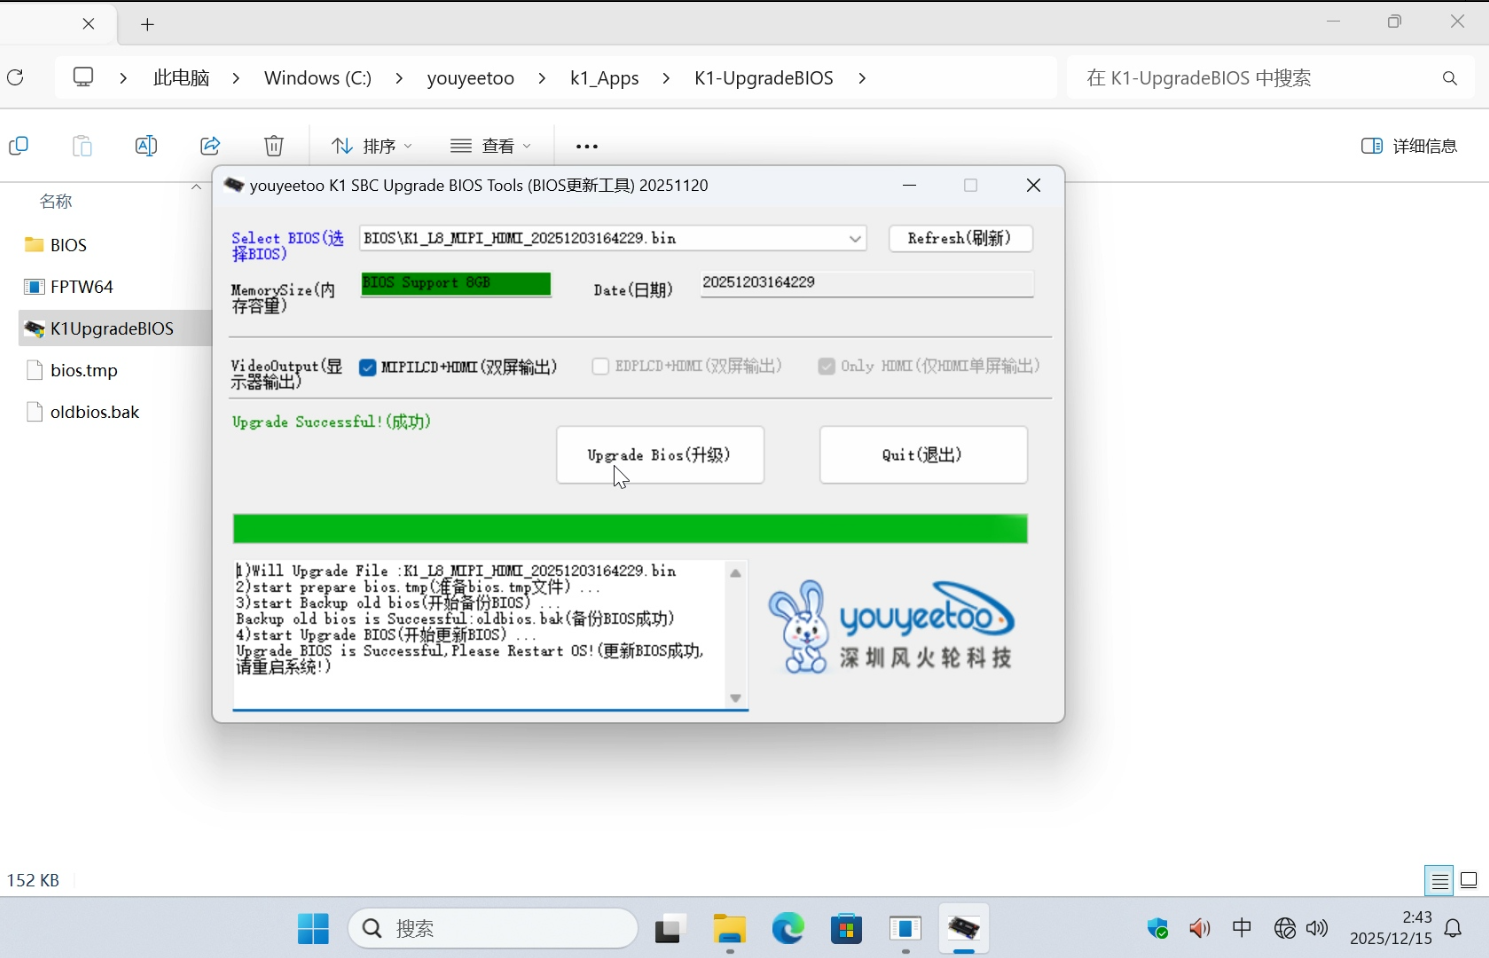
Restart the system and wait for it to boot up. The MIPI screen will then output and display images normally.
¶ How to install the corresponding driver and enable MIPI screen touch function on a non-customized Windows system.
1. Download and install the K1 Windows platform base package.
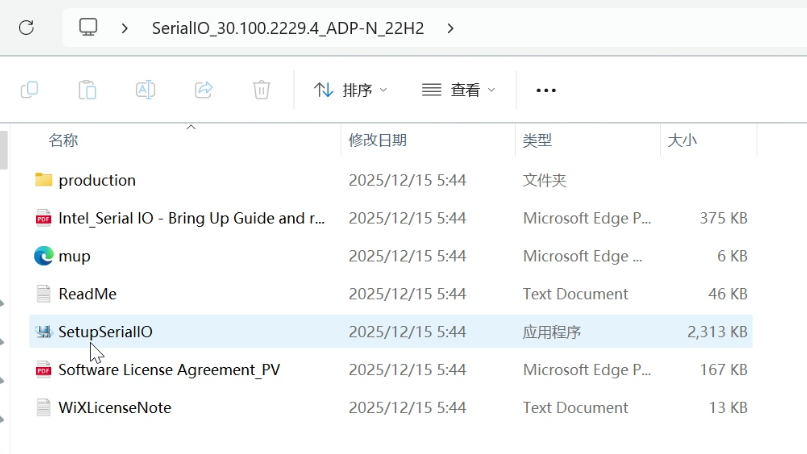
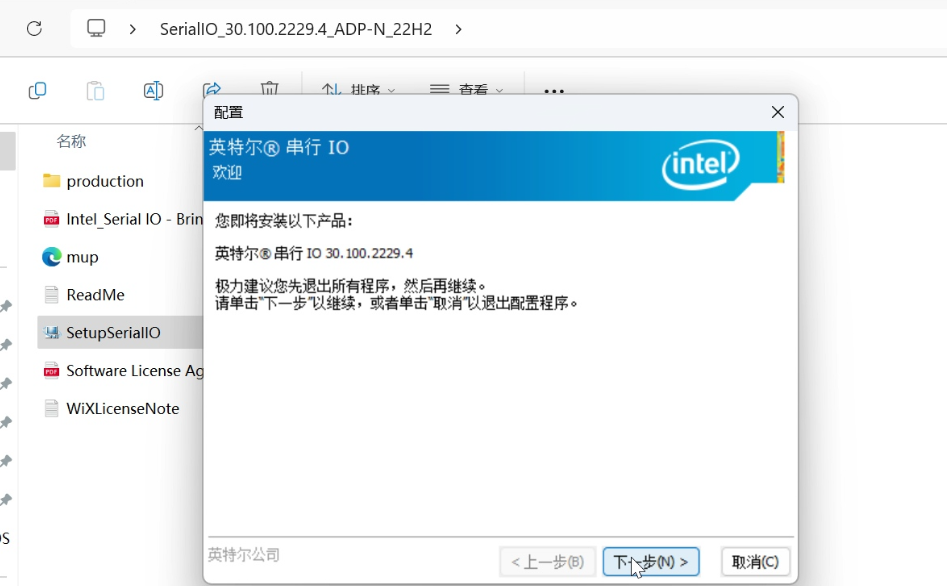
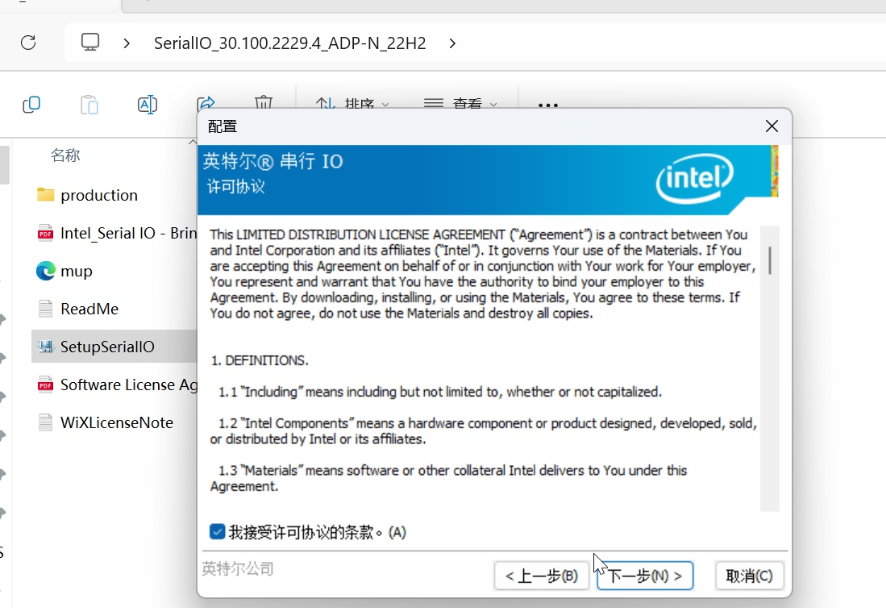
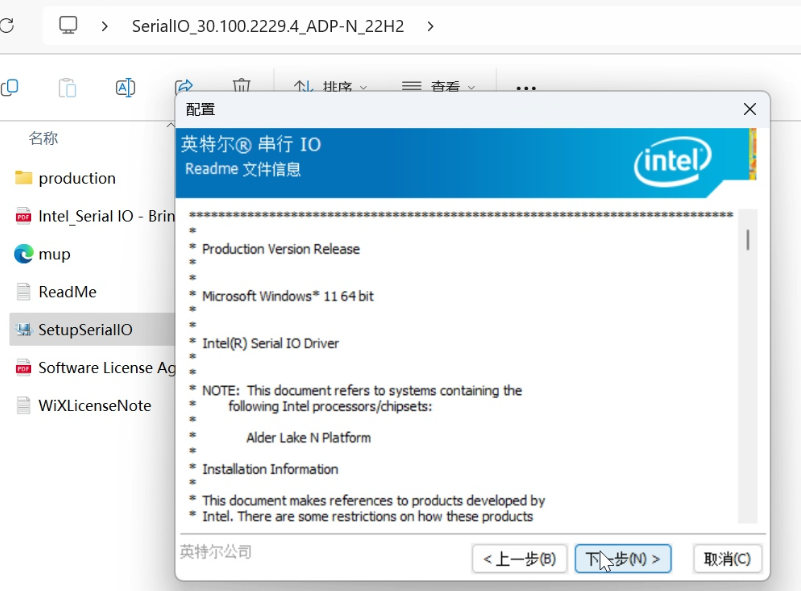
- K1 Windows Platform Basic Package 230803_SerialIO_30.100.2229.4_ADP-N_22H2.zip
Youyeetoo Official Drive Download Link
http://dd.youyeetoo.cn:5000/sharing/7iMfuB6aR
**
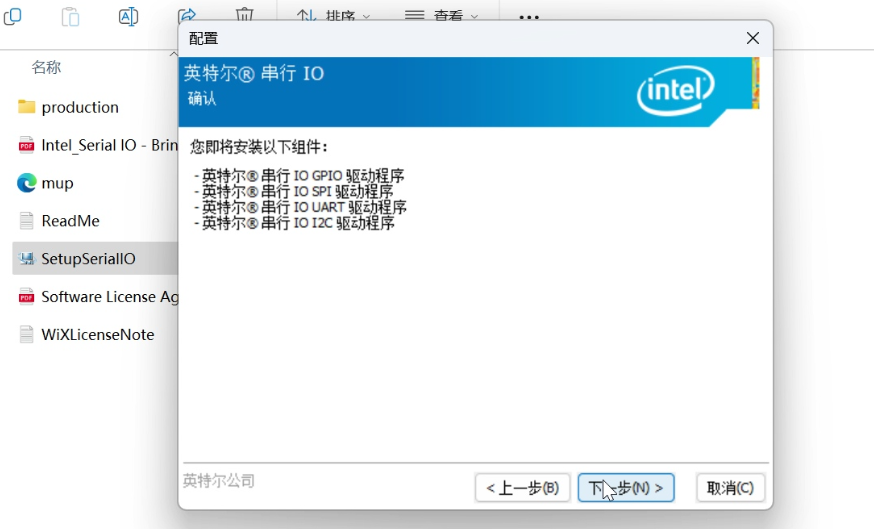
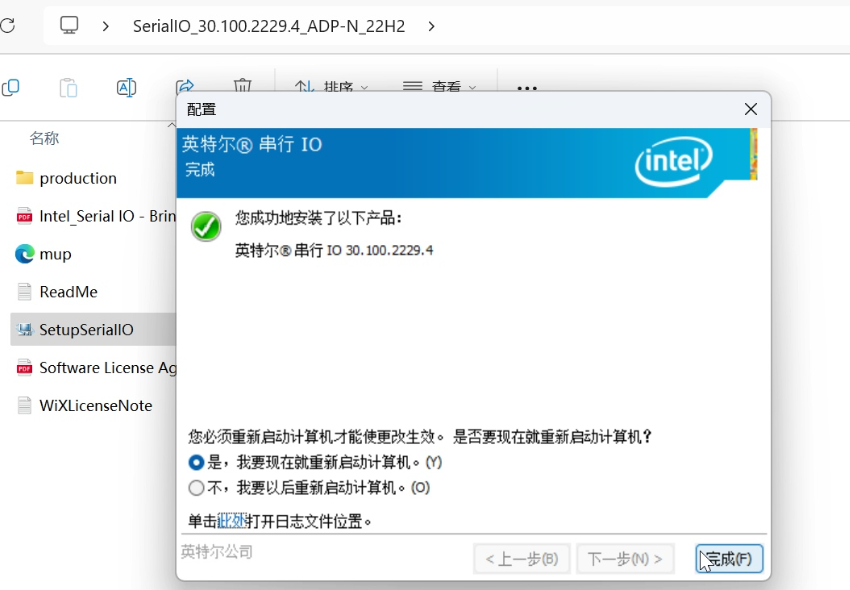
After downloading and extracting the compressed file to K1 motherboard, run SerialIO_30.100.2229.4_ADP-N_22H2\SetupSerialIO.exe.
2. Download touch driver installation package
- 7-inch MIPI touch driver package
Youyeetoo Official Drive Download Link
http://dd.youyeetoo.cn:5000/sharing/F71ePWec8
**
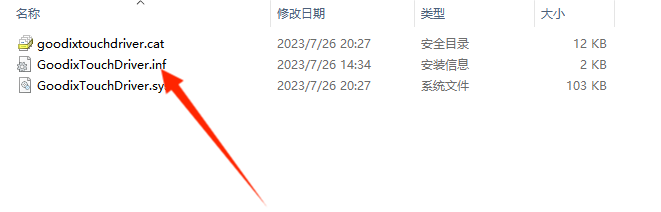
2. Right-click the GoodixTouchDriver.inf file and click Install.
3. Restart Windows after driver installation.
After restarting and entering the system, press Win + X + M to open Device Manager. Right-click on Human Interface Devices -> GoodixTouchDriver Device and check the device status to see if it is functioning properly.

¶ EDP LCD display
¶ Hardware connection between K1 baseplate and EDP LCD display
K1 board is shown below:
¶ Update BIOS
1. Download the supporting tools
- BIOS flashing for the host computer and BIOS firmware package
Youyeetoo Official Drive Download Link
http://dd.youyeetoo.cn:5000/sharing/vcpUOpkEl
**
2. To run Windows 10/11 on K1 motherboard, extract the compressed file as shown in the image below.
Extract the BIOS folder from K1_BIOS.zip.
Extract K1-UpgradeBIOS.zip file to open K1-UpgradeBIOS folder.
Replace the K1-UpgradeBIOS\BIOS folder with the BIOS folder.
Double-click to run K1UpgradeBIOS.exe, click Refresh in the upper right corner, and select the BIOS firmware you need to update.
K1UpgradeBIOS.exe must be running on a Windows 10/11 system on a K1 motherboard. Furthermore, a green actual memory capacity indicator means that the actual memory capacity of the K1 and the BIOS firmware are correctly matched, while a red indicator means that the actual memory capacity of the K1 and the BIOS firmware are incorrectly matched.
K1_L8_EDP_HDMI_20251203164229.bin Compatible with K1 motherboard, 8GB RAM, and EDP+HDMI dual-screen output display.
K1_L16_EDP_HDMI_20251203164229.bin Compatible with K1 motherboard, 16GB of RAM, and EDP+HDMI dual-screen output display.
After selecting the BIOS firmware you need, click the "Upgrade BIOS" button and wait for the progress bar to complete, prompting you to restart the system.
Restart the system and wait for it to boot up. The EDP screen will then output and display images normally.