¶ QT5 Compilation and Testing Sample Project (Linux)
The following operations are all based on ubuntu-22.04.x-desktop-amd64 version
1. Install QT5 environment
Install the QT5 environment with the following command:
#Update software list
sudo apt update
#Install the libgpiod-dev library, which is used in the sample program
sudo apt -y install libgpiod-dev
#Basic make, gcc, g++
sudo apt install make
sudo apt install make-guile
sudo apt install build-essential
#Install QT5 environment
sudo apt  -y  install qtbase5-dev qtchooser qt5-qmake qtbase5-dev-tools qtcreator
2. Download the test sample project source code
The source code includes four types of interface testing: GPIO/I2C/SPI/NFC
Download the test project source code and extract it, as follows:
xui sample source code
3. Compile GPIO driver
The GPIO driver is required in the sample program and needs to be compiled once using the development version
#Enter the current user's home directory
cd
#Enter the gpio directory in the sample source code
cd xui/gpio/drv
#Compile gpio driver and produce gpio_ Drv.ko kernel driver file
make clean
make
#Modify gpio_ Drv.ko permissions
sudo chmod 644 gpio_drv.ko
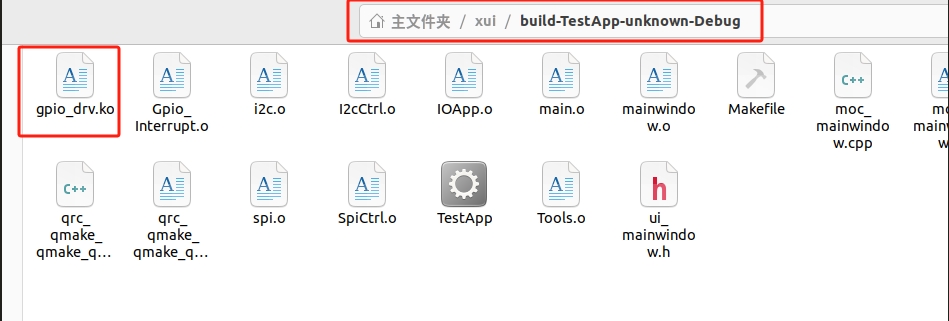
Need to compile the GPIO_ Copy drv.ko to the directory where QT compiled the test program, in the same directory as TestApp (This directory name may not be the same, here is a reference)
4. Open the sample project in QT5
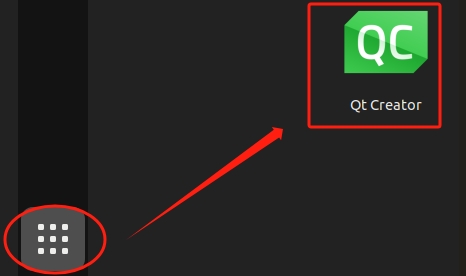
4.1 After installing QT, in the bottom left corner of the program list, locate the Qt Creator on the right and click
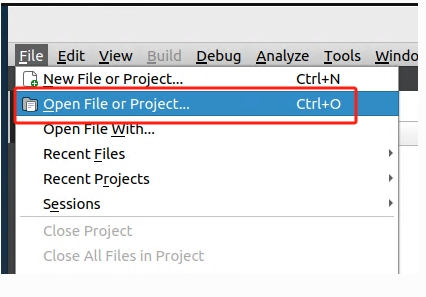
4.2 Import Engineering
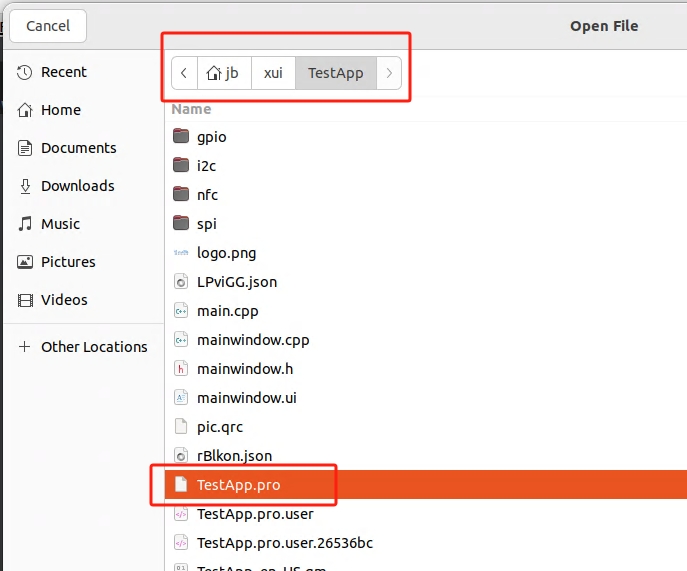
Open the project file 'TestApp. pro'
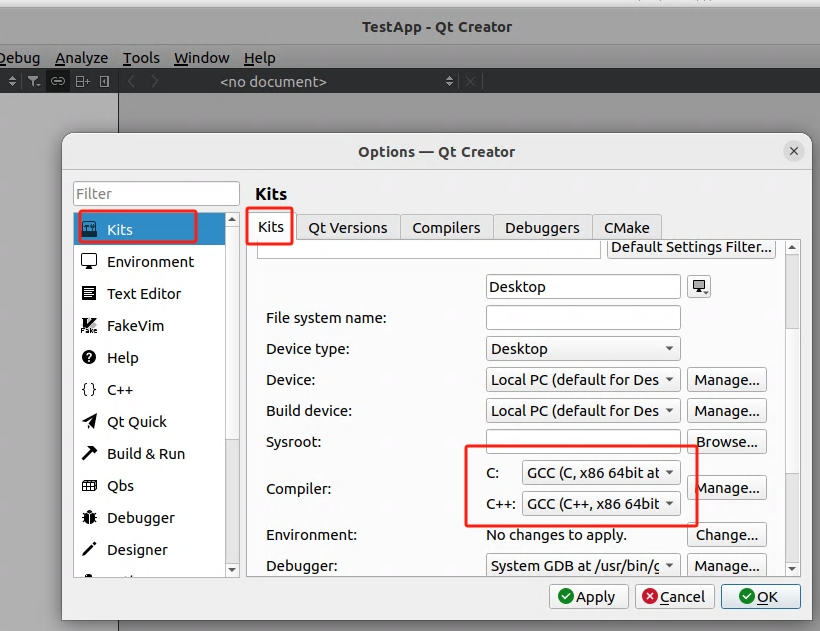
4.3 Configuration Compilation: Both Compiler C and C++choose GCC or G++
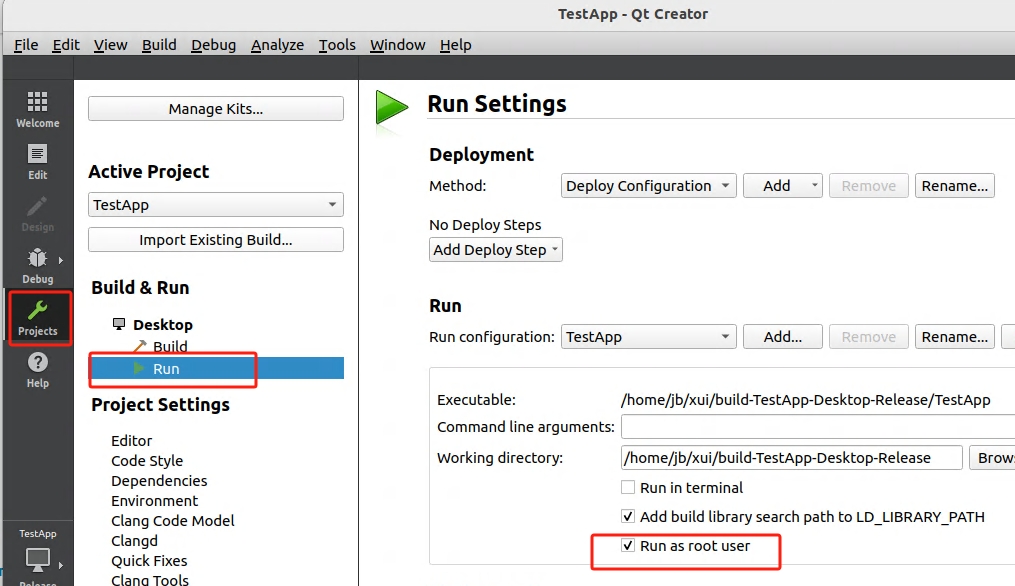
4.4 Configuration Engineering: Start the program with root privileges during debugging and running
4.5 Compile and run the project: The green triangle in the bottom left corner of the QT interface

After compilation, if there are no errors, the testing software will automatically start. QT will prompt for the current user password, and after entering it, switch to root privileges to start
5. Test program interface
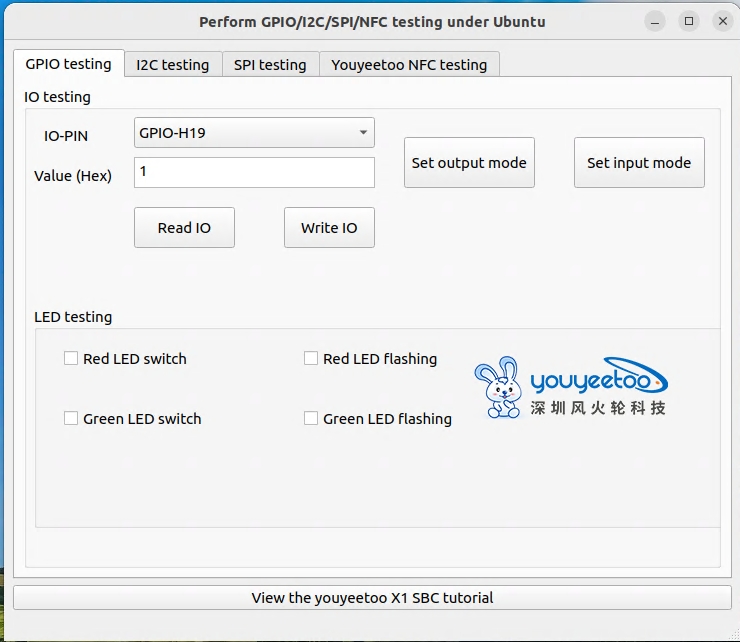
5.1 GPIO and LED testing interface
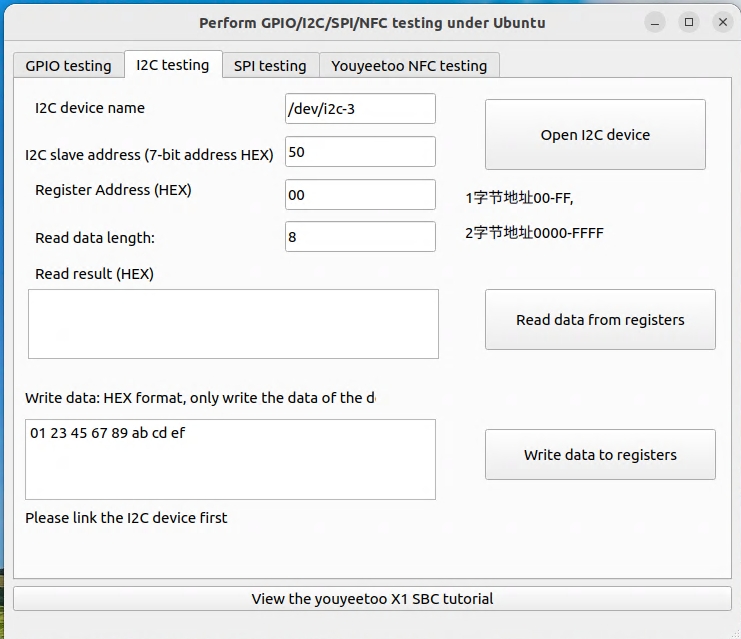
5.2 I2C test interface
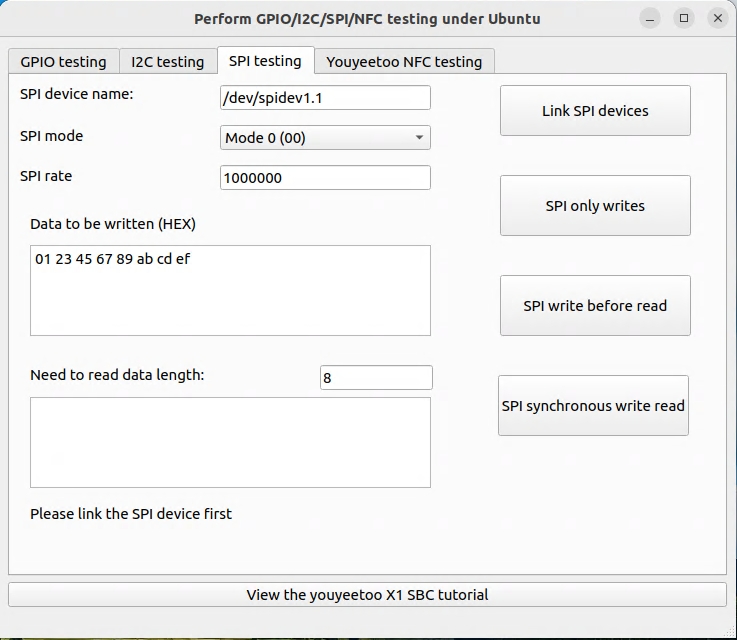
5.3 SPI testing interface
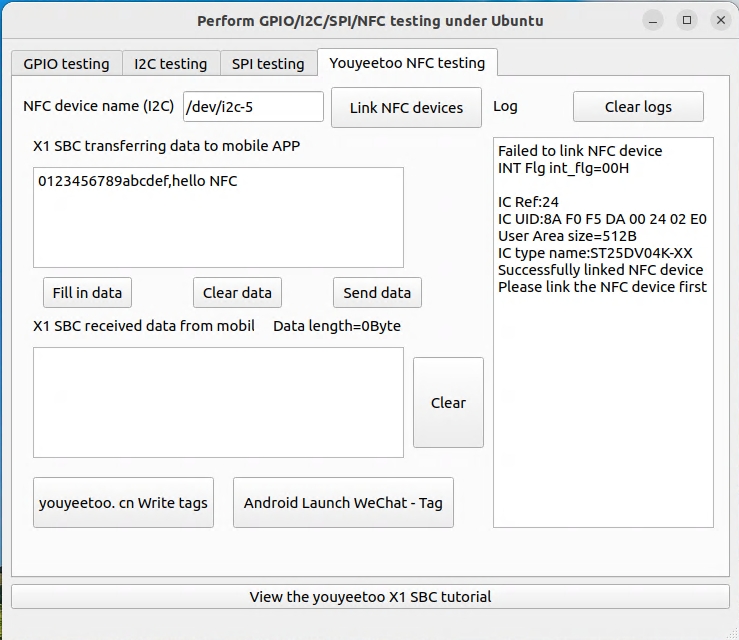
5.4 NFC testing interface
6. Known issues and solutions
6.1 No SPI node, unable to test SPI
Please refer to the SPI Interface Development (Linux) tutorial to add:
https://wiki.youyeetoo.com/en/x1/linux/spi_driver
6.2 Testing GPIO and LED found that both failed prompts
Because the GPIO kernel driver was not loaded, refer to the third section of this article, "III. Compiling GPIO Drivers"
Compile the GPIO_ Copy drv.ko to the same directory as the TestApp file generated by this testing project
Explanation: The kernel versions used by the GPIO driver and development version correspond to each other:
The first time using the development version, it needs to be compiled once. If the development version modifies the kernel version, it also needs to be recompiled once
After recompiling, overwrite the old GPIO_ Drv.ko file
6.3 Start the software and prompt that the libgpiod library cannot be found
Please refer to the first section of this article, "1. Installing the QT5 environment", to install the libgpiod-dev library
6.4 How to Command Running a Compiled TestApp
Open the terminal in the TestApp directory and execute
sudo ./TestApp